I’ve installed laminate flooring in dozens of homes, and I can tell you that choosing the wrong direction will haunt you every time you walk into that room. Most homeowners make this decision based on gut feeling, but there’s actually a systematic approach that’ll save you money, time, and regret. The direction you choose affects everything from how much material you’ll waste to whether your space feels cramped or expansive. Let me show you the method professionals use.
Key Takeaways
- Install laminate flooring parallel to the longest wall to reduce cutting requirements by 20-40% and minimize material waste.
- Align planks parallel to the main light source to minimize seam visibility and eliminate harsh shadows across joints.
- Run planks parallel to the main entrance to follow natural foot traffic flow and maintain visual continuity.
- Install planks perpendicular to floor joists to enhance structural stability and prevent sagging over time.
- Maintain consistent plank direction across connected spaces to create unity and enhance the overall aesthetic appeal.
Understanding Room Dimensions and Layout Impact
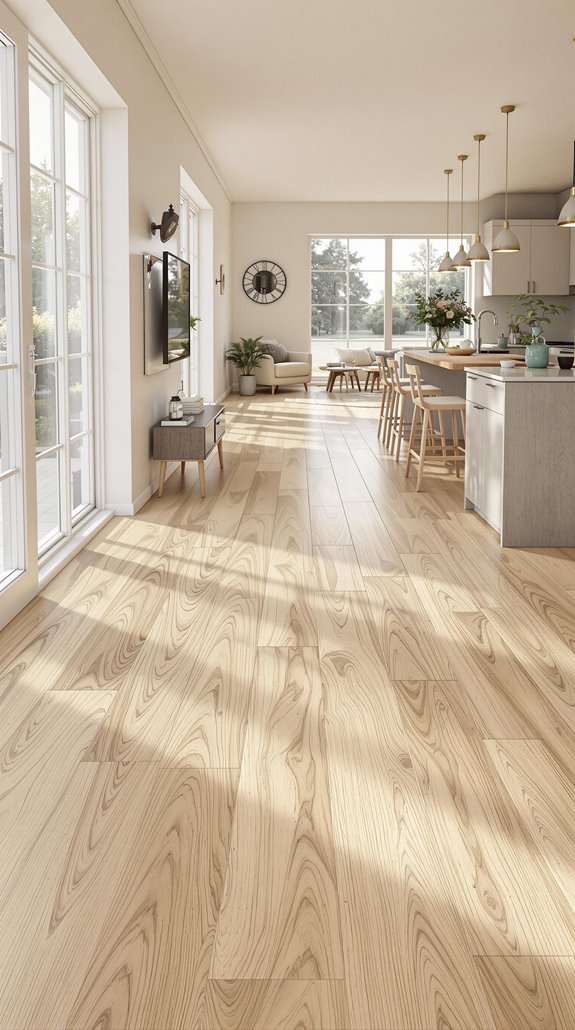
When determining laminate flooring direction, the room’s dimensions and layout serve as your primary guide for making the most efficient installation choice. I recommend installing parallel to your longest wall, which reduces cutting requirements by 20-40% in rectangular rooms and creates visual elongation in narrow spaces. This standard method minimizes waste from 10-15% down to 7-10% while cutting installation time by 20%. Additionally, proper structural assessments can help identify any underlying issues that may affect the installation process.
However, irregular rooms require different considerations. If you’re dealing with non-parallel walls or angled spaces, follow structural elements instead. Diagonal doors and walls need perpendicular installation to prevent visual fragmentation. Remember, structural floors with joists override aesthetic choices—you must install perpendicular to joists for stability, as manufacturers void warranties for incorrect alignment. Before beginning installation, ensure your subfloor is level and properly prepared to avoid complications during the laying process.
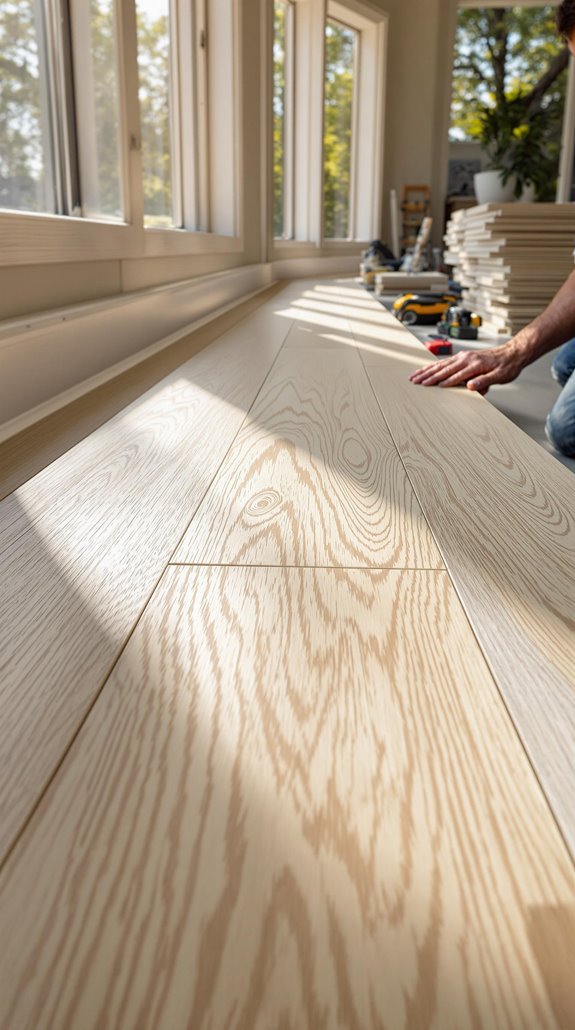
Light Source Direction for Optimal Visual Appeal
How does light direction transform your laminate flooring’s appearance? I’ll show you how proper alignment creates stunning visual impact.
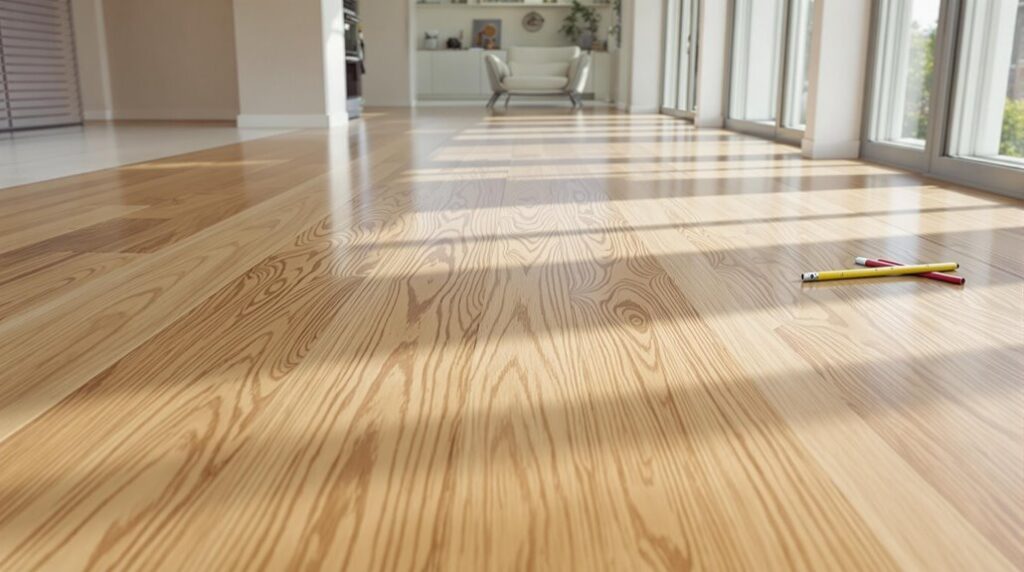
Install your planks parallel to your main light source—typically your largest window or patio door. This alignment minimizes seam visibility and eliminates harsh shadows across joints, creating that smooth, professional look we’re all after. Choosing the right flooring material can further enhance the overall aesthetic and durability of your living space.
Here’s the visual trick: parallel installation elongates narrow rooms, while perpendicular placement widens tight spaces. If you’re dealing with multiple windows creating conflicting light directions, consider diagonal installation—it’ll make your space appear larger while solving the light dilemma.
I always test plank direction under actual lighting conditions before committing. Remember, glossy finishes amplify these light effects, so direction becomes even more critical for achieving that flawless appearance. Consider your home’s entry flow when making the final decision, as flooring direction significantly impacts the visual transition when guests first walk through your door.
Entrance Flow and Natural Traffic Patterns
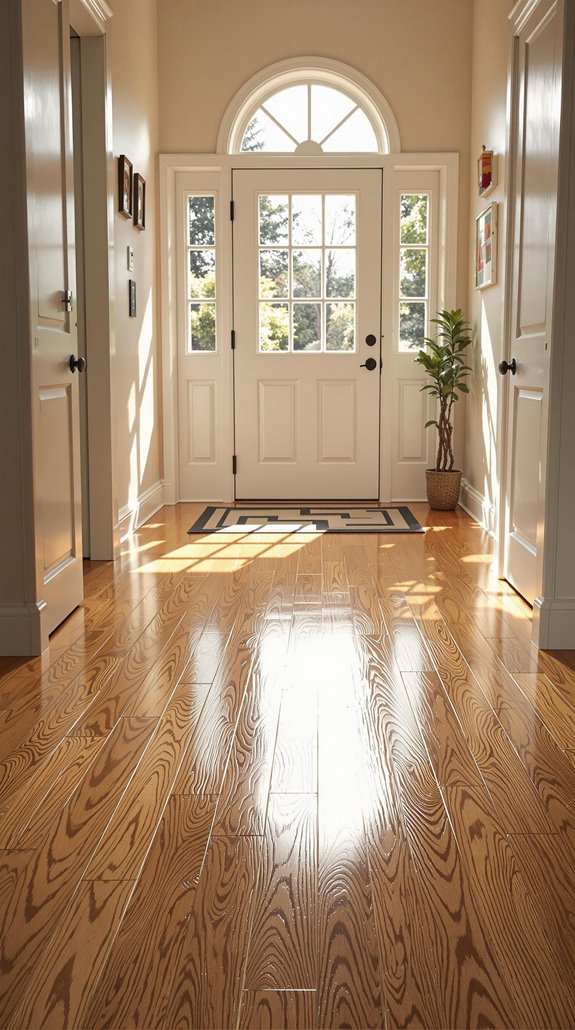
Since your main entrance determines where foot traffic naturally flows, you’ll want to align your laminate planks parallel to this dominant pathway. I’ve found this creates seamless visual continuity as you move from room to room. Additionally, maintaining energy efficiency in your home can be enhanced by the strategic placement of flooring, as it helps regulate indoor temperatures.
In narrow entryways, I recommend laying planks lengthwise toward adjacent spaces—this elongates the area and streamlines connections. When your front door opens into living areas, you need unobstructed paths to dining rooms or patios, and your flooring direction should reinforce this natural flow. Creating designated activity zones with your flooring direction helps organize the space and reduces confusion during daily movement.
If you have multiple entrances like garage and patio doors, prioritize the most-used entry for directional alignment. Avoid laying planks perpendicular to your main entrance, as this disrupts movement and creates visual choppiness that can increase tripping risks.
Aesthetic Preferences and Design Continuity
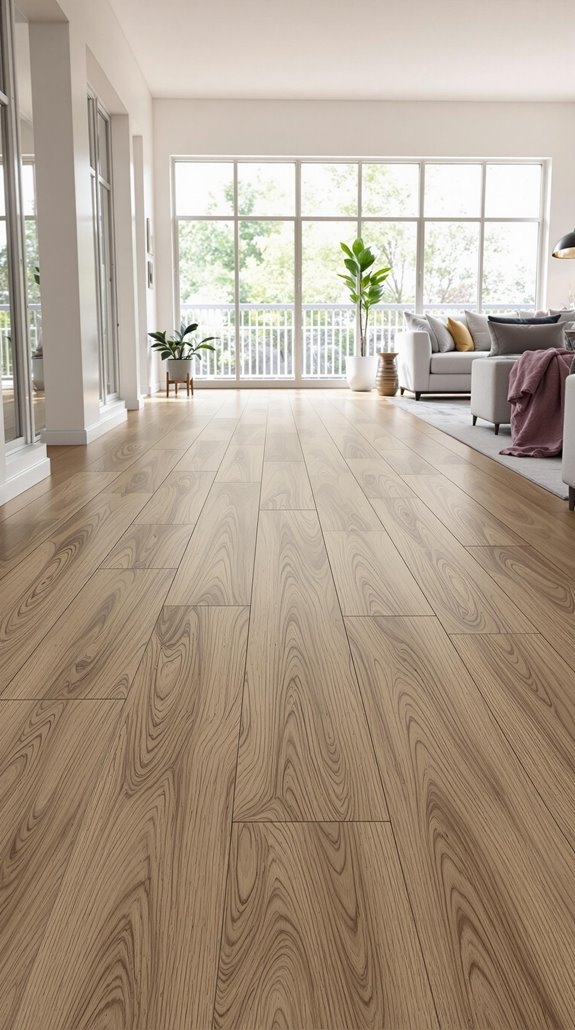
Beyond establishing proper traffic flow, your laminate’s visual impact depends heavily on how well your chosen pattern and finish align with your home’s overall design scheme. I recommend matching your flooring tones with existing cabinetry or furniture to create that cohesive, upscale look we’re all after. You’ll want to maintain consistent plank direction across connected spaces—this unifies open-plan designs beautifully.
Consider your room’s lighting when selecting finishes. High-gloss surfaces reflect light for modern, spacious feels, while matte finishes offer understated elegance that conceals scratches. If you’re working with smaller rooms, light-colored smooth laminates expand visual space effectively. For dramatic sophistication, pair darker finishes with metallic accents. For rooms that experience heavy foot traffic, laminate flooring’s protective top layer provides excellent resistance to daily wear and tear. Remember, your flooring should complement your lifestyle and aesthetic preferences seamlessly.
Open-Plan Consistency Across Connected Spaces
When you’re installing laminate flooring in open-plan spaces, maintaining consistent plank direction across all connected areas becomes your most critical design decision. I’ve seen countless projects where directional changes between kitchen and living room create jarring visual breaks that destroy spatial flow.
You’ll achieve seamless shifts by running planks in one direction throughout connected zones. This approach aligns with your home’s architectural lines while enhancing perceived room dimensions. I recommend prioritizing your main entrance—run planks toward it to elongate sightlines and guide natural movement patterns. Additionally, consider the cost factors associated with flooring materials, as they can significantly impact your overall renovation budget.
For irregular layouts, single-direction runs visually simplify L-shaped areas and help conceal awkward angles. You’ll also reduce installation complexity, minimize cutting waste, and guarantee uniform expansion gaps along shared perimeters. Remember that no strict rule exists for direction choice, as personal preference ultimately plays a significant role in your final decision. This consistency creates the cohesive look that makes open-plan living truly work.
Minimizing Waste and Material Usage
Smart directional planning doesn’t just create beautiful spaces—it greatly reduces material waste and cuts your project costs. I calculate total square footage with a 5-10% waste allowance, then use efficient layout algorithms to minimize cuts. Starting against your longest wall reduces irregular end pieces considerably.
I apply the “8-inch rule”—keeping end segments longer than 8 inches prevents instability and waste. Those cut-offs become perfect starters for adjacent rows instead of trash. Digital simulation tools help me identify ideal plank alignment before cutting begins. Additionally, incorporating energy-efficient improvements during your renovation can lead to long-term savings on energy bills.
For unused materials, I donate intact planks to Habitat for Humanity and repurpose off-cuts for DIY projects. Many manufacturers offer take-back programs for recycling discarded laminate. When selecting materials, I choose products with high recycled content and thicker wear layers for enhanced durability. The best laminate options are made from recycled wood fibers like sawdust and wood chips, which conserves natural resources while maintaining exceptional performance.
Installation Best Practices for Direction Planning
After you’ve planned your direction strategy, proper installation execution becomes critical for achieving professional results. I’ll guide you through the essential steps that separate amateur attempts from professional-grade installations.
Start by mapping your layout from the straightest wall toward complex areas like closets and alcoves. This approach minimizes cutting challenges and material waste around obstacles. When you encounter closet doors, run planks parallel to the jambs – it’ll simplify your cuts considerably. Additionally, consider the impact of planning permissions as they can affect your ability to make structural changes in your home.
For complex layouts requiring direction changes, use T-moldings or reducer strips at changeover points. Always verify subfloor levelness across these zones to prevent uneven surfaces that’ll compromise your finished look. On wooden subfloor systems, ensure your laminate runs perpendicular to joists to avoid deflection issues that can compromise the installation’s long-term stability.
Pre-layout planning is your secret weapon. It eliminates guesswork and guarantees you’ll achieve that seamless, professional appearance we’re all after.
Common Direction Mistakes to Avoid
While proper planning sets the foundation for successful laminate installation, execution errors can quickly derail even the most thoughtful direction strategy. I’ve seen countless DIYers ignore light sources, laying planks perpendicular to windows and creating harsh shadows that highlight every imperfection. Don’t make this mistake—always align with your room’s primary light flow.
Another critical error I encounter is installing parallel to floor joists instead of perpendicular. This amplifies subfloor imperfections and reduces structural stability. You’ll also want to avoid predictable staggering patterns that create artificial “stair-step” appearances. Keep end joints at least 8 inches apart and randomize your plank lengths. Remember that your subfloor must be level within 2mm over 2m to prevent direction-related issues from becoming magnified during installation.
Finally, never force planks against fixed objects without proper expansion gaps. This causes buckling and voids your warranty protection.
Tools and Techniques for Measuring Layout
Proper measurement forms the backbone of any successful laminate installation, transforming your direction strategy from concept to reality. I’ll share the essential tools that’ll make your measuring process seamless and accurate.
Start with a quality tape measure, level, and calculator – these three form your measurement trinity. I always keep graph paper handy for sketching room layouts, especially when dealing with alcoves or irregular spaces. Here’s a game-changing tip: use a scrap piece of flooring as your marking gauge instead of constantly referencing your tape measure. This technique delivers incredibly accurate cuts, particularly around irregular walls. Additionally, ensuring your home has proper thermal efficiency can enhance overall comfort during installation, making the environment more pleasant to work in.
For room calculations, multiply length by width, then add 10% for waste. Remember to account for expansion gaps – typically 1/4 inch at each wall. This methodical approach guarantees you’ll have enough material while minimizing waste.
Professional installers often skip the tape measure entirely and rely on a marker and cheater board for marking cuts, which significantly speeds up the process once you develop the technique. This approach requires identifying the tongue and groove ends of each plank to ensure proper alignment.
Professional Tips for Complex Room Shapes
Complex room shapes demand strategic planning that goes beyond standard rectangular layouts. I’ll share proven techniques that’ll help you tackle challenging spaces with confidence.
For irregular rooms, I measure each plank individually and subtract ¼” for expansion gaps. When working around obstacles like pipes or cables, I strategically align seams to conceal cutouts and minimize exposed areas. Rotating planks into position works best in tight corners.
Pattern selection makes a significant difference. I recommend diagonal layouts for visual flow, herringbone patterns to camouflage asymmetry, and mixed-width planks to distract from uneven dimensions. It’s essential to choose a pattern that complements your overall design theme, as flooring options can greatly impact the room’s ambiance. Avoid straight patterns that emphasize wall irregularities.
In hallways, I install planks perpendicular to widen appearance and undercut door jambs for seamless integration. Connection strips handle directional changes while maintaining visual cohesion throughout your space. Complex patterns require precise measurements to ensure proper alignment and professional-quality results.
Conclusion
I’ve covered the essential factors for determining laminate direction, but your specific room will dictate the final choice. Start by measuring your longest wall, then assess your primary light source and traffic flow. Don’t overthink it—most rooms have a clear ideal direction once you consider these elements. Trust your measurements, follow the manufacturer’s guidelines, and you’ll achieve professional results that enhance your space’s visual appeal and functionality.
References
- https://pdf.lowes.com/productdocuments/084dc8d2-644c-4a24-bce6-33eaf012eb1f/46441150.pdf
- https://daitool.com/blogs/daitool-blog/how-to-lay-laminate-flooring-like-a-pro-a-beginners-guide
- https://www.homebuilding.co.uk/advice/which-way-to-lay-laminate-flooring
- https://www.youtube.com/watch?v=SLOMOoJK9i4
- https://www.quick-step.ie/en-ie/stories/the-perfect-direction-for-your-flooring-boards
- https://www.homedepot.com/c/ah/how-to-install-laminate-flooring/9ba683603be9fa5395fab903249c06a
- https://www.doityourself.com/forum/solid-hardwood-engineered-laminate-flooring/249672-different-question-regarding-direction-lay-laminate.html
- https://myfloorstyle.berryalloc.com/praktical-advice/laminate-laying-laminate-direction
- https://www.bestlaminate.com/blog/how-to-determine-the-direction-to-install-my-laminate-flooring/
- https://eastcoastfl.com/blog/floating-floor-installations/