I’ve watched countless flooring projects fail because contractors rushed through the screeding process, thinking it’s just about spreading material and walking away. The reality is that achieving a perfectly flat, crack-free screeded floor demands precision at every stage—from substrate preparation to final curing. You’ll save yourself time, money, and headaches by understanding the critical factors that separate amateur work from professional results. Let me show you where most people go wrong.
Key Takeaways
- Roughen concrete substrate with floor scabblers and remove all debris, oil, and grease for proper screed adhesion.
- Use 1:4 cement-to-sand ratio with sharp sand, maintaining 0.5 parts water per cement part to prevent shrinkage cracks.
- Pour from the farthest corner, using straightedge with overlapping passes and slight backward tilt to eliminate air pockets.
- Cover fresh screed with polyethylene sheets and use water curing methods to prevent rapid moisture loss during hardening.
- Check flatness every 2-3 meters and verify dryness with moisture meters before installing final flooring materials.
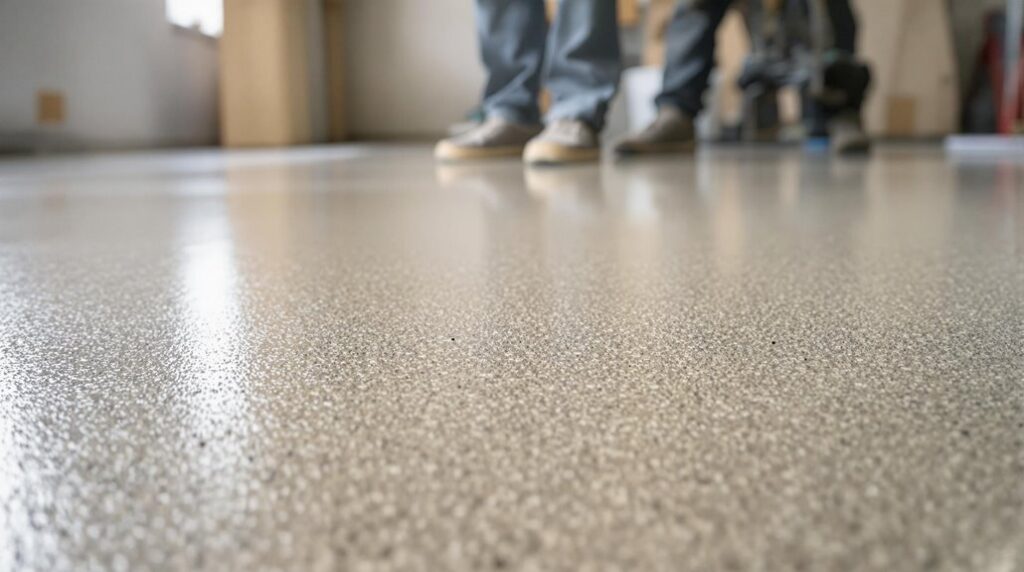
Essential Surface Preparation Steps for Professional Results
While many DIY enthusiasts rush into screeding without proper groundwork, I’ve learned that meticulous surface preparation determines whether your floor will last decades or fail within months.
First, I roughen the concrete substrate using floor scabblers or shot blasters—this mechanical abrasion creates the texture needed for proper adhesion. Next, I remove all debris and dust with industrial vacuum cleaners, then lightly dampen the surface to suppress airborne particles. Early detection of subsidence issues can further ensure the longevity of your floors.
Oil and grease residues are deal-breakers, so I eliminate them with specialized cleaners. Before proceeding, I inspect for cracks or structural flaws and repair them immediately. After cleaning, I always rinse the surface thoroughly and ensure it’s completely dry before applying any screed mixture. This systematic approach guarantees your screed bonds properly rather than delaminating later—a costly mistake I’ve seen destroy countless floors.
Choosing the Right Screed Type for Your Project
Once you’ve properly prepared your substrate, selecting the appropriate screed type becomes your next critical decision. I’ll guide you through the options that matter most for your project.
For high-load areas like driveways, I recommend bonded screed at 25-40mm thickness. It bonds directly to your substrate using primer, delivering maximum structural stability. However, you’ll need meticulous surface prep to prevent de-bonding failures.
If you’re dealing with substrate movement or moisture concerns, unbonded screed over DPM works better at 50mm minimum thickness. It isolates your flooring from structural shifts. The higher sand-to-cement ratio in screed creates a smoother texture compared to traditional concrete, making it ideal for finishing applications.
For underfloor heating systems, flowing screeds excel. Cementitious variants self-level and distribute heat efficiently, while anhydrite options cure rapidly and accelerate your timeline. Both eliminate manual leveling headaches.
Mastering Mixing Ratios and Material Selection
Getting your mixing ratios right determines whether your screed performs for decades or fails within months. I always start with the proven 1:4 cement-to-sand ratio for standard applications—it’s your foundation for success. When you’re tackling heavy-duty industrial floors, bump that up to 1:3 for enhanced durability.
Sharp sand is non-negotiable for smooth finishes. I’ve seen too many projects fail because contractors cut corners with inferior aggregates. Remember that damp sand increases volume by 20%, so adjust your batching accordingly.
Water content is critical—stick to 0.5 parts water per 1 part cement. Too much water creates shrinkage cracks; too little prevents proper compaction. For specialized applications like underfloor heating, I incorporate polypropylene fibres to handle thermal movement. Modern machine-applied techniques have largely replaced traditional hand-laying methods for more consistent results. These fundamentals separate professional results from amateur disasters.
Proven Application Techniques for Even Distribution
The difference between professional-grade screeding and amateur work lies in your application technique—rush this stage and you’ll create expensive problems that haunt the project for years.
I always start pouring from the farthest corner, working systematically toward my exit. You can’t step on fresh screed, so plan your retreat route before you begin. I use a straightedge in sawing motions—no downward pressure needed. The key is overlapping each pass by 6-12 inches to prevent gaps.
When floating, I maintain a slight backward tilt on my blade and work systematically to eliminate air pockets. Don’t overwork the surface—this draws water up and weakens your screed. Check flatness every 2-3 meters with a straightedge, filling depressions immediately.
After application, protect the screed from rapid moisture loss during the critical curing phase, as this prevents cracking and ensures optimal strength development.
Proper Curing Methods and Flooring Compatibility Guidelines
While perfect application sets the foundation, improper curing can destroy even the most expertly laid screed—and I’ve seen contractors lose thousands because they rushed this critical phase.
I cover fresh screed with polyethylene sheets to trap moisture for even curing. Water curing through sprinkling prevents rapid evaporation, while membrane curing compounds create impermeable barriers. For time-sensitive projects, I use steam curing for accelerated hardening.
Drying times vary dramatically: traditional sand-cement screed dries at 1mm per day, while fast-drying screeds achieve 3-5mm daily. A 50mm layer needs 50 days minimum. Environmental factors like temperature and humidity significantly influence these drying timeframes and must be carefully monitored.
I verify dryness using electronic moisture meters—wood flooring requires below 2% moisture content, while ceramic tiles tolerate up to 75% RH. Never skip testing; flooring failure costs far more than patience.
Conclusion
I’ve covered the critical steps you’ll need for achieving professional screeded floors. Remember, there aren’t shortcuts here—thorough surface prep, correct screed selection, precise mixing ratios, methodical application, and proper curing are all non-negotiable. Skip any step and you’ll compromise the entire floor’s integrity. Follow these techniques consistently, and you’ll deliver floors that meet professional standards. The difference between acceptable and exceptional results lies in your attention to these technical details.
References
- https://www.underlay4u.co.uk/2023/12/23/how-screed-floors/
- https://cdnmedia.mapei.com/docs/librariesprovider59/line-technical-documentation-documents/laying-floor-screeds5782df7279c562e49128ff01007028e9.pdf?sfvrsn=c9db0005_0
- https://imixconcrete.co.uk/news/how-to-screed-a-floor/
- https://hardwoodfloorsmag.com/2021/08/02/tar-and-screed-wood-floor-installation/
- https://buildtecacoustics.co.uk/how-to-screed-a-floor-the-ultimate-guide/
- https://kmflowscreed.com/blog/a-detailed-step-by-step-guide-for-applying-screed-to-a-floor/
- https://www.floorscreedingcontractors.co.uk/how-to-paint-floor-screed/
- https://plastererdorset.co.uk/blog/how-do-you-prep-a-floor-for-screed/
- https://www.screedit.co.uk/how-to-screed-a-floor/
- https://www.ultratechcement.com/for-homebuilders/home-building-explained-single/descriptive-articles/a-guide-on-floor-screeding