I’ve worked on dozens of UK rendering projects, and I can tell you that most homeowners make costly mistakes because they don’t understand the technical requirements. From planning permissions that can halt your project to choosing the wrong render system for your property’s substrate, there’s a lot that can go wrong. Here are five essential tips I’ve learned that’ll save you thousands and guarantee your render performs for decades.
Key Takeaways
- Check property deeds and use UK Government Planning Portal tools before starting any rendering work.
- Choose appropriate render materials based on budget and performance needs, from cement (£45-£55/m²) to premium options (£65-£100/m²).
- Prepare surfaces thoroughly by removing dirt, algae, and damaged render before applying bonding agents.
- Integrate external wall insulation during rendering to improve energy efficiency and boost your EPC rating.
- Schedule annual professional cleaning and regular inspections to maintain render quality and prevent costly repairs.
Check Planning Requirements and Hire Professional Assessors

Before you begin any rendering project, you’ll need to determine whether your property requires planning permission or building regulations approval. I recommend checking your property deeds first for any restrictions, then using the UK Government Planning Portal tools to assess your specific situation. It’s also essential to understand your options for home extensions to ensure any rendering aligns with permitted development rights.
If you’re working on a listed building, property in conservation areas, or homes in National Parks and AONBs, you’ll need planning permission. Building regulations apply when rendering over 25% of external walls or installing first-time rendering.
Don’t navigate this alone – hire professional assessors who understand these requirements. They’ll determine necessary insulation standards, handle Building Control notifications, and guarantee your project meets compliance. You may also need to comply with specific RAL colours or British Standard colour requirements for your rendering project. Consider applying for a Lawful Development Certificate for written confirmation on ambiguous cases.
Choose the Right Render Material for Your Property
While planning requirements set the foundation for your rendering project, selecting the appropriate render material will determine your home’s performance, appearance, and long-term costs. I’ll guide you through the key options that suit different property types and budgets.
Cement render offers the most economical choice at £45-£55 per m², but it’s prone to cracking and requires frequent repainting. Lime render costs more (£60-£80 per m²) yet provides superior breathability for period properties and lasts 30+ years with proper maintenance. Proper insulation can enhance the effectiveness of these materials, leading to significant energy savings.
For modern applications, monocouche render delivers through-colored finishes at £55-£90 per m², eliminating painting needs for up to 10 years. Premium silicone and acrylic renders (£65-£100 per m²) offer exceptional durability, self-cleaning properties, and extensive color ranges, making them ideal long-term investments. Silicone renders are particularly noteworthy as they require less maintenance compared to other synthetic options while maintaining excellent breathability.
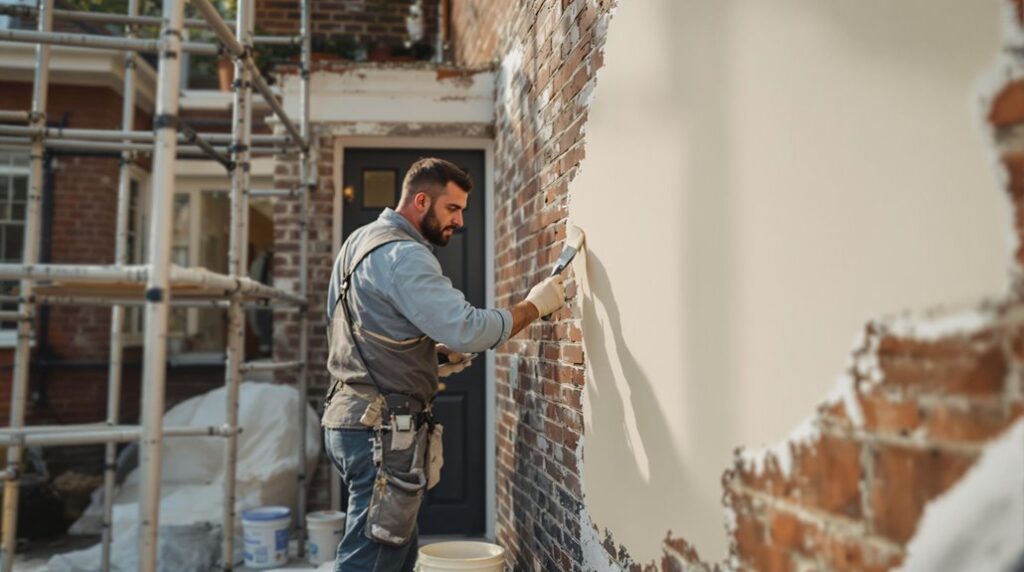
Follow Proper Application Techniques for Best Results
Once you’ve selected your render material, proper application techniques will make or break your project’s success. I’ll walk you through the essential steps that separate amateur work from professional results.
Surface preparation can’t be rushed. I always brush off dirt, algae, and dust, then remove any crumbling render completely. You’ll need to repair cracks in the underlying brickwork and apply bonding agent on smooth surfaces. Ensuring proper moisture ingress management during this phase is crucial to prevent future issues.
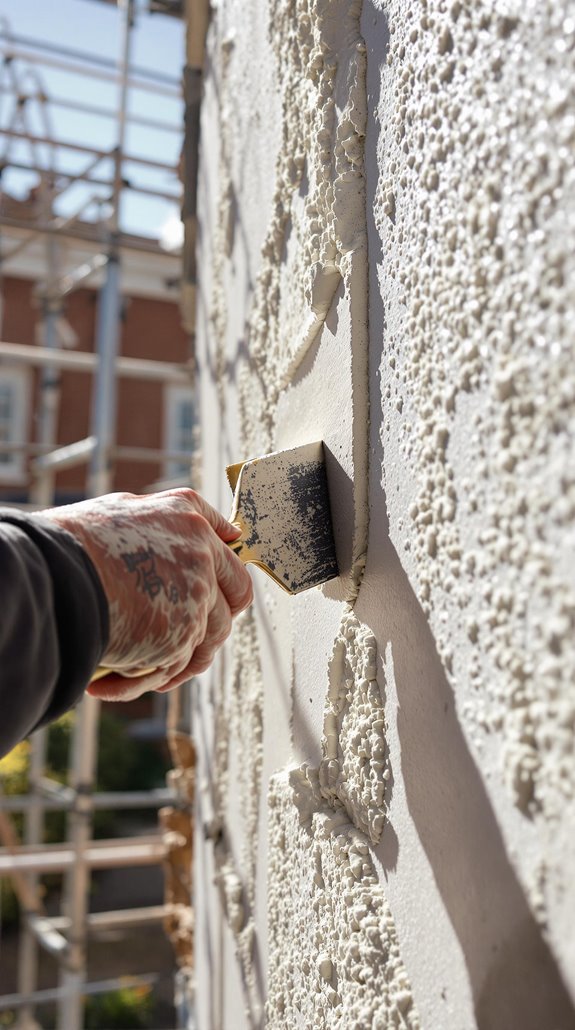
When mixing render, consistency is everything. Traditional cement render requires on-site mixing with sharp sand and cement, while polymer render comes pre-mixed in bags with added polymers to reduce cracking.
Application requires multiple coats. I apply the base coat with a metal trowel, score it while wet, then finish with a thinner top coat for appearance. Never attempt rendering during rain or frost conditions as this will compromise the curing process and lead to poor adhesion.
Integrate Energy Efficiency Upgrades During Rendering
Since you’re already investing in rendering your property, integrating energy efficiency upgrades during this process enhances your investment and delivers significant long-term savings. External wall insulation becomes seamlessly integrated beneath your render, addressing the 30% heat loss through uninsulated walls while potentially raising your EPC rating from D to C. This can also lead to a reduction in energy bills by 2025, making it a smart financial choice.
Install mounting brackets for solar panels during rendering to avoid future disruption. You’ll secure ideal positioning while panels reduce electricity bills by up to 50%. Seal gaps and cracks before applying render—this draught-proofing step prevents air leaks without additional expense.
Replace window and door frames when removing old render around openings. Energy-efficient replacements minimize thermal bridging. Finally, insulate any external pipes during the rendering process. Understanding your home’s current energy performance helps prioritize which upgrades deliver the greatest impact, as accurate evaluation of existing conditions ensures you select the most effective improvements for your specific property.
These combined upgrades qualify for Green Deal financing, making your home more efficient and valuable.
Plan for Long-Term Maintenance and Care
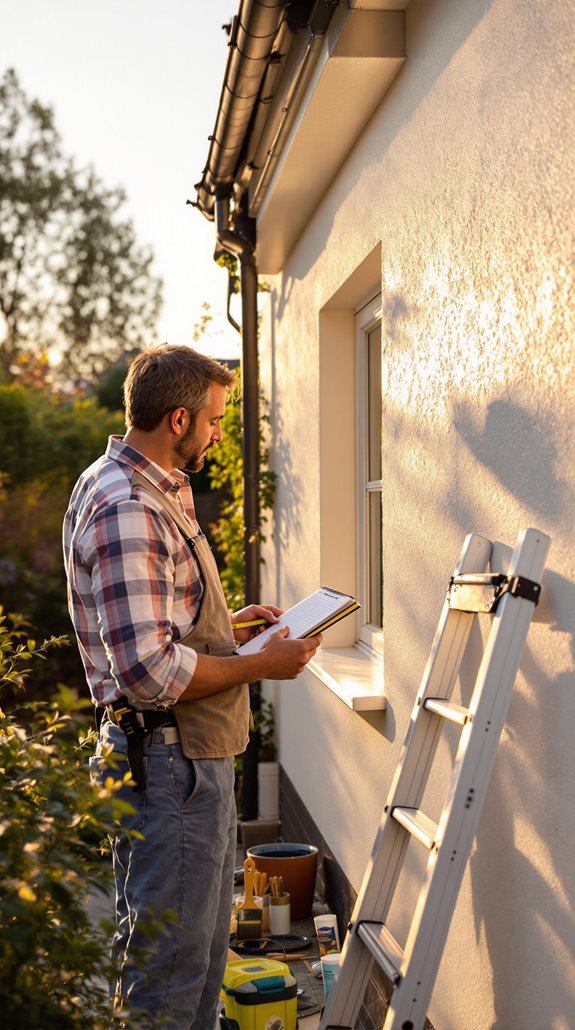
Your rendering project’s success extends well beyond the initial installation—establishing a thorough maintenance strategy protects your investment and prevents costly repairs down the line. I recommend scheduling annual professional cleaning to remove dirt and algae that cause long-term damage, especially in coastal areas where salt accelerates deterioration. Additionally, understanding the typical renovation costs associated with different materials can help you make informed decisions about your maintenance budget.
You’ll need to conduct regular visual inspections for cracks, damp patches, and surface irregularities. Address minor issues immediately—small cracks quickly become major problems requiring complete re-rendering. Check your local planning constraints before making repairs, as some areas have specific requirements.
Professional maintenance services understand proper cleaning techniques and repair methods for different render types. They’ll assess whether you need simple repairs or full re-rendering, helping you maintain building regulation compliance and preserve warranties. Remember that neglecting maintenance could result in voided warranties and potential financial responsibility for property owners when rendering failures occur.
Conclusion
I’ve covered the essential steps for successfully re-rendering your UK home. You’ll need to verify planning requirements, select appropriate render materials, master proper application techniques, incorporate energy efficiency measures, and establish a maintenance schedule. Don’t skip the surface preparation—it’s critical for adhesion. Use quality tools and follow manufacturer specifications for mixing ratios. Monitor weather conditions during application, and inspect annually for cracks or deterioration. Proper execution now prevents costly repairs later.
References
- https://www.fmb.org.uk/resource/house-render-what-you-need-to-know-before-you-start.html
- https://www.homebuilding.co.uk/advice/house-rendering
- https://www.youtube.com/watch?v=xCJnXnmD1TU
- https://total-trades.co.uk/blog/9-benefits-of-re-rendering-your-house/
- https://www.youtube.com/watch?v=-O5r4NhIwSI
- https://www.wprc-ltd.co.uk/latest-news/7-do-you-need-planning-permission-to-render-a-house
- https://corksoluk.com/help-articles/do-you-need-planning-permission-to-render-your-house/
- https://www.neverpaintagain.co.uk/blog/what-home-improvements-need-planning-permission/
- https://www.uk.weber/blog/tips-tricks/planning-permission-required-render-my-house
- https://corksoluk.com/help-articles/what-are-the-different-types-of-render/