I’ve spent years perfecting plasterboarding techniques, and I can tell you that the difference between amateur and professional results comes down to mastering just five critical areas. Most DIYers rush through the preparation phase, but that’s where your finish quality is actually determined. You’ll need the right tools, precise measuring skills, and specific taping strategies that contractors use to prevent those telltale cracks and bulges. Let me show you exactly where most projects go wrong.
Key Takeaways
- Use an 8×3 steel trowel for main application and progressively wider knives for compound layering to achieve smooth finishes.
- Install plasterboards horizontally perpendicular to joists, securing with drywall screws spaced every 20cm for professional stability.
- Apply even compound layer before embedding paper joint tape, pressing firmly to prevent air bubbles and cracking.
- Maintain workspace temperature between 55-70°F and use plaster retarder additive to extend working time for smoother results.
- Sand with medium grit (80-120) progressing to fine grit (150-220+), using wet sanding to reduce dust and create ultra-smooth surfaces.
Essential Tools and Materials for Professional Plasterboarding
When you’re tackling a plasterboarding project, having the right tools and materials makes the difference between a professional finish and a frustrating amateur attempt. You’ll need quality scrim tape to prevent cracking at plasterboard joints—this isn’t where you cut corners. I always keep plaster retarder additive on hand to extend working time for smoother finishes, especially on larger surfaces. In cold conditions, plaster accelerator additive becomes essential for speeding set time. Your trowel selection matters: an 8×3 steel trowel for main application, a 6×2 gauger for precision work, and a window trowel for tight spaces. Additionally, using essential tools like a plastering hawk to hold your mix and a reliable step ladder for accessing higher areas safely can greatly improve your efficiency. For specialized work, consider investing in a professional grade fresco plastering tool kit that includes essential tools like a notched scratcher trowel and wooden float for superior texture work.
Proper Measuring, Cutting, and Surface Preparation Techniques
Before you make your first cut, accurate measuring determines whether your plasterboard installation looks professional or reveals amateur mistakes at every joint. I’ll walk you through the measuring and cutting techniques that separate skilled DIYers from frustrated beginners.
Start by measuring wall height and width meticulously with your tape measure. Calculate required sheets by dividing total area by board square footage. Break irregular areas into smaller sections for precision. When marking, use a pencil with clear visibility and align your spirit level along marked lines for straight guides. Double-check every measurement against your initial readings to ensure accuracy, as mistakes can lead to costly issues.
For cutting, score straight lines with steady pressure using a sharp utility knife. Use a drywall saw for outlets and openings. Cut panels slightly oversized, then trim incrementally for perfect fits around obstructions. After cutting, smooth any rough edges with a rasp for a polished look that ensures clean joints.
Installation Methods for Seamless Plasterboard Application
Accurate measurements and precise cuts set the foundation, but proper installation techniques determine whether your plasterboard project achieves professional results or reveals obvious flaws.
I always install boards horizontally to minimize joints and speed up the process. Position sheets perpendicular to your joists or studs—this creates essential structural stability that separates amateur work from professional-grade installations. Regular inspections for structural integrity can also help identify potential issues before they arise.
For ceilings, verify board ends meet at joist centers to prevent sagging. I use packers at wall bases to elevate sheets for perfect alignment. Mark your stud locations directly on boards before starting.
Secure everything with drywall screws, not nails. Drive screws 10-16mm from edges, sinking them just below surface level without breaking the face paper. Space screws every 20cm for ceilings, following your substrate specifications for walls. Working solo requires a drywall lift to hold panels in position while you focus on proper screw placement.
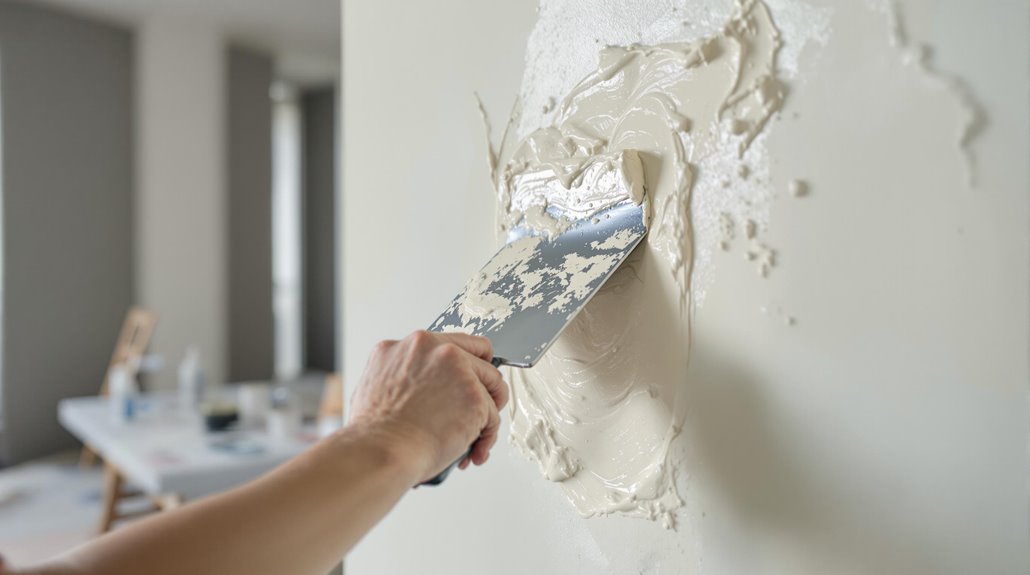
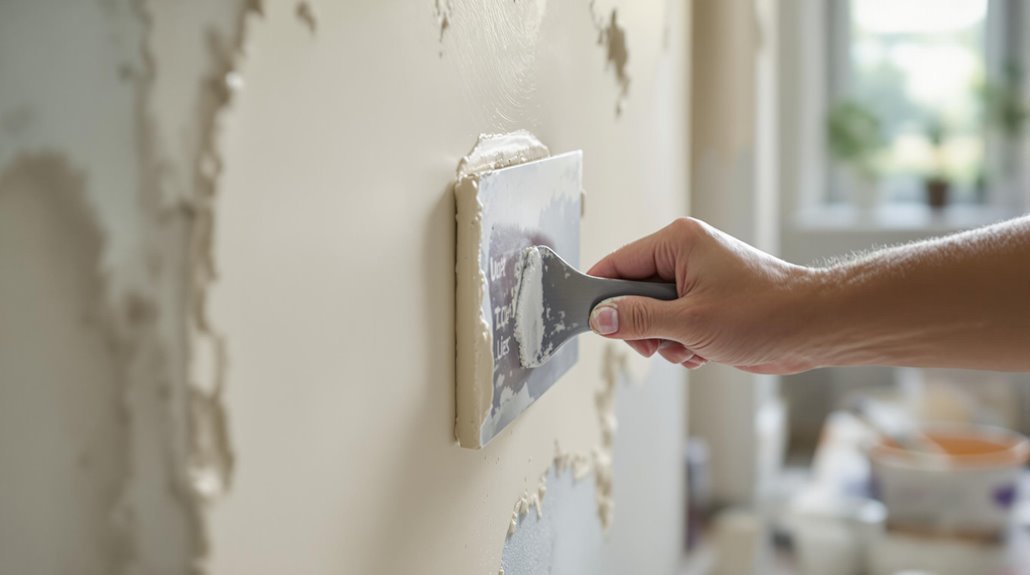
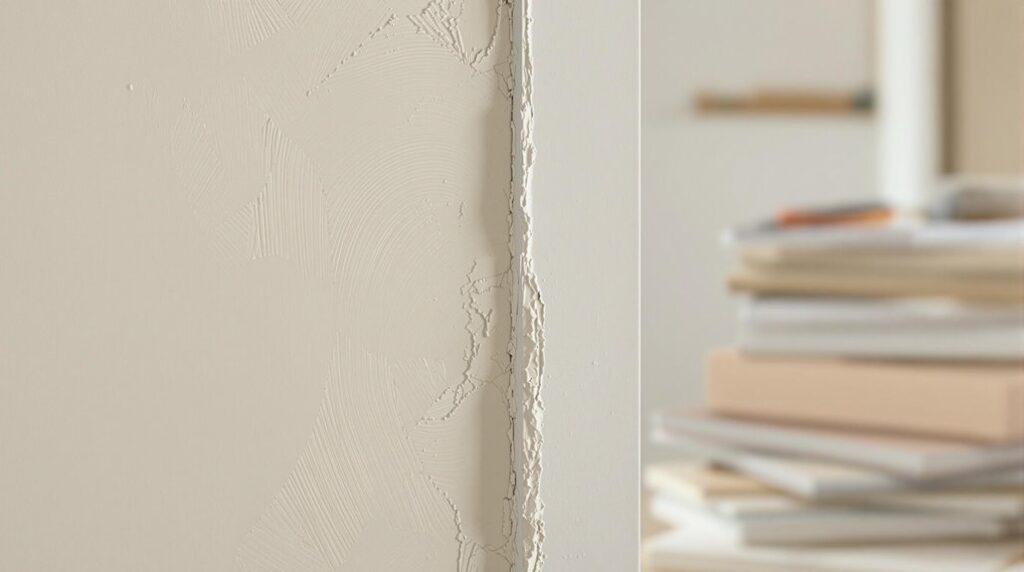
Taping and Jointing Strategies for Crack-Free Results
Three critical factors determine whether your plasterboard joints remain invisible long-term: tape selection, compound application technique, and environmental control during curing.
I always choose paper joint tape over mesh for its superior bonding strength and crack resistance. You’ll want to apply a smooth, even layer of compound 3-5 inches wide before embedding tape—this prevents air bubbles that’ll haunt you later. Center your tape over seams and press firmly with a 4-6″ knife, avoiding excessive pressure that creates starved joints. Additionally, using proper adhesive application techniques can help you achieve a smoother surface.
For compound layering, I use progressively wider knives (6″ to 12″) across coats, maintaining 1/16″ thickness per application. Allow 24 hours between coats—rushing this step guarantees failure. Keep your workspace between 55-70°F and guarantee proper ventilation without direct airflow on joints.
Before starting any work, ensure you have adequate lighting in your workspace to spot imperfections and achieve consistent results across all joints.
Finishing Touches: Sanding and Skim Coating for a Flawless Surface
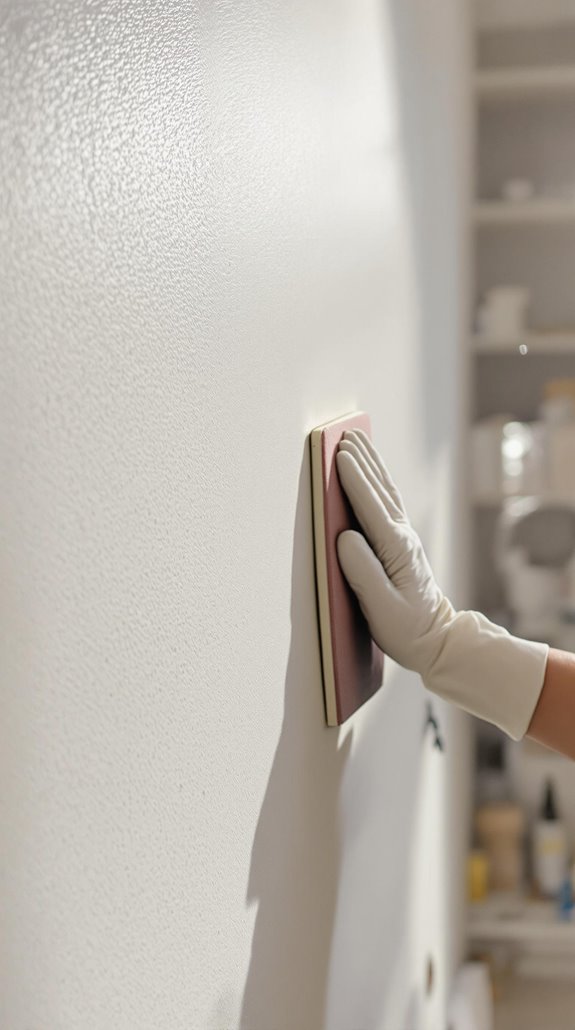
After your joint compound has fully cured, achieving a flawless finish depends on systematic sanding that removes imperfections without creating new ones. I’ll start with medium grit (80-120) sandpaper to smooth surfaces, then progress to fine grit (150-220+) for that polished look we’re after. It’s important to note that using high-quality materials and tools can significantly impact the final appearance of your work.
For corners and edges, I use flexible sanding sponges with light, circular motions—multiple gentle passes beat aggressive single attempts every time. When working tight spaces, dedicated corner blocks give me better control.
I recommend wet sanding for final coats. A damp sponge reduces dust by 90% while creating ultra-smooth finishes. Just rinse frequently and use light pressure to avoid water damage.
Always wear respirators and goggles—fine gypsum particles aren’t something we want in our lungs or eyes. When using power sanders, keep the tool constantly moving to prevent gouging or creating uneven spots on the surface.
Conclusion
I’ve covered the essential techniques you’ll need for professional plasterboarding results. Remember, precision in measuring and cutting prevents costly mistakes, while proper taping and progressive layering creates seamless joints. Don’t rush the sanding process—it’s what separates amateur work from professional finishes. With these methods, you’ll achieve that smooth, crack-free surface that’s ready for any decorative treatment. Practice these techniques, and you’ll master plasterboarding faster than you’d expect.
References
- https://drywalltoolsdirect.co.uk/blog/cutting-and-jointing-plasterboard-the-professional-way-expert-techniques
- https://www.primeplasterersexeter.co.uk/blog/tips-for-achieving-a-professional-finish-in-plasterboard-installation-uk/
- https://www.thisoldhouse.com/walls/21016981/how-to-plaster-a-wall
- https://www.finehomebuilding.com/forum/plastering-techniques
- https://www.youtube.com/watch?v=JnlluxHoNdQ
- https://frescoshop.com/classic/tools-and-equipment/fresco-plastering-tool-kit/
- https://ralphplastering.co.uk/plastering-tools/
- https://www.atlasstucco.com/blog/plastering-tools-guide/
- https://www.eazymix.co.uk/post/10-essential-plastering-tools-and-supplies-every-pro-should-keep-on-hand
- https://www.usg.com/content/dam/USG_Marketing_Communications/canada/product_promotional_materials/finished_assets/cgc-construction-handbook-ch14-tools-and-equipment-can-en.pdf