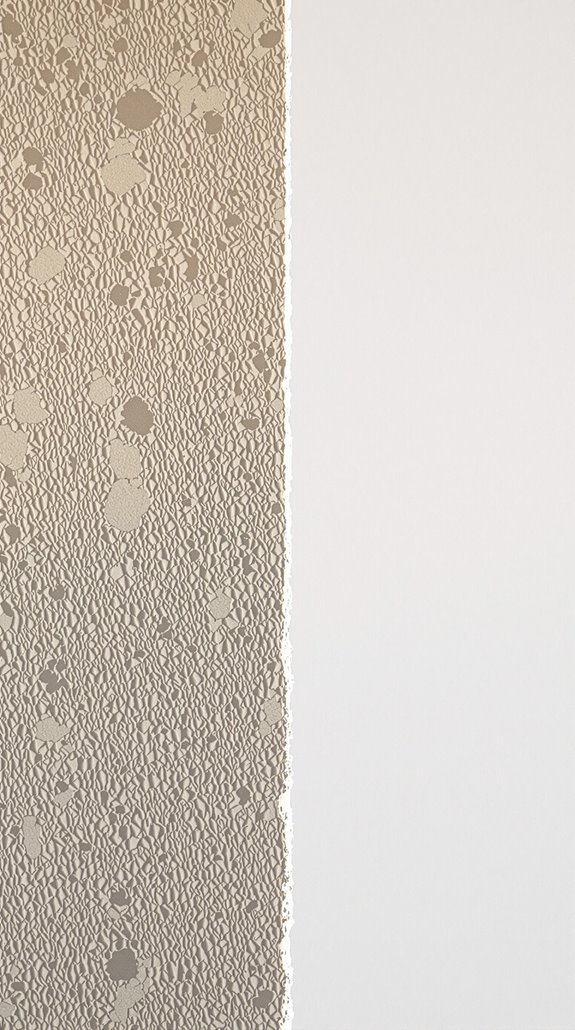
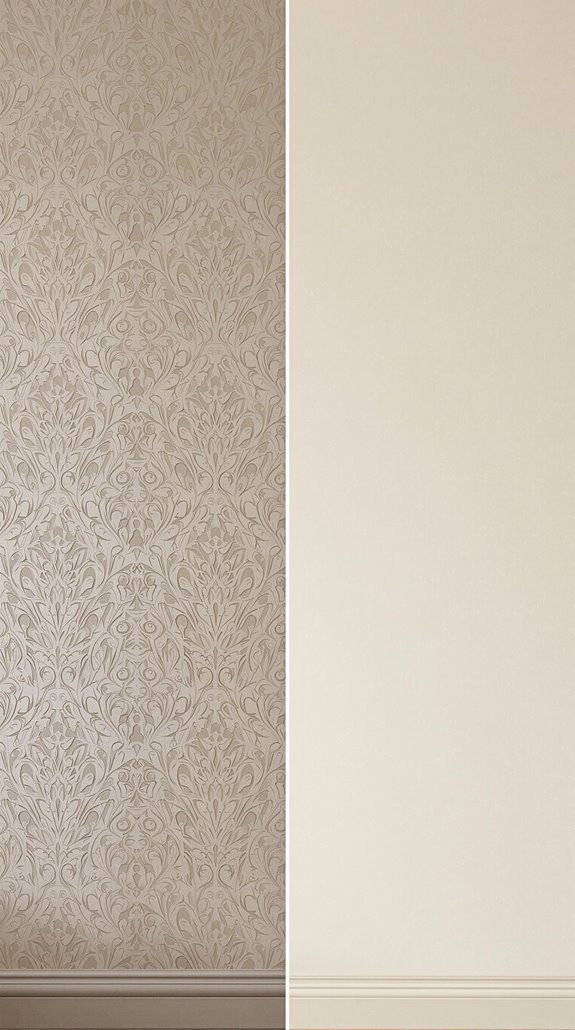
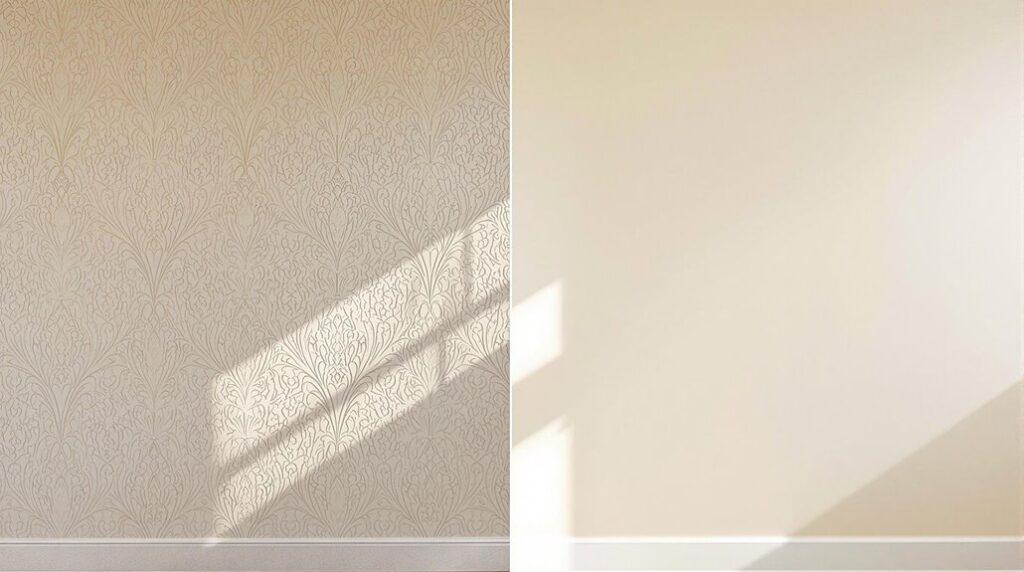
I’ve transformed dozens of rooms by painting over textured wallpaper, and I’ll show you the exact techniques that deliver professional results. The key lies in proper surface preparation, selecting the right primer formulation, and applying specific brush and roller methods designed for textured surfaces. Most homeowners skip critical steps that separate amateur attempts from stunning transformations. Before you grab that paintbrush, there’s one essential assessment you must complete to determine if your wallpaper can handle this process.
Key Takeaways
- Proper surface preparation with sugar soap cleaning and specialized primer creates the foundation for stunning transformation results.
- Oil-based primers prevent wallpaper adhesive reactivation while ensuring complete coverage into textured grooves and patterns.
- Glazing medium mixed with paint builds translucent layers that enhance texture depth and create dramatic visual effects.
- Strategic glaze application with heavier coverage in recesses and lighter on raised areas maximizes shadow play.
- Cross-hatch adhesion testing and angled lighting inspection ensure professional-quality results that last long-term.
Essential Preparation Steps for Textured Wallpaper Surfaces

Before you apply primer or paint to textured wallpaper, you’ll need to complete several critical preparation steps that determine your project’s success. I’ll walk you through the essential techniques that separate amateur results from professional-quality finishes.
First, clean your wallpaper surface using sugar soap solution and a clean cloth—don’t soak the paper. Rinse thoroughly and allow complete drying. Next, reattach any lifted corners or seams with specialized wallpaper adhesive, using a seam roller for tight bonding. Address bubbles immediately to prevent future peeling.
For wall imperfections, sand heavily textured areas and apply joint compound to fill holes and cracks. Use painter’s tape to mask trim and baseboards for clean, professional lines. Additionally, applying a high-quality primer is crucial for ensuring the paint adheres well to the surface. Finally, seal everything with oil-based or shellac primer, ensuring complete coverage into grooves and seams before proceeding.
Choosing the Right Primer and Application Techniques
While your textured wallpaper surface is now properly prepared, selecting the correct primer becomes the make-or-break factor that determines whether your paint job lasts years or fails within months.
I always choose oil-based primers for wallpaper projects—they won’t reactivate adhesives like water-based formulas. For older walls with repairs, I use Roman Products PRO-999 Rx-35 sealer primer to lock down porous substrates. When working with new drywall, PRO-977 Ultra Prime handles the job perfectly. It’s also essential to notice early signs of damp issues that may affect the wallpaper and paint over time.
Here’s my proven application technique: First, I cut in corners with a two-inch brush, then roll using a 9-inch roller with deep-pile sleeves. I apply in V-patterns to penetrate textured grooves, ensuring complete coverage. One coat with 24-hour drying time delivers ideal results.
The primer creates a sealed barrier that prevents moisture from reaching the wallpaper adhesive, which is crucial for preventing peeling issues down the road.
Professional Painting Methods for Textured Surfaces

Once your primer has fully cured, mastering specialized application techniques becomes essential for achieving professional results on textured wallpaper surfaces. I’ll guide you through glazing—the technique that separates amateur work from professional finishes.
Start by mixing your glazing medium with paint to achieve perfect translucency. You’ll build luminous depth through multiple transparent layers, allowing each coat to dry completely before applying the next. This patience pays dividends in the final result.
Here’s where technique matters: vary your glaze application by working heavier amounts into recesses while keeping raised areas lighter. This creates natural shadow play that enhances the wallpaper’s existing texture rather than fighting it. The glazing method proves particularly effective for altering mood and atmosphere of your painted surface.
The key is building layers gradually—each translucent coat adds richness without obscuring the dimensional qualities you’re working to highlight.
Quality Control and Final Inspection Guidelines
After completing your glazing work, systematic quality control becomes critical for validating your painted textured wallpaper meets professional standards. I’ll conduct cross-hatch adhesion tests using ASTM D3359 protocols to verify paint bonding. You’ll need angled lighting to inspect for texture telegraphing and inconsistent sheen patterns.
I test surfaces for tackiness by monitoring paint samples over three weeks, checking for plasticizer migration from vinyl substrates. Temperature and humidity documentation during application becomes essential for warranty compliance.
Your final inspection checklist includes validating uniform coverage without brush marks, confirming seamless trim integration, and testing color consistency across varying light conditions. Special attention must be paid to areas where textured wallpaper remains visible through the paint coating, as these imperfections can compromise the overall aesthetic quality. I’ll document material batch numbers and issue PDCA P9-compliant certification upon passing all quality benchmarks, ensuring your project meets professional finish standards.
When to Avoid Painting Over Wallpaper

Though painting over textured wallpaper might seem like a quick fix, I’ll identify critical scenarios where this approach leads to costly failures and compromised finishes.
I recommend avoiding this technique when your wallpaper shows visible bubbling, peeling edges, or loose seams—these defects amplify under paint layers. Don’t paint over vinyl or foil-backed wallpapers without specialty bonding primers, as standard latex paint won’t adhere properly.
Skip this method if you’re planning to sell your home; buyers view painted wallpaper as a red flag requiring future remediation. Avoid it in moisture-prone areas like bathrooms and kitchens where trapped humidity accelerates adhesive breakdown.
If you’re working with historical plaster walls or multiple wallpaper layers, removal becomes your only viable option for achieving professional results. Additionally, be aware that wallpaper patterns may show through paint, creating unwanted visual effects even with multiple coats.
Conclusion
I’ve outlined the critical technical steps you’ll need for painting over textured wallpaper successfully. Remember to test your primer adhesion with a small sample area first, use a high-quality angled brush for cutting in around texture peaks, and apply thin, even coats with your roller. Don’t skip the surface preparation—it’s where most DIY projects fail. Follow these systematic steps, and you’ll achieve professional-grade results that’ll transform your space completely.
References
- https://www.homebuilding.co.uk/advice/painting-over-textured-wallpaper
- https://pizzazzpainting.com/blog/painting-over-wallpaper-guide/
- https://spraytexpainting.com/articles/texture-painting-over-wallpaper-how-to-do-it-right
- https://www.youtube.com/watch?v=57mOqPIuic4
- https://www.houzz.com/discussions/590819/how-to-paint-over-textured-wallpaper
- https://www.dysonpainters.com.au/texture-painting-over-wallpaper-ideas/
- https://paintedpaper.com/blogs/news/how-to-wallpaper-textured-walls
- https://romandecoratingproducts.com/blogs/how-to/hang-textured-paintable-wallpaper
- https://www.miltonandking.com/blog/the-ultimate-guide-to-wallpaper-primer/
- https://www.thisoldhouse.com/painting/21331235/painting-wallpaper

