I’ve tackled countless narrow utility rooms across the UK, and I’ll tell you straight – most homeowners waste precious square footage without realizing it. Your long, skinny utility space isn’t a limitation; it’s actually an opportunity to create something remarkably efficient. The key lies in understanding how to manipulate vertical space, strategically position appliances, and implement storage solutions that work with your room’s unique proportions. Let me show you exactly how to transform your cramped utility area into a highly functional powerhouse.
Key Takeaways
- Install tall broom cupboards with internal compartments and door-mounted racks to maximize vertical storage in narrow spaces.
- Stack washing machines and dryers vertically with anti-vibration pads to reduce floor footprint and save space.
- Use wall-mounted fold-flat ironing boards and ceiling drying racks that tuck away when not needed.
- Install pocket doors or sliding panels instead of swing doors to eliminate wasted floor space.
- Create a “bootility” space combining utility and boot room functions with integrated deep sinks and designated zones.
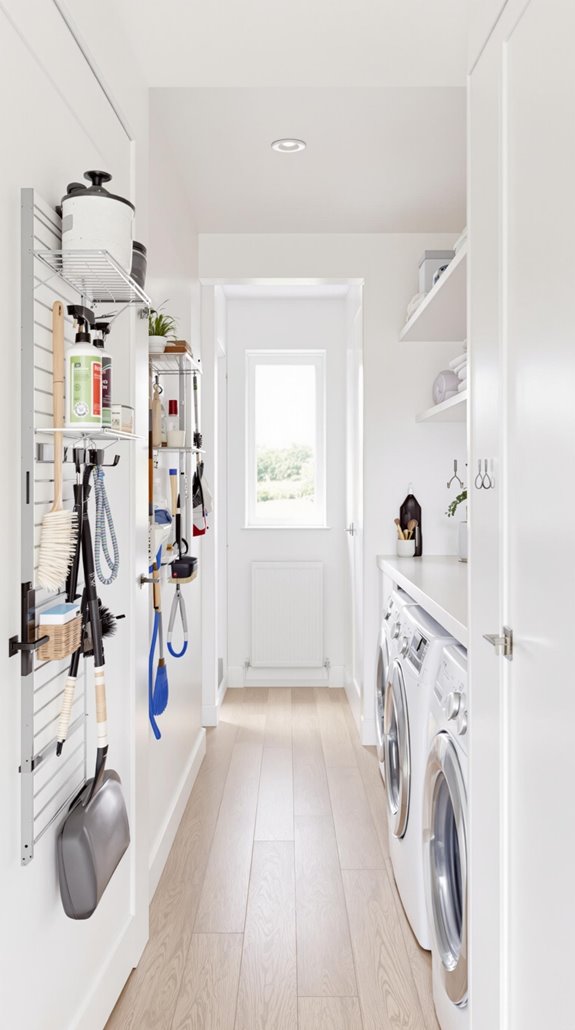
Maximizing Vertical Storage in Narrow Utility Rooms
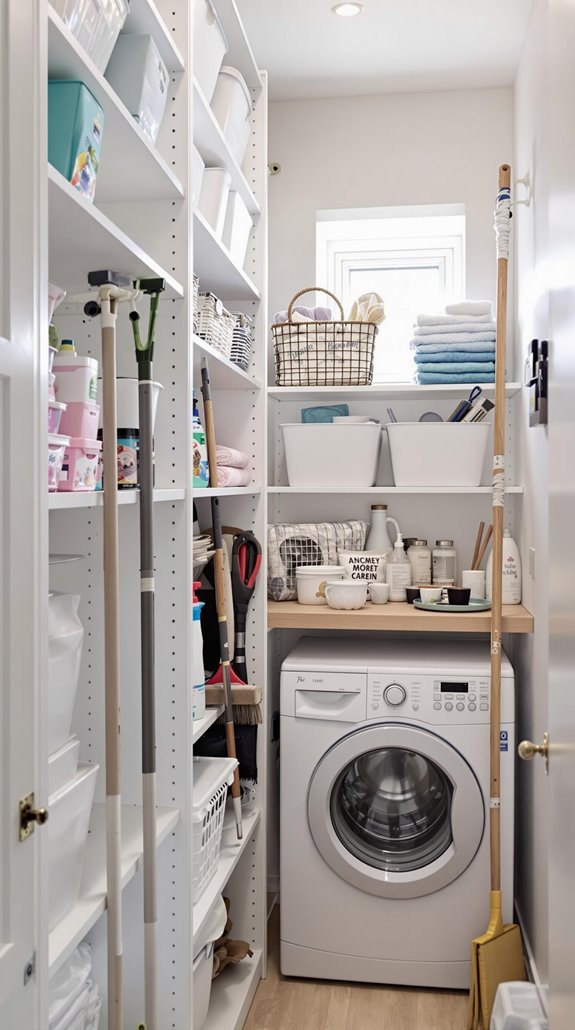
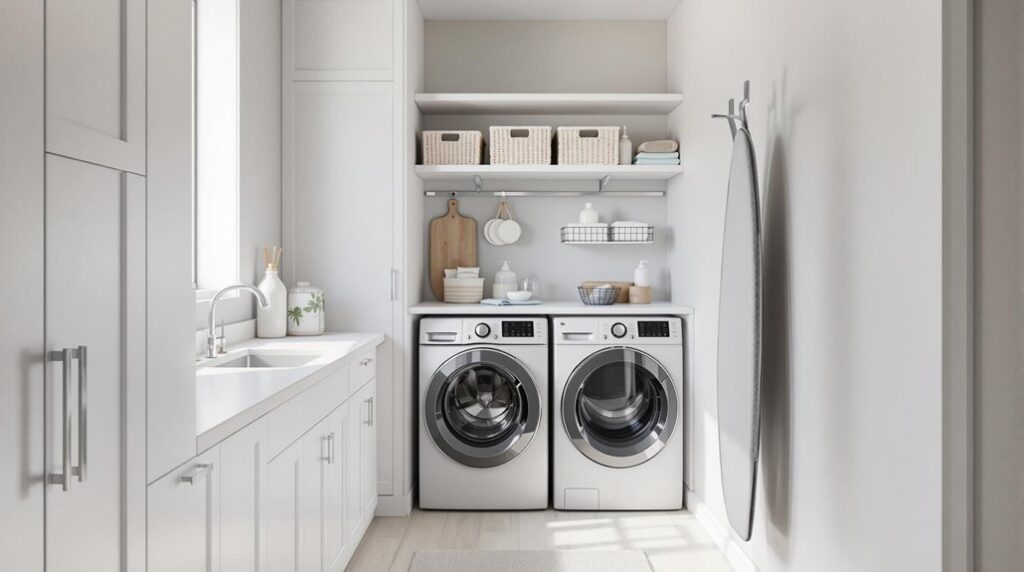
When working with a narrow utility room, vertical storage becomes your most valuable asset for creating functional organization without sacrificing precious floor space. I’ve found that tall broom cupboards efficiently house bulky items like ironing boards, vacuum cleaners, and step stools while maximizing your room’s height rather than width. You’ll want to incorporate internal compartments or hooks within these cupboards to organize smaller tools effectively. Additionally, consider integrating innovative design concepts that enhance both functionality and aesthetics in your utility space.
Consider installing door-mounted racks for sprays, cloths, and cleaning supplies—they won’t occupy valuable shelf space. Wall-mounted hooks hold brooms, dustpans, and hangers securely. For appliances, stacking your washing machine and dryer within bespoke tall cabinetry conserves floor area while maintaining accessibility. This approach keeps floors clear, enhancing movement throughout your narrow space.
Install pull-out shelving and organizing baskets to make accessing items stored in deep cupboards more efficient, preventing you from having to reach awkwardly into the back of narrow storage areas.
Clever Concealment Solutions for Clutter-Free Spaces
Beyond maximizing your vertical storage capacity, creating a truly functional utility room requires strategic concealment techniques that maintain clean sight lines while keeping everything accessible.
I recommend painting utility doors to match your adjacent cabinetry—this creates seamless visual flow that makes your space feel larger. You’ll want to recess door handles for flush surfaces that won’t interrupt sight lines. Additionally, consider incorporating creative strategies that can help you enhance your utility room’s functionality.
For flexible solutions, I suggest installing pocket doors or sliding panels that save precious floor space while providing quick access. Café curtains work brilliantly as lightweight partitions when you need temporary concealment. Transform underused alcoves or nooks into compact utility areas that maximize every inch of available space.
Consider positioning tall bookshelves or room dividers to mask unsightly routers and cables. Large potted plants strategically placed can block views of utility boxes while adding natural warmth to your hardworking space.
Space-Efficient Appliance Arrangements That Work
While concealment techniques create visual harmony, strategic appliance positioning forms the backbone of any high-functioning utility room. I’ll show you how to maximize your narrow space with proven arrangements that work.
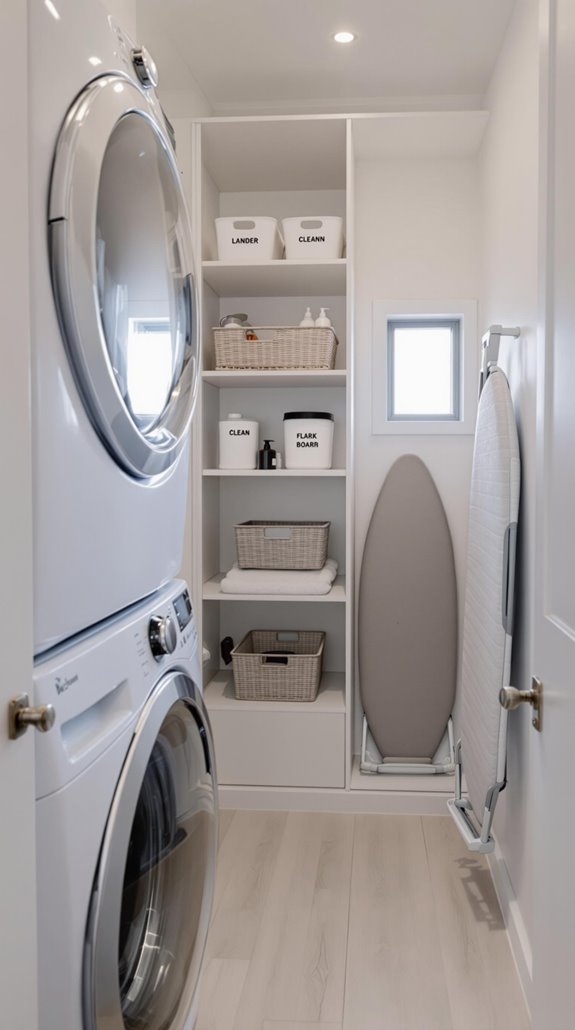
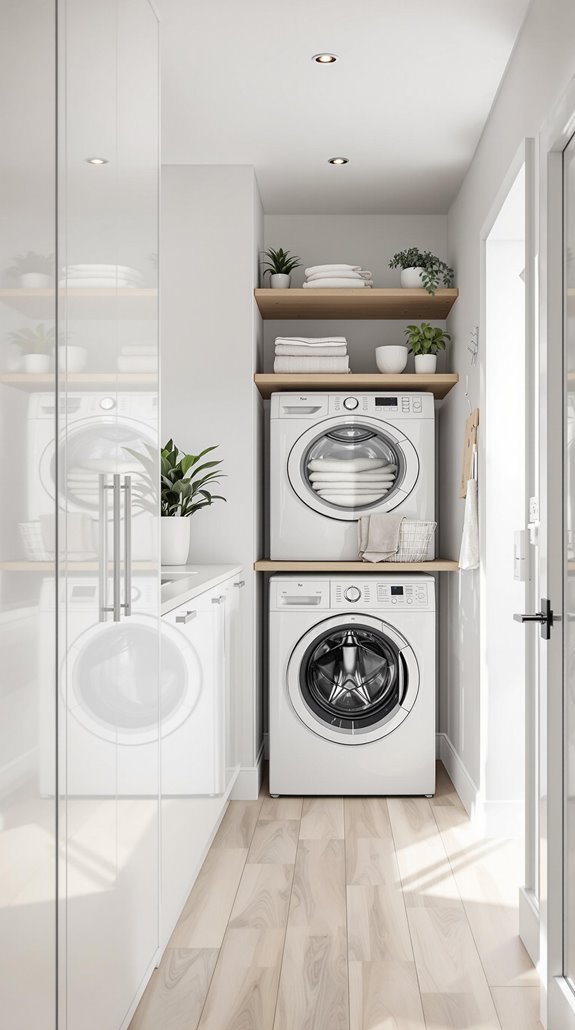
Stack your washing machine and tumble dryer vertically – this immediately halves your floor footprint. I recommend securing them with anti-vibration pads to prevent movement in tight quarters. Choose slimline models between 45-50cm width for the best fit. Incorporating budget-friendly tips can help you create a functional space without overspending.
Install pull-out shelves below your stacked units for seamless laundry transfers. Position your sink near the entrance so you can tackle muddy boots and outdoor gear immediately. Deep composite sinks (minimum 20cm) handle heavy-duty tasks brilliantly.
Mount ceiling drying racks overhead and add fold-down wall units above appliances. This three-dimensional approach transforms even the narrowest spaces into hardworking utility rooms. Consider installing pull-out trays between your stacked appliances to enhance sorting efficiency and maximize functionality in these tight quarters.
Creating Multi-Functional Zones for Maximum Utility
Once you’ve mastered efficient appliance placement, transforming your utility room into a multi-functional powerhouse requires strategic zone creation that serves multiple purposes simultaneously. I’ll show you how to designate specific areas for laundry, cleaning, and appliance overflow while maintaining seamless organization.
You’ll want to integrate a deep sink that handles everything from hand-washing delicates to cleaning muddy boots. I recommend combining your utility and boot room functions into a single “bootility” space—it’s brilliant for unified storage and mudroom capabilities. Add a comfortable seating area with a bench for folding laundry, and don’t forget a pet bathing station with tiled surfaces if you’ve got furry family members. This zoning approach maximizes every square inch while creating dedicated spaces for life’s messier moments. Additionally, consider the benefits of garage insulation for energy efficiency, which can further enhance the comfort of your utility room in colder months.
Consider incorporating retractable drying racks that can be pulled out when needed and tucked away when not in use, preventing your narrow space from feeling cluttered while providing essential drying capabilities.
Design and Color Strategies for Small Utility Rooms
Creating functional zones sets the foundation, but the visual design choices you make will determine whether your small utility room feels cramped or cleverly optimized. I’ve found that sage green creates an instantly calming atmosphere while making the space feel larger than it actually is. You’ll want to balance any daring cabinet colors with neutral walls—think vibrant red cupboards against crisp white surroundings. Additionally, understanding local market dynamics can be beneficial for optimizing the overall value of your property, even in smaller spaces.
Patterned floor tiles are your secret weapon here. They add personality while being incredibly durable and easy to clean. I recommend colour drenching—using one shade across walls, woodwork, and cabinetry—to create seamless flow. Gloss finishes reflect light beautifully, enhancing your room’s sense of space. Don’t forget that darker palettes cleverly disguise everyday dirt and wear.
When working with limited natural light, off-whites and soft neutrals provide a fresh, uplifting atmosphere that prevents the space from feeling closed in.
Layout Optimization Techniques for Long Narrow Spaces
Although narrow utility rooms present unique challenges, strategic appliance placement transforms these cramped corridors into efficient workspaces. I’ll position your washer and dryer width-wise rather than in a line along the wall—this breaks up the tunnel effect and creates better flow. Float your appliances away from walls when possible, maintaining 24-36 inches of clearance for safe operation. Additionally, creating distinct zones**** can enhance both functionality and aesthetics, making the space more user-friendly.
I recommend creating distinct zones using area rugs or lighting variations. Place your drying station near vents and position frequently used detergents within arm’s reach of machines. Install sliding doors to eliminate space-wasting door swings, and choose slim-depth appliances under 24 inches deep. Add mirrors on long walls to reflect light and make the narrow space feel wider and more open.
Before implementing changes, I suggest creating paper cutouts of your appliances to test arrangements on scaled floor plans—this prevents costly mistakes.
Door and Wall-Mounted Storage Solutions
When floor space runs short, vertical storage becomes your utility room’s greatest asset. I’ve found that wall-mounted shelving systems with integrated towel bars maximise both storage and hanging space efficiently. Door-mounted racks transform cabinet interiors into valuable storage real estate – perfect for cleaning supplies and laundry pods.
Installing heavy-duty hooks and rails keeps mops, brooms, and ironing boards off precious floor space. I particularly recommend specialised hooks like dog tail coat hooks for pet leashes and dedicated ironing board storage hooks for easy access.
Integrated wall cabinets with ventilated compartments handle wet items whilst concealing clutter. For ultimate space-saving, consider wall-mounted ironing boards that fold flat and drying racks that swing away when not needed. These solutions transform dead wall space into functional storage. Tall storage units with multiple shelves and drawers maximise vertical space in compact areas, creating a larger and cleaner appearance. Additionally, adding an extension over your garage can provide extra space for utility items, utilising every available area in your home.
Budget-Friendly Upgrades for Utility Room Transformation
Since utility room transformations don’t require breaking the bank, strategic budget-friendly upgrades can deliver maximum impact without compromising functionality. I’ll show you how to maximize your space efficiently.
Start with countertop alternatives like oak worktops at £180 instead of expensive quartz. Source second-hand materials from suppliers like Rehome for significant savings. For sinks, choose practical Belfast options at £231 paired with budget-friendly taps. Consider Karndean flooring starting at £29.99 per m² for a durable and easy-to-clean surface that’s perfect for utility rooms, ensuring a functional space that meets your needs.
Transform storage with the Habitat 3 Tier Slimline Caddy at £15. Apply wallpaper samples to cupboard interiors for stylish touches without high costs. Install peg rails for hanging reusable bags and tea towels, adding essential functionality.
These targeted upgrades create cohesive, functional spaces that work harder for your household while keeping costs manageable and results professional-looking.
Conclusion
I’ve shown you how to transform your narrow utility room into a highly functional space through strategic vertical storage, clever concealment, and efficient appliance placement. You’ll maximize every inch by creating multi-functional zones and implementing smart layout techniques. Don’t forget that wall-mounted solutions and budget-friendly upgrades can dramatically improve functionality without breaking the bank. Apply these space-saving hacks systematically, and you’ll create an organized, clutter-free utility room that works harder for you.
References
- https://www.countryliving.com/uk/homes-interiors/interiors/a64865520/budget-friendly-utility-room-hack/
- https://www.tomhowley.co.uk/utility-room-ideas/
- https://www.homebuilding.co.uk/ideas/utility-room-ideas
- https://www.livingetc.com/ideas/small-laundry-room-ideas
- https://www.ikea.com/us/en/rooms/laundry/
- https://www.goodhomesmagazine.com/kitchens/how-to-fit-a-mini-utility-room-into-even-the-smallest-space/
- https://www.idealhome.co.uk/utility-room/utility-room-ideas/narrow-utility-room-ideas-274987
- https://www.homebuilding.co.uk/ideas/narrow-utility-room-ideas
- https://washtower.co.uk/en_GB/blog/how-to-organise-a-small-utility-room-with-washtower-s-cabinets/
- https://www.homebuilding.co.uk/ideas/hidden-utility-room