
I’ll show you how to strip wallpaper using nothing more than water-based solutions you’ve got at home right now. After tackling countless wallpaper removal projects across different UK homes, I’ve discovered that the right water mixture and technique can save you hours of frustration and expensive equipment costs. You don’t need steam strippers or harsh chemicals when you understand which solution works for your specific wallpaper type and how to apply it properly.
Key Takeaways
- Score wallpaper surface with a PaperTiger tool, then apply hot water mixed with vinegar or dish soap using spray bottles.
- Work in 3×3 foot sections, soaking paper for 15-20 minutes and covering with plastic sheeting to prevent evaporation.
- Start scraping at seams using a putty knife held at 30-degree angle with gentle, controlled strokes to avoid wall damage.
- For stubborn vinyl wallpaper, score first then use soapy water solution; reapply liquid when backing layers become exposed.
- Remove adhesive residue with damp cloth after scraping, then fill holes with spackling paste before sanding smooth.
Essential Tools and Room Preparation Before You Begin
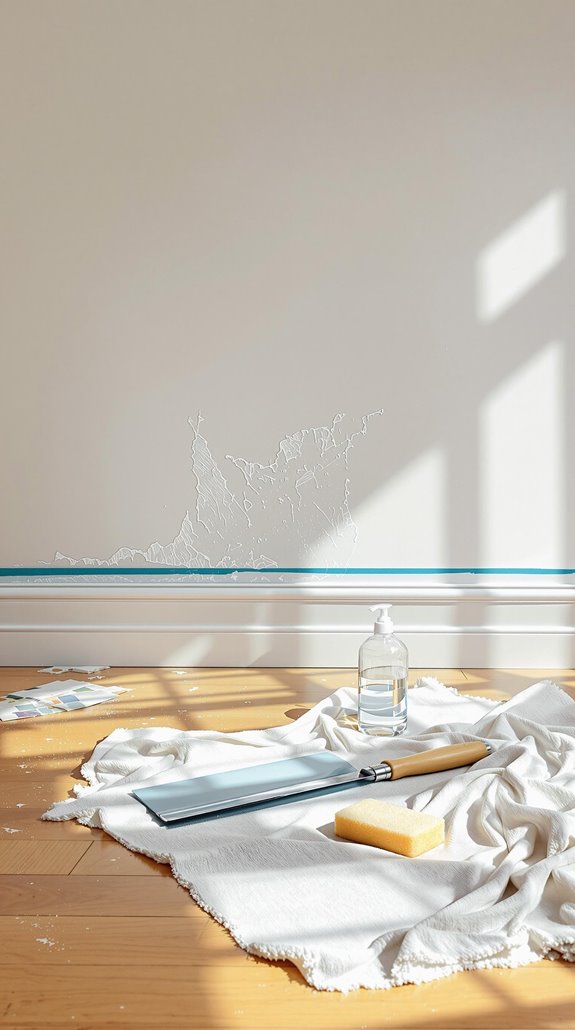
Before you start peeling away that first strip of wallpaper, you’ll need the right tools and a properly prepared workspace. I’ll walk you through exactly what you need to gather before diving in.
Your essential toolkit includes a scoring tool for perforating the wallpaper, allowing water to penetrate effectively. You’ll need a sponge and bucket for applying water or wallpaper stripper solution, plus a putty knife or scraper for lifting stubborn pieces. If you’re tackling particularly stubborn wallpaper, consider renting a wallpaper steamer – it’s a game-changer for thick or multiple layers. Don’t forget your protective gear – gloves and safety glasses are essential to protect your skin and eyes from chemicals and debris.
Protect your space by laying dust sheets across the floor and covering furniture with plastic sheeting. Remove wall fixtures and switch off electricity at the mains for safety. This preparation saves hours of cleanup later.
Mixing Effective Water-Based Solutions for Different Wallpaper Types
While having the right tools matters, choosing the correct solution makes the difference between effortless removal and hours of frustrating scraping. I’ll share the proven mixtures that work for each wallpaper type you’ll encounter.
For standard paper wallpaper, I mix equal parts white vinegar and hot water. This breaks down water-soluble adhesives effectively. If you’re dealing with vinyl or coated surfaces, score them first, then add two tablespoons of liquid dish soap per gallon of hot water for better penetration.
Heavy-duty or textured wallpaper requires my stronger blend: one cup vinegar, three cups hot water, and quarter-cup borax. Commercial wallpaper strippers with patented enzyme action can significantly reduce scraping effort compared to these homemade solutions. For delicate plaster walls, I dilute fabric conditioner at a 1:5 ratio with water to prevent damage.
Proper Application Techniques for Maximum Coverage
Once you’ve prepared your solution, the application method determines whether the wallpaper peels off in satisfying strips or fights you every inch. I’ll share the techniques that actually work.
For spray bottles, I set the nozzle to fine mist and maintain 6-8 inches from the wall. I target 3×3 foot sections, preventing that frustrating runoff we’ve all experienced.
With sponges or synthetic brushes, I apply vertical strokes overlapping by one inch until the paper glistens without pooling. Here’s my game-changer: I always tackle seams and edges first, lifting them with a putty knife before injecting solution behind.
The magic happens during the 15-minute dwell time. I cover treated sections with polythene to prevent evaporation, then test corners before scraping. Using excessive force can damage your walls and create dents or punctures that require additional repairs.
Soaking Times and Penetration Methods That Work
Getting that solution through the wallpaper layers requires the right water temperature and timing. I’ll share what actually works from my experience stripping countless walls.
Use the hottest water you can handle – it creates steam-like effects that loosen adhesive layers dramatically faster than cold water. Score the surface first with a PaperTiger tool to create penetration points for your solution.
Apply from top to bottom, letting gravity work with you. I recommend 15-20 minutes initial soaking time for most wallpapers, but stubborn adhesives need up to 30 minutes. Don’t exceed this timeframe – you’ll risk wall damage.
Add white vinegar to your water for enhanced breakdown. Reapply immediately when you expose backing layers to prevent the glue from re-setting. Using a combination of tools can significantly enhance your removal process and make the job more efficient.
Safe Scraping Strategies to Avoid Wall Damage

After your wallpaper has soaked properly, the scraping phase demands careful technique to protect your walls from gouges and tears. I’ll share the methods that work best for us DIY enthusiasts.
Start at seams or corners where the paper lifts naturally. Hold your scraper at a 30-degree angle and use smooth, controlled strokes rather than aggressive jabbing motions. Gentle pressure is your friend here – if you’re meeting resistance, the paper needs more soaking time.
For drywall, I’m extra cautious since it damages easily. Plaster walls can handle slightly more pressure, but I still keep my touch light. When small pieces stick stubbornly, I use my stripping knife with patience rather than force.
Clean your wall afterward with a damp cloth to remove any remaining adhesive residue. For particularly stubborn paste that won’t budge, apply wallpaper stripper solution and let it sit according to the product instructions before scraping again.
Tackling Stubborn Areas and Multiple Paper Layers
Some wallpaper installations present unique challenges that require a more aggressive approach than standard soaking and scraping. When you’re dealing with stubborn areas, I recommend scoring the surface first to create perforations for better water penetration. For tough cases, I’ve found success using a formula that combines vinegar, baking soda, and fabric softener in hot water.
Multiple layers demand patience and repeated applications. You’ll need to remove each layer individually, scoring and soaking as you go. Don’t rush this process – it’s better to apply your solution multiple times than risk damaging your walls with excessive force.
Focus on small sections at a time, keeping the paper consistently wet. After applying your solution, wait a few minutes before attempting to peel the wallpaper to allow proper soaking time. Remember, we’re all learning together, and even experienced DIYers encounter challenging wallpaper that tests their skills.
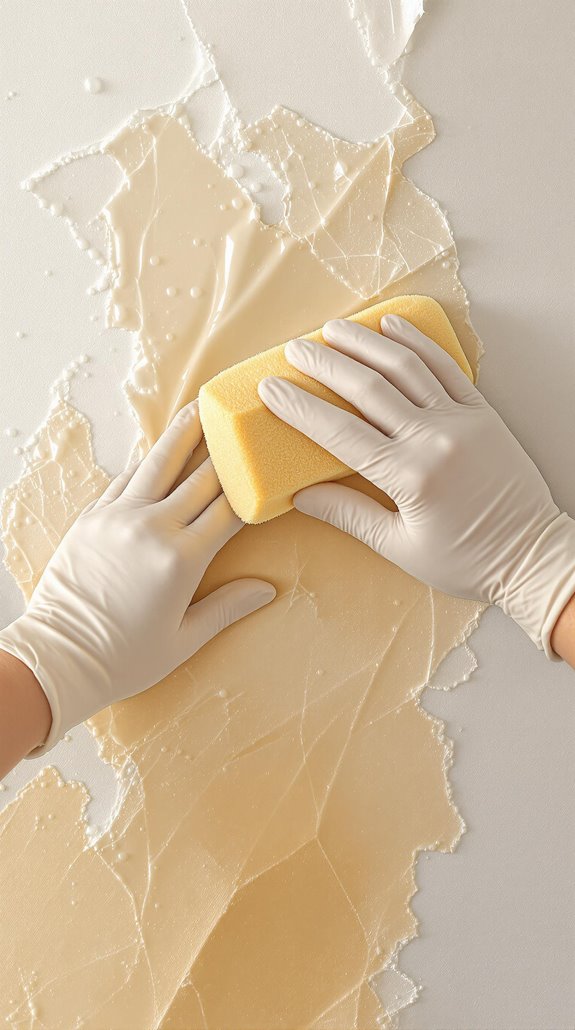
Complete Wall Cleaning After Paper Removal

Once you’ve conquered those challenging wallpaper sections, you’ll face walls covered in adhesive residue that must be completely eliminated before any new wall treatment. I’ll rehydrate stubborn glue using white vinegar, dish soap, and warm water, then scrape upward with my putty knife. For persistent areas, I apply commercial removers like Dif or mix ¼ cup vinegar with 2 cups warm water. Using a dehumidifier can also help in this process by reducing humidity levels and allowing the adhesive to loosen more effectively.
I scrub small sections with Dobie sponges, targeting hazy patches that indicate leftover adhesive. Light sanding with fine-grit paper removes residual bumps, while sanding sponges work perfectly on textured surfaces. I test cleaned areas by running water over them—stickiness reveals missed glue. After addressing every sticky spot, I allow 24 hours drying time before moving forward.
The final step involves washing the wall with hot water and a strong cleaner to ensure proper paint adhesion for your new wall treatment.
Final Steps Before Painting or Re-Papering
With your walls now completely clean and free from adhesive residue, I’ll turn my attention to the final preparation steps that guarantee a professional-quality finish.
First, I’ll inspect every inch for holes and cracks left behind from the stripping process. Using my putty knife, I’ll apply spackling paste to fill these imperfections, pressing firmly to confirm complete coverage. After letting it dry completely, I’ll sand these areas smooth with fine-grit sandpaper.
Next, I’ll sand the entire wall surface with fine-grit sandpaper. This creates the perfect texture for paint or new wallpaper to adhere properly, and it’s crucial to ensure compatibility with the chosen plaster type. I’ll work systematically from top to bottom, ensuring I don’t miss any spots. I’ll also use dust sheets to protect my floors from any debris that falls during the sanding process.
These final touches transform your stripped walls into a flawless canvas ready for whatever decorative finish you’ve chosen.
Conclusion
I’ve covered the complete water-based wallpaper stripping process from start to finish. You’ll find success depends on patience—don’t rush the soaking times. I recommend testing your solution on a small corner first, then working systematically across each wall. Keep your putty knife sharp and scrape at shallow angles to protect the surface. Once you’ve cleaned the walls thoroughly, you’re ready for whatever decorating project comes next.
References
- https://www.realhomes.com/advice/how-to-remove-wallpaper
- https://www.oliveandjunehome.com/blog/3-ways-to-remove-wallpaper
- https://www.diy.com/ideas-advice/how-to-remove-wallpaper/PROD_npcart_100451.art
- https://zinsseruk.com/how-to-guides/how-to-strip-wallpaper
- https://www.duluxdecoratorcentre.co.uk/blog/how-to-remove-wallpaper
- https://simplehomely.uk/wallpaper-removal-tips/
- https://www.couchdesign.co.uk/how-to-strip-wallpaper-without-damaging-plaster/
- https://www.johnlewisfinance.com/insurance/home-insurance/removing-wallpaper-for-beginners.html
- https://zinsseruk.com/products/dif-wallpaper-stripper/
- https://www.decoratingcentreonline.co.uk/blogs/news/how-to-remove-wallpaper-without-a-steam-stripper