I’ve watched countless DIY enthusiasts tackle plaster smoothing only to end up with walls that look worse than when they started. The difference between a professional finish and an amateur disaster isn’t just skill—it’s understanding the precise timing, technique, and tools that make all the difference. Most people get the basics wrong from the very beginning, which means their walls are doomed before they even pick up the trowel. Let me show you exactly where they go wrong.
Key Takeaways
- Use 11.5-12.5 liters of cold water per 25kg bag, mixing to custard-like consistency with paddle mixer.
- Apply base coat in 2mm layers starting top-left, working systematically across the wall with minimal pressure.
- Begin smoothing 15-20 minutes after application when surface loses wet shine and shows slight finger impression.
- Sand trowel marks between coats and apply thin skim coat for flawless finishing, avoiding thick applications.
- Maintain 10-25°C temperature during application and allow 24 hours drying time between coats for optimal results.
Essential Tools and Materials for Professional Plaster Smoothing
Achieving professional-quality plaster smoothing demands the right arsenal of specialized tools and materials. I’ll guide you through the essential equipment that separates amateur attempts from polished results.
Your primary toolkit includes a standard plastering trowel for initial application, complemented by a medium flex trowel for detailed work. A float creates even surfaces, while a darby guarantees proper leveling across larger areas. Don’t overlook the plastering hawk for efficient material transport.
For precision finishing, you’ll need a water brush to control moisture levels and a quality scraper for removing imperfections. Joint rule and rake tools deliver consistent, straight edges throughout your project. A featheredge provides the control necessary for detailed work around corners and changes. A render scratching float creates an ideal key for topcoats, ensuring proper adhesion between layers. Additionally, understanding the characteristics of lime plaster can help you select the best finish for your specific project.
Finally, make certain you have mixing buckets and a reliable mixer for consistent plaster preparation.
Mixing Plaster to Perfect Consistency
While proper tools set the foundation for smooth plaster work, your success ultimately depends on mixing plaster to the exact consistency that transforms powder into a workable medium.
I always start with precise measurements—11.5 to 12.5 liters of clean, cold water per 25kg bag. I pre-fill my marked bucket with water before adding plaster, then use my paddle mixer at medium speed for 2-3 minutes. The goal is that perfect “custard-like” consistency where the mix clings to your trowel without dripping. Achieving this creamy consistency ensures your plaster remains lump-free and workable throughout the application process.
I test by lifting my trowel—if it holds its shape but spreads easily, I’ve nailed it. When adjustments are needed, I add small increments of plaster to thicken or water to thin, then briefly re-mix. This technique guarantees consistent, workable plaster every time.
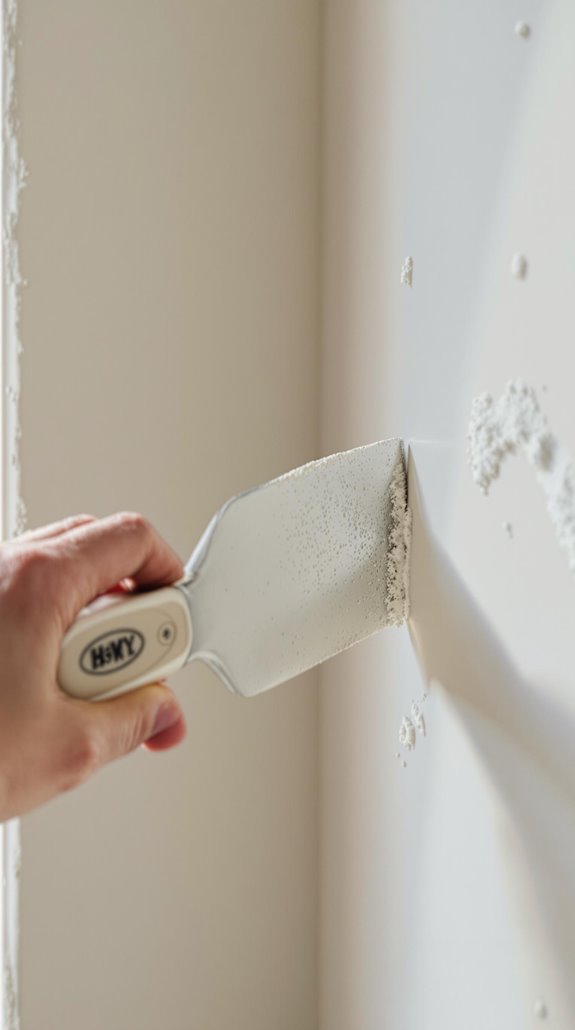
Preparing Your Walls and Equipment
Three critical steps separate amateur from professional plaster work: thorough wall preparation, proper equipment setup, and systematic priming. I’ll strip away all wallpaper and loose material using a metal scraper, then clean surfaces with baking soda solution. After filling cracks flush and sanding smooth, I’ll lay protective sheets and cover furniture while ensuring proper ventilation. It’s also essential to ensure that all renovations comply with local regulations to avoid potential issues later on.
My essential toolkit includes a stainless steel trowel, hawk board, bucket trowel, and power mixer on low speed. I’ll apply diluted PVA primer in two coats—first at 4:1 water ratio, letting it dry completely. The second coat goes on until tacky, not dry. I’ll verify wall temperature stays between 10-30°C and confirm everything’s dust-free before mixing plaster. For beginners, dry lining offers an easier alternative to traditional plastering by simply attaching plasterboard for a smooth finish.
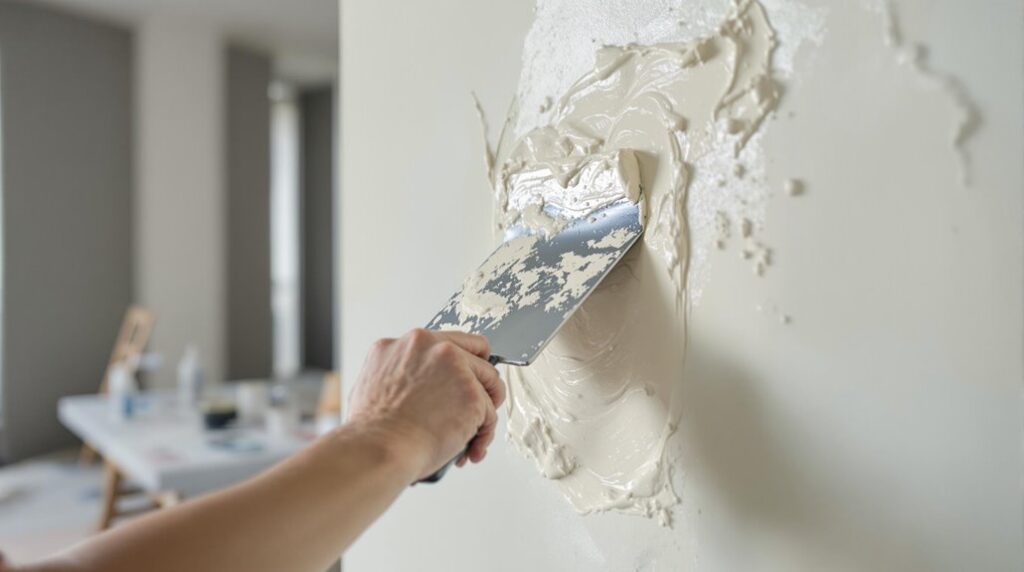
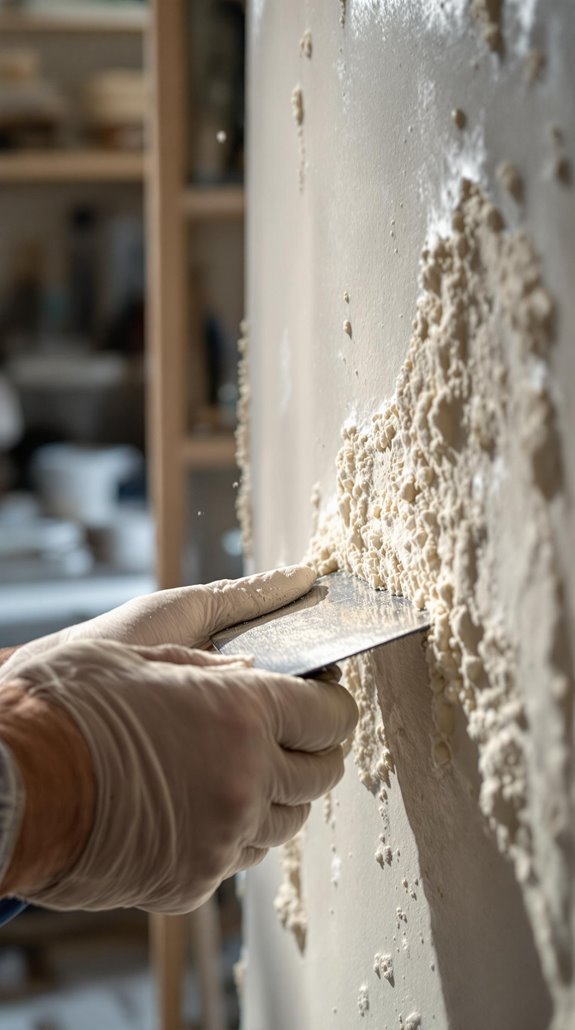
Applying the Base Coat Layer
After your walls and equipment are properly prepared, the base coat application becomes the foundation that determines your entire plaster job’s success. I’ll start mixing bonding or browning plaster powder with water until it reaches a creamy, yogurt-like consistency. Using my paddle mixer, I guarantee there’s no lumps—never add water to plaster, always plaster to water.
I begin in the top left corner, working left to right across the wall’s upper half, then return left and work upward from bottom to meet the midpoint. I’m applying each layer at 2mm thickness with minimal pressure, avoiding grooves or air bubbles. I’ll vary the direction and pressure of my trowel strokes to create subtle depth and texture that enhances the plaster’s natural beauty. Additionally, it’s crucial to fill any hairline cracks before applying the base coat to ensure a smooth finish. Two coats minimum are essential, totaling 12mm-15mm thickness. I’ll allow 24 hours drying between coats, sanding lightly to eliminate any bumps before proceeding.
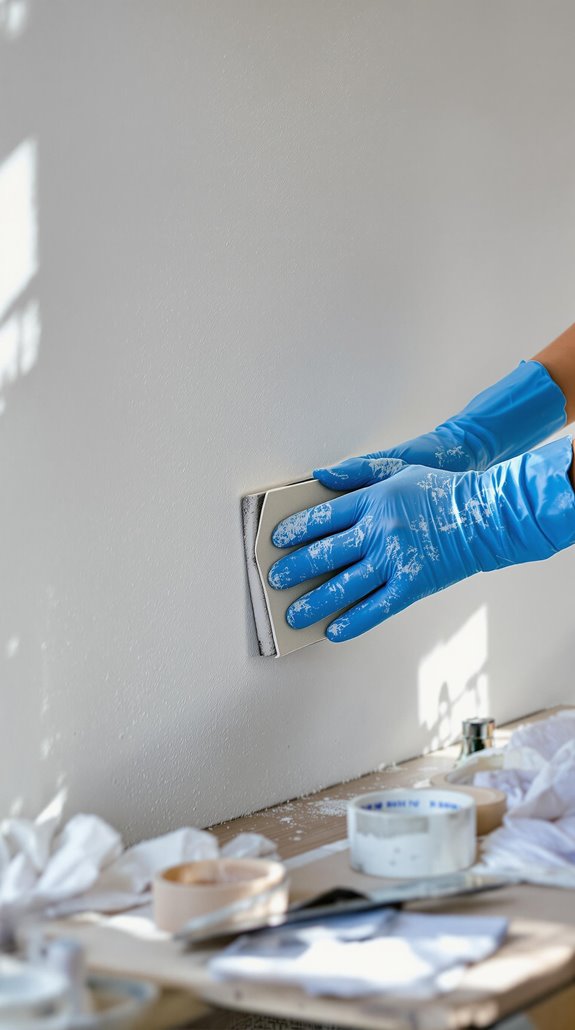
Timing Your First Smoothing Pass
Once your base coat reaches the critical shift point between wet and firm, you’ll have a narrow window to execute your first smoothing pass successfully. I typically begin after 15-20 minutes under standard conditions, though humidity above 60% extends this by 5-10 minutes. Watch for key indicators: the surface loses its wet shine but remains dark-colored, finger touch leaves slight impression without material transfer, and there’s no water pooling. Proper timing can significantly enhance your energy efficiency, which is a crucial aspect of home improvements.
Temperature greatly impacts timing—cold conditions below 15°C slow setting, while direct sunlight accelerates it by 2-3 minutes per 5°C increase. High ventilation reduces your working window by 30%, so adjust accordingly.
Complete your entire wall within 10 minutes once you’ve identified the ideal timing. Missing this window creates irreversible surface defects that’ll compromise your finish. Use fine-grit sandpaper to address any minor imperfections after the plaster has completely dried.
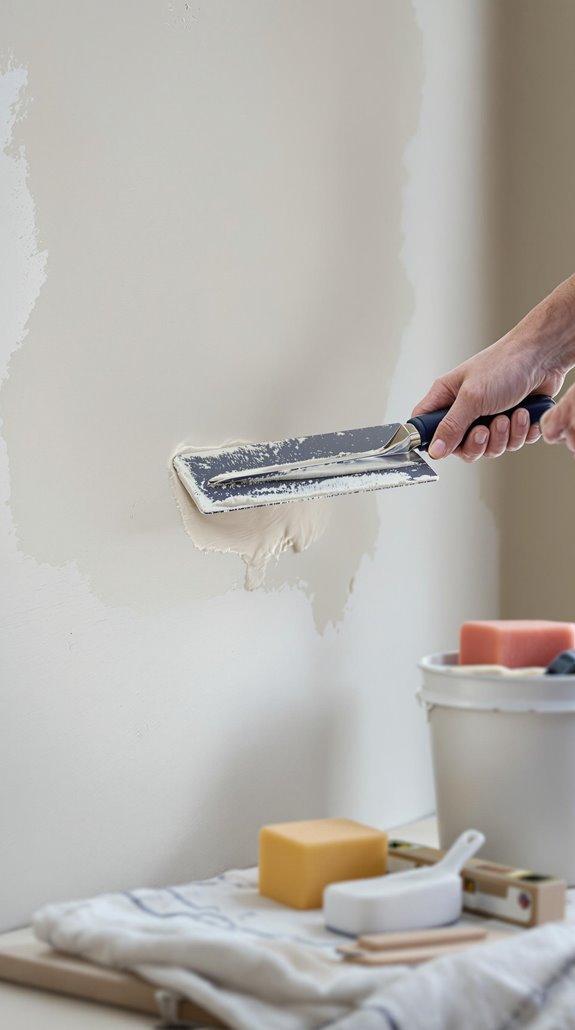
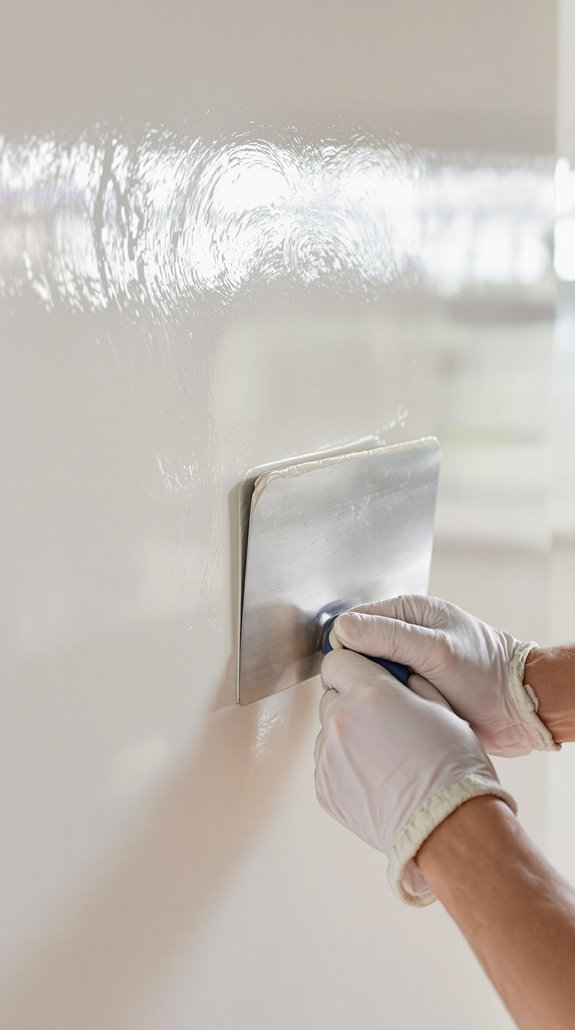
Mastering the Initial Troweling Technique
The initial troweling technique determines whether your plaster application succeeds or fails before you even reach the smoothing stage. I’ll guide you through the fundamentals that separate amateur attempts from professional results.
First, dampen your trowel and hawk slightly—this prevents plaster from sticking or sliding off prematurely. Prime your hawk by smearing a small amount of plaster across its surface to create proper grip.
Start at your wall’s bottom corner, positioning the trowel at an angle with the edge away from the surface. Apply firm pressure while pulling upward in a curved motion resembling an upside-down umbrella handle. Gradually reduce the trowel angle as plaster decreases during each stroke.
Maintain consistent pressure throughout—firmer as the plaster begins setting. This technique guarantees uniform thickness and prevents the trowel marks that plague beginners. Work in different directions during application to ensure even coverage across the entire wall surface.
Advanced Polishing Methods for Mirror Finish
Professional troweling sets the foundation, but achieving that coveted mirror finish requires specialized polishing techniques that transform ordinary plaster into a reflective surface. I start with coarse-grit compounds (600-800) to eliminate trowel marks, then progress through medium-grit (1500-2000) for texture refinement. Fine polishing compounds (3000+) deliver that reflective clarity we’re after. Proper insulation techniques can also enhance overall home comfort, contributing to a more energy-efficient home.
My burnishing technique follows a three-stage process: initial circular motions with light pressure activate plaster binders, progressive pressure increase improves compaction, and linear strokes maximize light reflection. I maintain consistent angles to prevent uneven gloss distribution. Surface roughness reduction from coarser to finer grits can lower frictional resistance by 20-30%, resulting in smoother tool glide and improved energy efficiency during the polishing process.
For final buffing, I use microfiber cloths in tight circular motions, followed by cross-hatch patterns ensuring uniform coverage. Speed-controlled buffers prevent overheating, while backlight inspection reveals any missed areas requiring rework.
Common Mistakes and How to Fix Them
Even with meticulous attention to polishing techniques, plaster projects can quickly go sideways when fundamental mistakes aren’t caught early. I’ve seen countless DIYers struggle with adhesion failures from skipping surface cleaning—always remove debris and prime first. Thick application layers cause cracking; strip and reapply thinly instead. Over-troweling damages surface integrity, so limit your passes and keep that trowel moist.
Mixing ratios matter enormously. Wrong water-to-plaster consistency ruins workability—remix to manufacturer specifications. Incorrect mixing can lead to uneven surfaces which are difficult to fix later. Don’t rush drying with heat sources; you’ll create shrinkage cracks. Maintain natural airflow at room temperature. Remember that humidity and temperature conditions significantly affect drying time, so monitor these environmental factors closely.
For finishing flaws, sand trowel marks and apply a final skim coat. Fill hairline cracks with flexible filler before painting. These fixes separate successful projects from frustrating failures.
Achieving Long-Lasting Results
Since proper technique alone won’t guarantee enduring results, achieving long-lasting plaster requires strategic choices about materials, timing, and protective measures. I recommend incorporating marble dust into your mix for natural mold resistance and enhanced durability. Lime-based plasters offer superior breathability, regulating humidity to prevent cracking over time, and can be a cost-effective option for architectural projects that need durability.
Temperature control is essential—I maintain 10-25°C during application to guarantee proper curing. Final polishing with superflex tools ensures a flawless surface that resists wear. Don’t skip the sealing stage; breathable finishes like mineral paints protect while preserving the plaster’s natural properties.
Multiple thin layers create stronger bonds than single thick applications. Allow proper setting time between coats—rushing compromises long-term integrity. Before applying your final coats, ensure walls are properly prepared by washing with sugar soap to remove any grease or contaminants that could affect adhesion. These strategic choices transform your plastering from a temporary fix to a permanent solution.
Conclusion
I’ve covered the essential techniques for achieving professional plaster smoothing results in your UK DIY project. You’ll need proper timing, consistent mixing, and progressive burnishing to get that flawless finish. Don’t rush the process—each stage builds on the previous one. Master these fundamentals, monitor your environmental conditions, and address imperfections immediately. With practice and attention to detail, you’ll achieve the smooth, durable walls that’ll stand the test of time.
References
- https://www.youtube.com/watch?v=ey0Xj9Xe2xg
- https://www.kezzabeth.co.uk/2019/09/how-to-diy-plaster-complete-beginner-guide.html
- https://clairedouglasstyling.co.uk/post/a-diyer-s-guide-to-skimming-walls-and-ceilings
- https://www.homebuilding.co.uk/advice/how-to-plaster-a-wall
- https://www.pistonheads.com/gassing/topic.asp?h=0&f=207&t=1097918
- https://toughtools.co.uk/collections/plastering-tools-plastering-equipment
- https://drywalltoolsdirect.co.uk/blog/plastering-trowels-essential-tools-for-professional-finishes
- https://www.plasterers1stopshop.co.uk/product-category/plastering-tools/
- https://www.gypsumtools.com/plastering-tools.html
- https://www.refina.co.uk