I’ve sanded hundreds of door frames over the years, and I can tell you that most DIYers make the same critical mistakes that turn a simple refinishing job into a nightmare of splintered wood and poor paint adhesion. The difference between amateur results and professional-quality work isn’t just technique—it’s knowing which sander to use, the correct grit progression, and three specific methods for handling those tricky corners that can make or break your entire project.
Key Takeaways
- Use orbital sanders with dust extraction for flat surfaces and delta sanders for tight corners and detailed profiles.
- Start with 80-grit sandpaper on lowest speed setting, progressing through 120-grit to 220-grit for smooth finish.
- Maintain light, even pressure along wood grain direction and sand systematically to avoid gouging or uneven surfaces.
- Connect sander directly to shop vacuum for real-time dust removal and wear N95 respirator for safety.
- Use chisels for corners and wrap sandpaper around screwdrivers for narrow gaps between frame joints.
Essential Tools and Safety Equipment for Door Frame Sanding
Before starting any door frame sanding project, you’ll need the right combination of power tools and safety equipment to achieve professional results while protecting yourself from hazardous dust and debris.
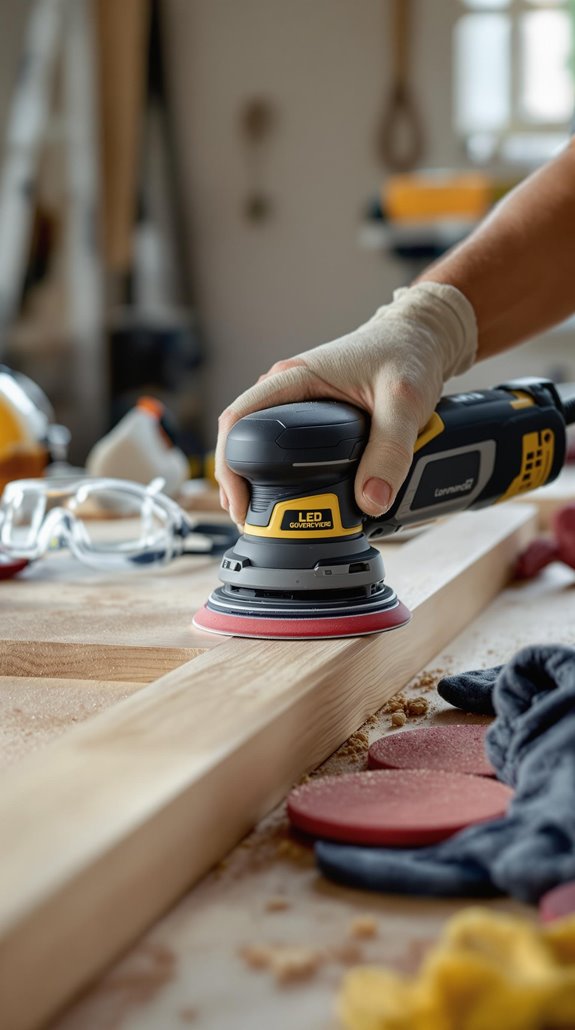
Your primary arsenal includes orbital sanders with dust extraction ports for flat surfaces, delta sanders for tight corners, and detail sanders for curved profiles. Stock up on 40-60 grit paper for paint stripping, 80-120 grit for leveling, and 150-220 grit for final smoothing. Don’t forget mesh abrasives like Mirka Abranet® for superior dust extraction.
Safety gear isn’t optional—grab an N95 respirator, safety goggles, and work gloves. Connect an M-class dust extractor to your sanders for real-time debris removal. Keep carbide scrapers, masking tape, and tack cloths handy for prep work and finishing touches. Consider removing the door from its hinges if possible to work on a flat surface for better control and access.
Step-by-Step Electric Sander Setup and Technique
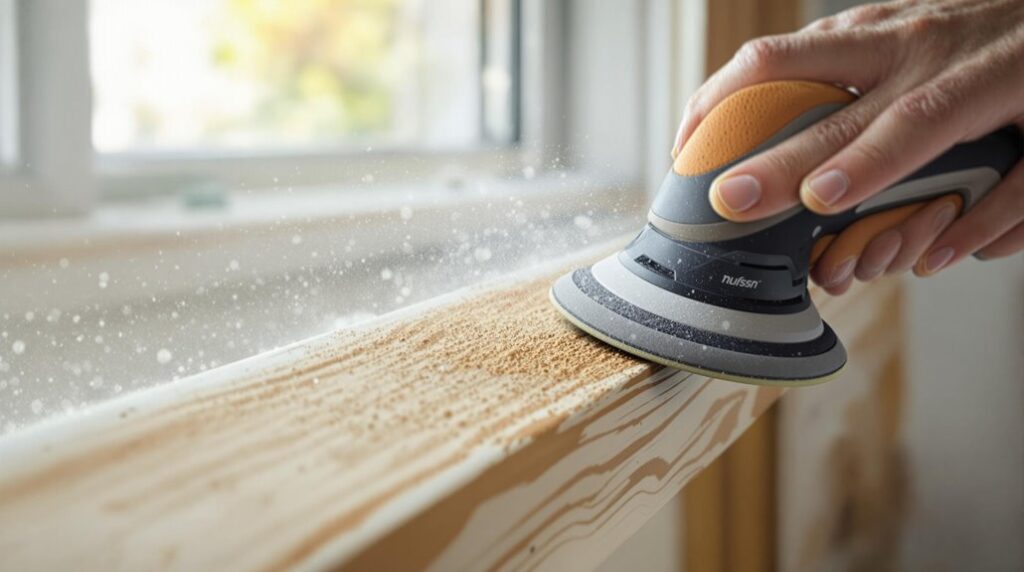
Proper electric sander setup determines whether you’ll achieve professional results or create irreversible damage to your door frame. I’ll start by installing 80-grit sandpaper and setting my sander to its lowest speed—typically 2-3—to prevent gouging. I’ll attach dust extraction if available and test settings on an inconspicuous area first.
For technique, I’ll hold the sander with both hands, applying light, even pressure while moving in steady passes along the wood grain. I’ll sand systematically until old finish is completely removed, then progress to 120-grit for smoothing. Between grit changes, I’ll wipe surfaces with a tack cloth to remove residual dust.
Finally, I’ll finish with 220-grit paper, maintaining grain alignment throughout. This progression guarantees smooth, professional results ready for staining or painting. I’ll use a belt sander to achieve a uniform surface texture across the entire door frame.
Tackling Corners and Detailed Areas Without Damage

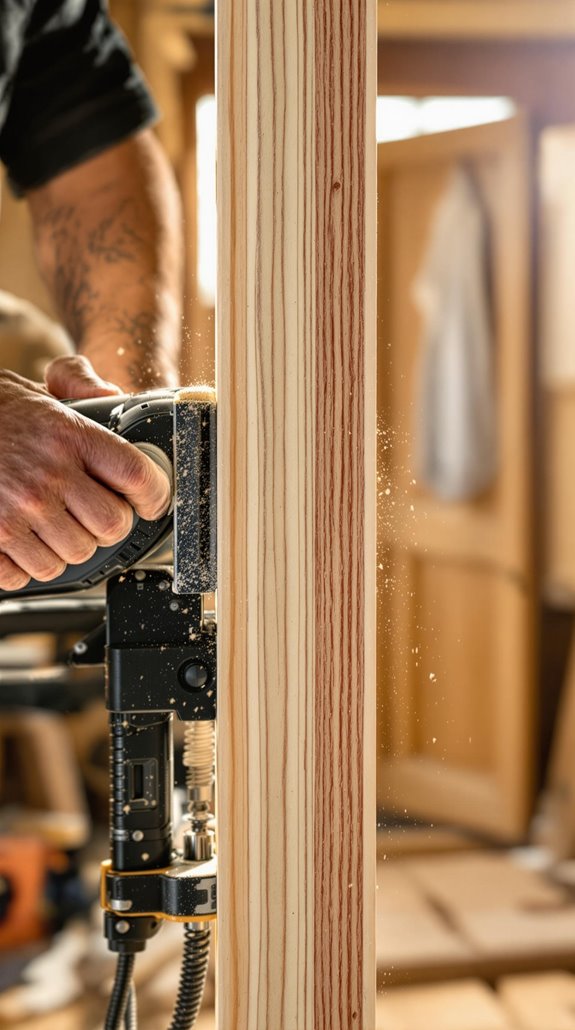
Why do corners and detailed areas pose the greatest challenge when sanding door frames? Your electric sander can’t reach these tight spaces, forcing you to switch to hand techniques that demand precision and patience.
I’ll grab a sharp 25mm chisel for corners, holding it with thumbs behind the blade and forefingers in front. I’ll angle it toward my direction of travel and pull slightly away from the corner to avoid gouging. For narrow gaps, I’ll wrap 120-grit sandpaper around a flat-head screwdriver, working along the grain with short strokes.
Flexible foam abrasives like 7990 siasponge blocks contour moldings without damaging edges. I’ll fold sandpaper into sharp creases for tight corners while maintaining consistent pressure. A steel ruler wrapped with abrasive helps reach particularly tight spots where traditional tools struggle to fit. Remember—we’re preserving those crisp edges that define quality craftsmanship.
Dust Control Methods for Clean Professional Results
After mastering those intricate detail areas, you’ll face another challenge that separates amateur work from professional results—managing the dust clouds your careful sanding creates.
I connect my orbital sander directly to a shop vacuum for immediate particle capture at the source. The aspirator system with perforated pads creates vacuum-driven extraction that pulls dust away before it becomes airborne. For belt sanders, I position dual hoods behind the sander head, linking them to flexible ductwork.
Water-mist systems help bind fine particles when dust extraction isn’t enough. I always wear NIOSH-approved respirators—N95 masks don’t cut it for extended sanding sessions. Safety glasses protect against debris, while noise-canceling earmuffs handle the vacuum combo’s volume.
This systematic approach delivers the clean, professional finish that marks skilled craftwork. The reduced airborne particles create improved air quality in your workspace, giving you better visibility of the workpiece and cleaner working conditions throughout the entire sanding process.
Testing Door Fit and Applying Final Touches
The moment you’ve finished sanding, precision gap measurement becomes your quality control checkpoint. I’ll insert my calibrated gap gauge sequentially along the latch edge, hinge edge, and top edge, ensuring snug tool fit without lateral movement. You’re targeting that sweet spot between 1/16″ and 3/16″ – gaps outside this range mean more work ahead.
I measure at the outermost door leading edges and frame rabbets, checking for uniform dimensions along the full height and width. This isn’t just about aesthetics; we’re maintaining compliance standards that matter. After confirming proper clearances, I inspect the latch-edge gaps using precise methodology, verify hinge-edge uniformity, and check top-edge alignment. Remember that small specification changes can significantly impact performance, so maintaining consistent measurements throughout the whole door assembly is crucial for optimal function. If your measurements hit spec consistently, you’ve achieved professional-grade results that’ll make any craftsman proud.
Conclusion
I’ve covered the essential techniques for achieving professional door frame sanding results with your electric sander. You’ll get smooth, consistent finishes by following proper grit progression, maintaining light pressure, and working with the grain. Don’t forget to tackle those tight corners with hand tools and keep your dust extraction running throughout. Test your door’s fit before applying any finish—you’ll save time and avoid costly mistakes.
References
- https://www.youtube.com/watch?v=QGHrOkWm2HA
- https://www.homebuilding.co.uk/advice/sanding-doors
- https://singletrackworld.com/forum/off-topic/sanding-in-little-corners-door-frame-content/
- https://www.youtube.com/watch?v=FZusiIoDMeY
- https://www.youtube.com/watch?v=OVdUUEhZewY
- https://www.mirka.com/en-us/know-how/applications/sanding-wooden-door-and-window-frames/
- https://fastplus.eu/blogs/sanding-polishing/sanding-door-and-window-frames
- https://www.pistonheads.com/gassing/topic.asp?h=0&f=207&t=1970150
- https://www.instructables.com/Hardening-a-Door-Frame/
- https://www.festool.co.uk/knowledge/application-examples/removing-paint-from-doors