
I’ll walk you through the exact process I use to transform worn PVC doors into stunning entrance features that actually last. Most homeowners make critical mistakes in the first few steps that doom their paint job to failure within months. The key isn’t just choosing the right paint—it’s understanding how PVC’s unique surface properties require a completely different approach than traditional wood doors. Let me show you what contractors know that you don’t.
Key Takeaways
- Clean the PVC door thoroughly with mild detergent and warm water, then sand lightly with 120-grit sandpaper for proper paint adhesion.
- Apply a plastic-specific primer in thin, even coats and allow complete drying for 2-4 hours before painting.
- Use high-quality exterior paint designed for uPVC, applying 3-5 light mist coats with 20-30cm spray distance.
- Maintain temperatures between 15-25°C with proper ventilation and allow each coat to dry completely before applying the next.
- Choose UV-resistant paints to prevent color fading and plan for potential repainting every few years based on exposure.
Gathering Your Essential Tools and Materials
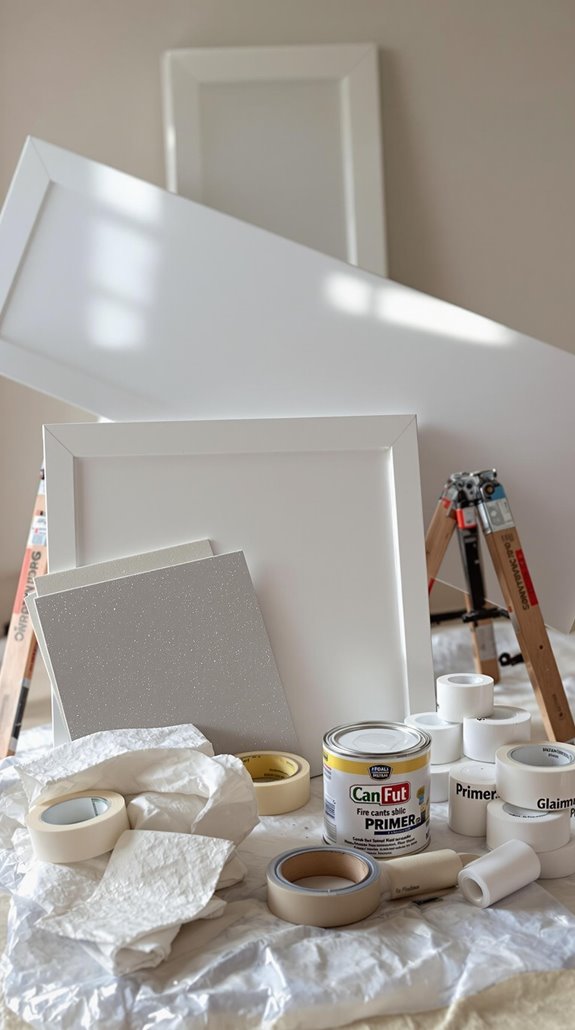
Before you begin transforming your PVC door, you’ll need to assemble the right tools and materials for each stage of the process. Start with cleaning supplies: mild detergent, warm water, soft cloths, and a bucket. For surface preparation, gather 120-grit sandpaper, fine-grit sanding blocks, tack cloth, and methylated spirits for final wiping. You’ll need protective materials including painter’s tape, plastic sheeting, dust sheets, safety goggles, and a respirator mask. The painting essentials include plastic-specific primer, uPVC spray paint, and high-grade exterior paint like Kolorbond. For application, use synthetic-bristle paintbrushes for detailed work, paint rollers for larger surfaces, and mini foam rollers for smooth finishes. Since uPVC requires low maintenance and only needs periodic cleaning to maintain its appearance, having quality brushes and rollers ensures your paint job will complement this inherent durability. Having everything ready guarantees you’ll work efficiently without interruptions.
Proper Surface Cleaning Techniques
Five critical steps comprise the surface cleaning process that determines your paint job’s ultimate success. I’ll start by removing all door hardware and masking non-removable elements with painter’s tape. Then I’ll brush away loose debris and clear the work area completely.
Next, I’ll prepare a warm, soapy solution and scrub the entire surface, focusing on joints where grime accumulates. For stubborn residues, I’ll apply dedicated uPVC cleaner and gently scrub with a non-scratch pad.
Deep cleaning requires specialized products to tackle ingrained dirt in welded joints and crevices. I’ll use cellulose cleaner to eliminate residual grease. A dirty surface will prevent proper paint adhesion and lead to eventual failure.
After thorough rinsing, I’ll dry completely with lint-free microfiber cloth. Finally, I’ll inspect under bright light and apply a tack cloth to capture lingering dust particles.
Sanding Methods for Optimal Paint Adhesion
Although proper cleaning sets the foundation, achieving durable paint adhesion on PVC doors requires strategic sanding to create the perfect surface texture. I recommend starting with 120-grit sandpaper—it’s your sweet spot for ideal surface abrasion without compromising material integrity. You’ll want to avoid anything coarser than 100-grit, as it’ll create deep scratches that weaken your door.
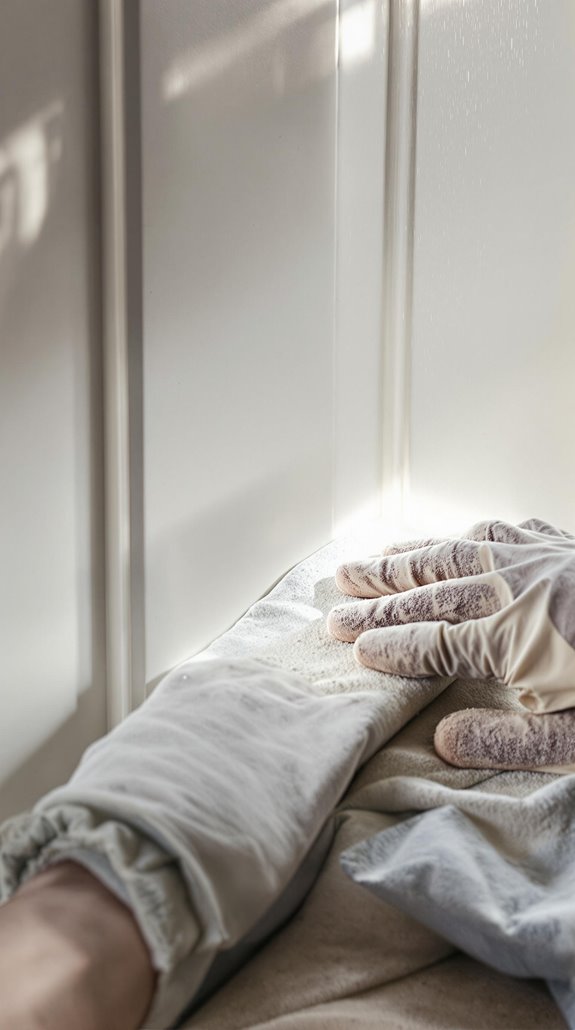
Apply light, even pressure using circular motions, covering the entire surface without overlapping strokes. I limit my sanding to 2-3 minutes per square foot to prevent heat damage. Since PVC has a non-porous surface, this sanding step is essential for creating the texture needed for paint to properly grip and adhere. After sanding, I degrease with acetone and remove all dust using tack cloths—never damp towels. Check under angled light for any missed glossy patches, then apply primer within one hour to prevent contamination.
Applying Primer for Long-Lasting Results
Once you’ve completed the sanding process, selecting the right primer becomes critical for achieving professional results on your PVC door. I recommend choosing a primer specifically formulated for uPVC surfaces, as standard primers won’t adhere properly to this non-porous material.
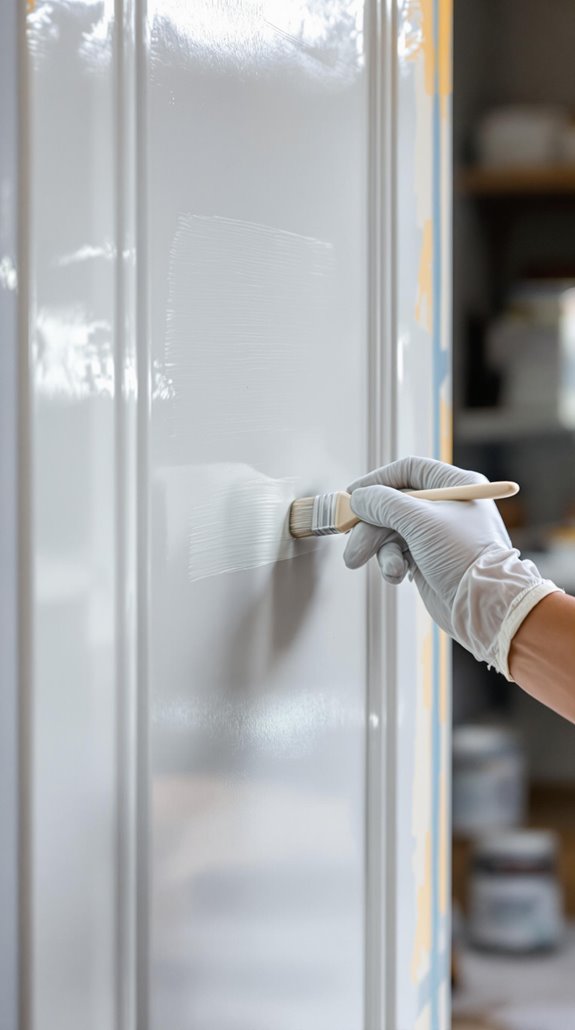
Here’s what works best: opt for a tinted primer in light gray when covering white PVC. This gives you better visibility of your coverage and helps identify any missed spots. Apply the primer using a high-quality brush or microfiber roller in thin, even coats, working from top to bottom.
Allow complete drying according to manufacturer specifications—typically 2-4 hours. Don’t rush this step; tacky primer will compromise your topcoat’s adhesion and durability, leading to premature peeling. Taking time and care during preparation prevents a bad paint job and ensures your door refresh will look professional and last for years.
Professional Painting Application Tips
Three critical factors determine whether your PVC door painting project achieves professional results: proper tool selection, precise application technique, and systematic quality control.
I’ll use high-quality synthetic bristle brushes or foam rollers for smooth finishes, though HVLP spray systems deliver the most professional results. When applying paint, I work from top to bottom using light pressure and thin, even coats. For spray application, I maintain 6-8 inches distance with sweeping motions and 50% overlap between passes.
Multiple thin layers beat single thick coats every time. I inspect each coat under angled light for imperfections and use the cross-hatch tape test to verify adhesion. By removing masking materials before final cure, I prevent edge tearing and achieve clean, professional lines. The fast application process minimizes disruption to your daily routine while delivering exceptional results.
Drying and Curing Best Practices
While proper paint application sets the foundation for success, the drying and curing phase determines whether your PVC door achieves lasting durability and professional appearance. I’ll guide you through this critical stage that separates amateur results from professional-grade finishes.
Allow each coat to dry completely before applying the next layer—rushing this step causes poor adhesion and visible brush marks. Apply thin coats rather than thick layers to accelerate drying and prevent drips. Maintain temperatures between 15-25°C with humidity below 60% for ideal results. Proper ventilation aids in the curing process by allowing solvents to evaporate more effectively.
Full curing takes 24 hours to several weeks depending on paint chemistry. Test hardness by pressing your fingernail into an inconspicuous area—no imprint means it’s fully cured. Wait 7-14 days before cleaning or reinstalling hardware to avoid damaging the finish.
Post-Paint Care and Maintenance
Your freshly painted PVC door requires specific aftercare steps to protect your investment and maintain its appearance over time. I’ll remove all masking tape and protective coverings after the final coat has dried completely. Then I’ll examine the entire door surface for any missed spots or uneven coverage, performing touch-ups on identified imperfections immediately.
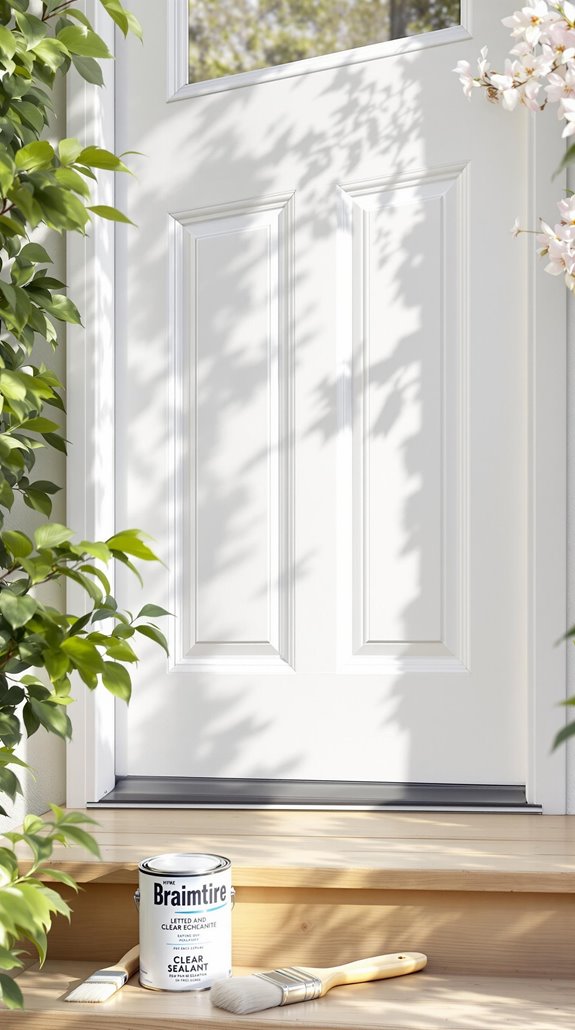
For ongoing maintenance, I’ll clean the glass and corners regularly to prevent dirt buildup. I’ll open the door to clean internal frames and tricky areas around hinges and handles. It’s essential that I avoid using solvents, which can damage the PVC or paint surface. With proper care and quality paint, your door finish can maintain its appearance for over 10 years.
When the paint eventually shows signs of discoloration or fading, I’ll consider professional repainting for the best long-lasting results.
Troubleshooting Common Painting Issues
Even when I’ve followed proper preparation steps, painting issues can still arise during or after the PVC door project. If you’re experiencing peeling or cracking paint, it’s likely due to inadequate surface preparation. Remove loose paint, re-clean the door, and lightly sand before reapplying primer designed for plastic surfaces.
For uneven coverage, sand affected areas lightly and apply additional thin coats using consistent strokes. I recommend inspecting under bright light during application to catch inconsistencies early.
Poor adhesion requires plastic-specific primers like Zinsser Bullseye 1-2-3. Always degrease with TSP before sanding with 120-180 grit sandpaper.
Combat drips by maintaining 20-30cm spray distance and applying 3-5 light mist coats. For color fading, choose UV-resistant exterior paints with protective topcoats. The entire painting process can typically be completed in a single day using professional coatings applied via spray, brush, or roller.
Conclusion
You’ve now mastered the complete process of painting your PVC door. Remember, I can’t stress enough how essential proper preparation is—don’t rush the cleaning and priming stages. If you follow these technical steps precisely, you’ll achieve a professional-grade finish that’ll withstand weather and UV exposure for years. Keep your painted door maintained with regular inspections, and you’ll enjoy a refreshed entrance that enhances your home’s curb appeal markedly.
References
- https://www.thepaintshed.com/tips-advice/how-to-paint-upvc-doors
- https://www.rawlinspaints.com/blog/how-to-paint-interior-upvc-doors-windows/
- https://www.youtube.com/watch?v=gPzUkXd-rII
- https://upvcspraypainters.com/learn/guides/how-to-paint-a-upvc-door/
- https://www.westeckwindows.com/how-to-paint-pvc-or-vinyl/
- https://pbmpaints.co.uk/blogs/spray-painting-your-upvc-doors-everything-you-need-to-know/
- https://coatpaints.com/blogs/how-to-paint/how-to-paint-external-upvc-windows-and-doors
- https://www.rawlinspaints.com/blog/5-tips-for-painting-upvc/
- https://www.benjaminmoore.com/en-us/interior-exterior-paints-stains/how-to-advice/painting-101/house-painting-supplies
- https://www.lathamssteeldoors.co.uk/blog/can-you-paint-upvc-doors-a-comprehensive-guide/