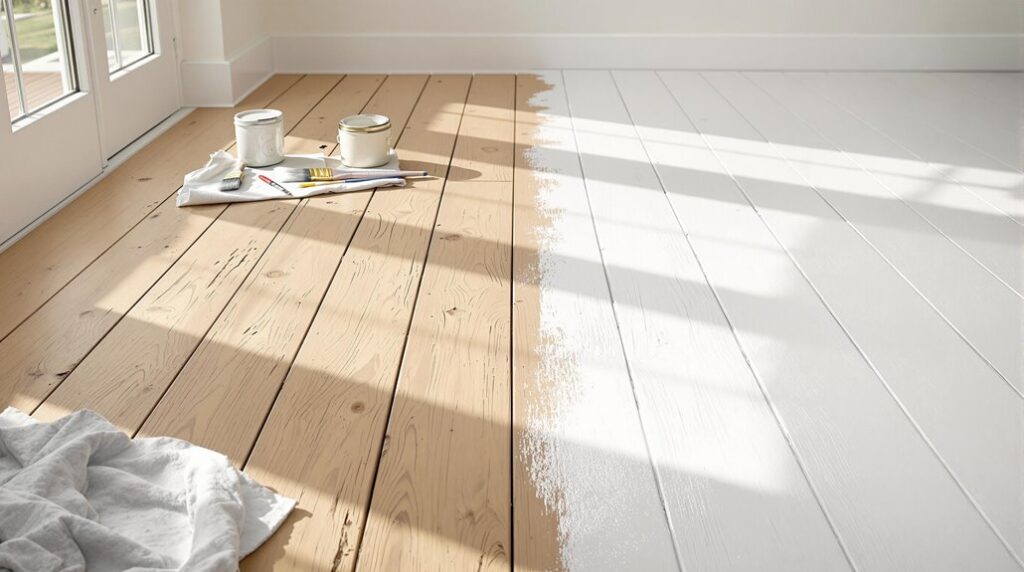
I’ll show you how to transform your worn floorboards into stunning surfaces without breaking the bank. You don’t need expensive equipment or professional contractors—just the right techniques and materials. I’ve painted dozens of floors using this budget-friendly approach, and the results consistently rival costly refinishing jobs. The key lies in proper preparation and selecting appropriate tools for each stage. Once you understand the essential steps I’m about to share, you’ll wonder why you ever considered hiring professionals.
Key Takeaways
- DIY floorboard painting costs $0.50-1.50 per square foot versus $2-6 professionally, saving hundreds on typical rooms.
- Essential preparation includes thorough cleaning, sanding with 60-grit sandpaper, filling gaps, and applying shellac-based primer.
- Use floor-specific paint with 3/8 nap rollers, applying thin even coats following wood grain direction.
- Allow one week curing time before heavy furniture placement; oil-based paints cure faster than latex.
- Create visual impact with budget-friendly patterns like checkerboards, stripes, or faux rug designs for custom looks.
Essential Tools and Materials for Floorboard Painting
Success in floorboard painting depends on assembling the right tools and materials before you begin. I’ll walk you through the essential equipment that’ll make your project professional-grade.
For surface preparation, you’ll need degreaser, mop and bucket, sanding equipment, wood filler, and a filler knife. These guarantee your floors are clean and smooth before painting.
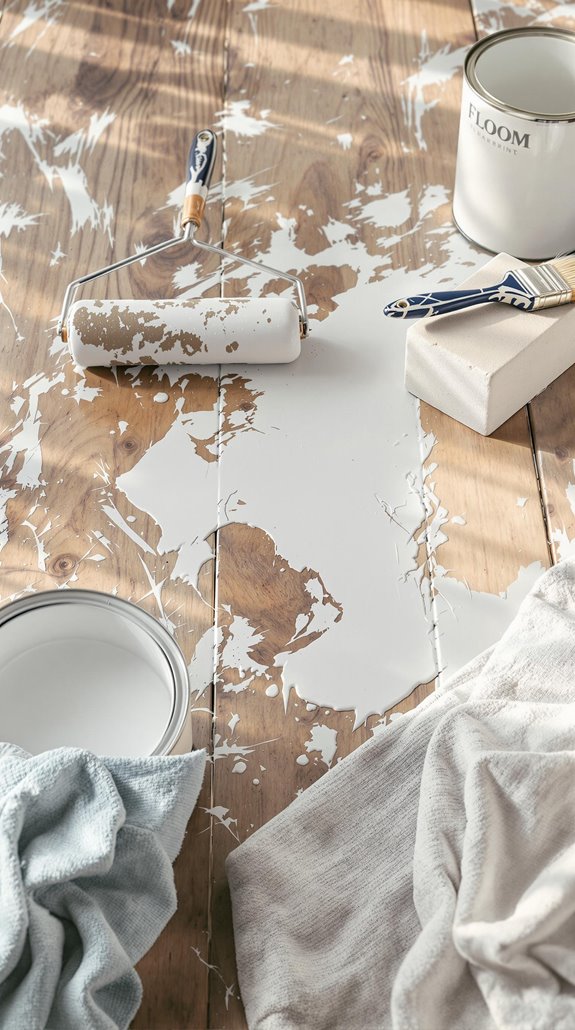
Your painting arsenal should include edging brushes for precise corners, mini rollers for detailed work, extension poles for coverage, paint trays with disposable liners, and handheld paint cups. A 3/8 nap roller works exceptionally well for rolling paint smoothly across floor surfaces.
Don’t skip protective supplies: painter’s tape, drop cloths, disposable gloves, and plastic sheeting safeguard your space.
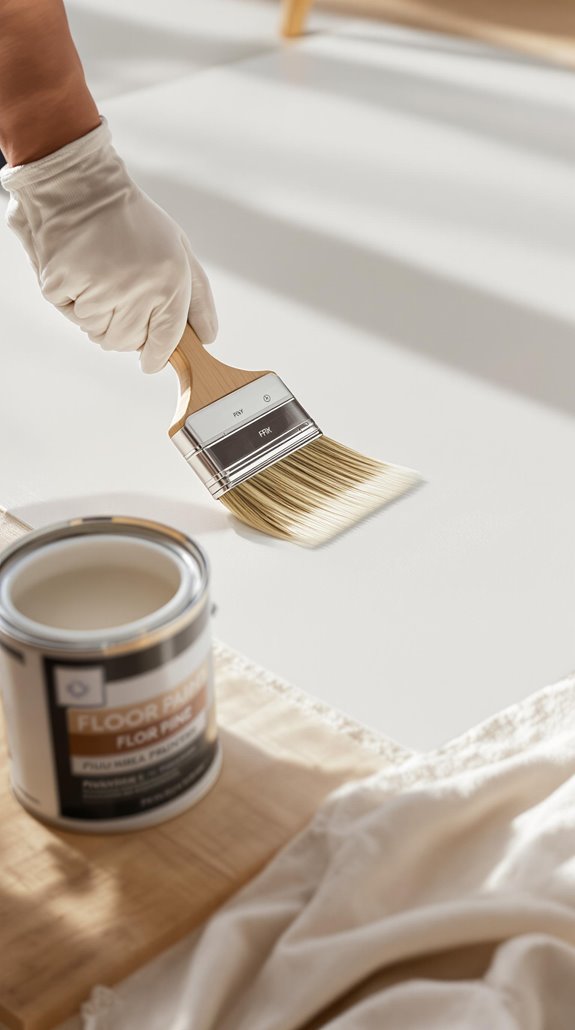
Finally, invest in quality floor-specific coating paint and protective top-coat sealant. Consider specialized kits with pre-matched components for streamlined workflow.
Cost Breakdown: Budget-Friendly Floor Transformation
Understanding the financial commitment upfront transforms floorboard painting from a challenging expense into a strategic home improvement investment. I’ll break down the real costs so you can plan effectively.
Professional painting runs $2-6 per square foot, while DIY materials cost just $0.50-1.50 per square foot. For a typical 200-square-foot room, you’re looking at $400-1,200 professionally versus $100-300 doing it yourself.
Your biggest cost variables include surface preparation, paint quality, and room complexity. High-traffic areas need premium paint, while lesser-used spaces work fine with basic options. Factor in primer, brushes, rollers, and drop cloths for DIY projects. Additionally, budgeting for reliable tradespeople can ensure quality work if you opt for professional help.
Here’s the game-changer: interior painting delivers 107% ROI. You’re not just saving money—you’re adding value while creating the space you’ve always wanted. Remember that epoxy coatings offer superior durability compared to standard floor paints, making them worth the investment for long-term performance.
Preparing Your Floorboards for Paint Application
The foundation of professional-looking painted floorboards starts with meticulous surface preparation—skip this step and you’ll watch your paint job fail within months. I’ll walk you through the essential steps that separate amateur attempts from professional results.
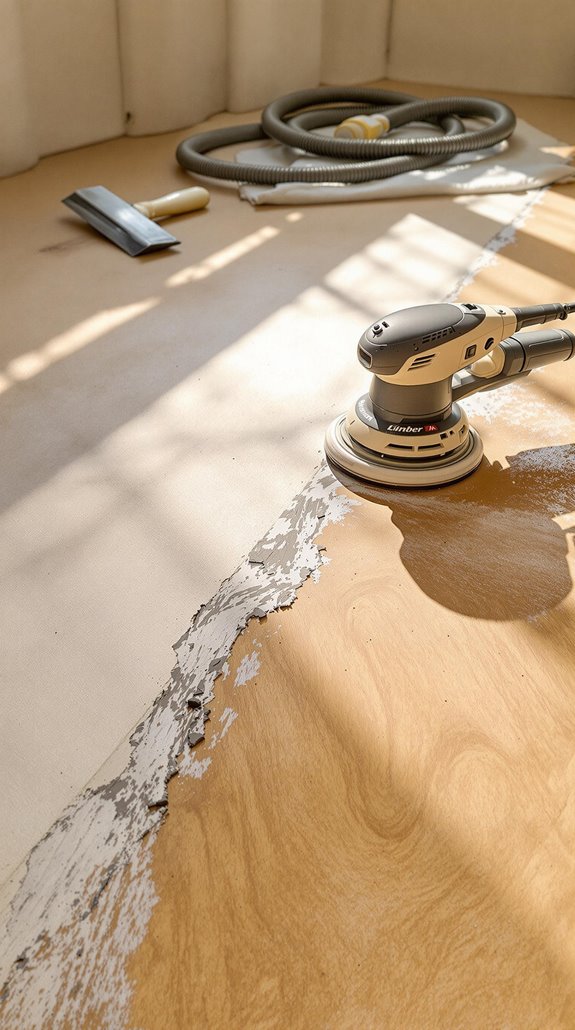
First, I remove loose paint with a wire brush, then sand using 60-grit sandpaper with an orbital or drum sander. You’re creating a flat surface, not perfection—sand along the grain for better paint adhesion. Additionally, focusing on high-impact areas during your renovation can lead to more satisfying results. Next, I fill gaps between boards with wood filler and replace any missing boards, securing loose ones to eliminate creaking.
Deep cleaning follows: vacuum thoroughly, scrub with hot soapy water, and guarantee zero moisture remains. Before starting any work, always check for electrical cables underneath the floorboards to avoid dangerous accidents during the preparation process. Finally, I apply shellac-based primer like Zinsser to block tannins and prevent bleed-through.
Cleaning and Sanding Techniques for Optimal Results
After completing your initial prep work, proper cleaning and sanding techniques will determine whether your paint adheres permanently or peels within the first year. I’ll start by removing all debris with an all-purpose cleaner and wet rag, then follow up with a water-mild soap mixture using a soft mop to protect the wood grain. Once completely dry, I’ll seal the room with dust sheets and attach 100-120 grit sandpaper to my sander. The key is sanding parallel to the wood grain until the surface feels uniformly smooth but not overly polished. I’ll vacuum thoroughly afterward, then wipe with a damp cloth to eliminate every particle of sanding dust before paint application. For floors with heavy finishes or extremely smooth surfaces, sanding recommended to create the proper texture for paint adhesion.
Choosing the Right Paint and Primer for Durability
Since your floorboards are now properly prepared, selecting the right paint and primer becomes critical for achieving a finish that’ll withstand years of foot traffic. I recommend starting with an oil-based primer like Zinsser, which creates superior adhesion on smooth surfaces and dries quickly without peeling under stress.
For paint selection, you’ll want solvent-based options with polyurethane additives for maximum durability. Rust-Oleum 7200 PU excels on wood surfaces, while Benjamin Moore INSL-X Tough Shield offers excellent coverage at 350-450 sq. ft. per gallon. If you’re dealing with high-traffic areas, consider C2 Paint’s built-in top coat formula—it eliminates separate sealing steps while providing scratch resistance. These professional-grade products cost more upfront but deliver the long-term performance we’re after. Quality trade paints are specifically designed for better performance and value over time compared to standard retail options.
Step-by-Step Painting Process for Professional Results
Preparation of the Floor Surface
- Repair damaged boards and secure loose planks before starting
- Clean thoroughly with degreasing solution to remove all dirt and residue
- Sand lightly to create proper adhesion surface for primer
- Fill gaps and nail holes with appropriate wood filler
- Remove existing wax or polish completely using recommended stripper
- Consider how proper insulation can also help maintain a stable environment that protects your floorboards from moisture.
Priming the Floor
- Apply high-quality primer suitable for your floor material and topcoat
- Cut in edges and corners first using angled brush
- Use roller with extension pole for main surface area
- Work systematically toward exit to avoid trapping yourself
- Allow primer to dry completely before proceeding
Applying the Paint
- Start by cutting in all edges with quality angled brush
- Use low-nap roller for smooth, even coverage on main areas
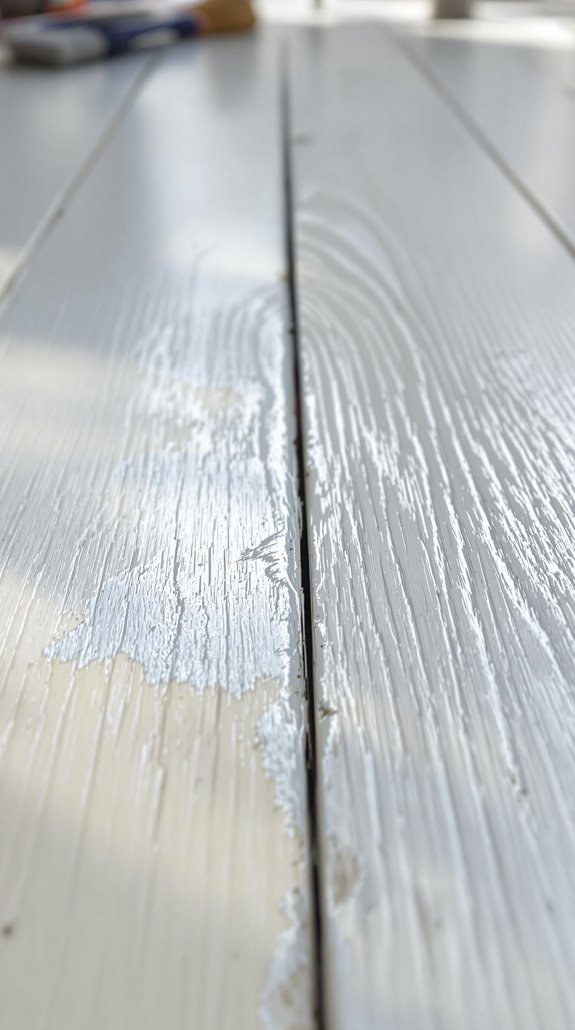
- Apply paint following wood grain direction for best appearance
- Work in manageable sections maintaining wet edge throughout
- Use long, consistent strokes for professional smooth finish
Drying and Recoating
- Allow first coat to dry completely per manufacturer’s specifications
- Light sanding between coats may be necessary for ideal smoothness
- Apply second coat using identical brush-then-roller technique
- Inspect for missed spots and confirm complete even coverage
- Remove painter’s tape immediately after final coat application
Final Touches and Protection
- Apply protective topcoat like polyurethane for enhanced durability
- Allow complete curing time before replacing furniture or heavy traffic
- Avoid water exposure during entire curing period
- Consider non-slip additives for safety in high-traffic areas
- Establish regular maintenance routine using manufacturer-recommended cleaning products
- Wait at least one week before moving heavy furniture back into the room to ensure proper curing
Creative Pattern Ideas to Transform Your Space
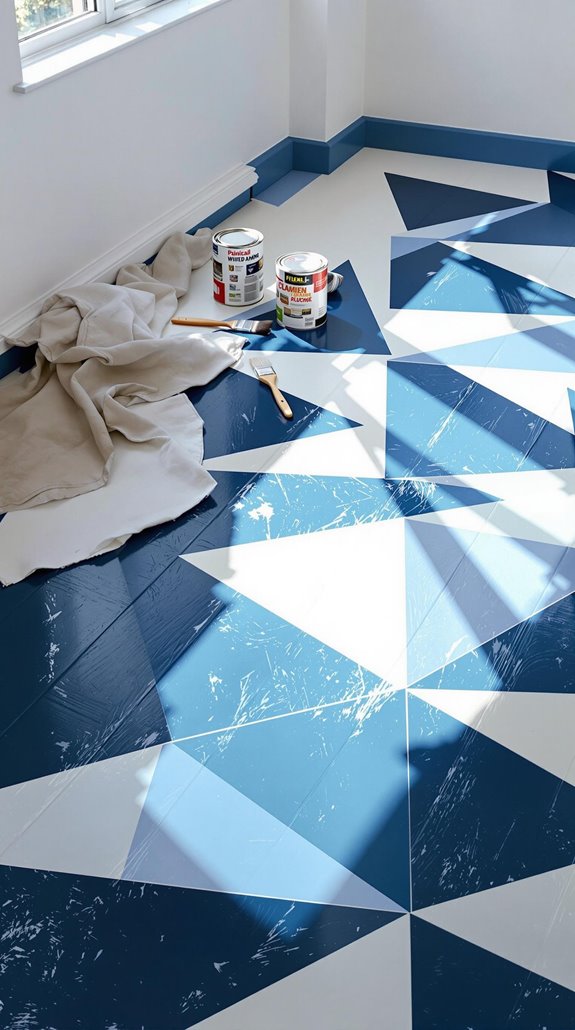
Once your painted floorboards have cured, you can elevate them beyond solid colors by incorporating creative patterns that dramatically transform your space’s visual appeal.
I’ll guide you through proven techniques that fellow DIY enthusiasts swear by. Checkerboard patterns deliver high visual impact in entryways—just ascertain precise grid marking and full base coat drying before applying your second color. Geometric designs like herringbone add timeless structure, while faux rug techniques eliminate tripping hazards and cost 70% less than premium wool rugs. Adding a painted area over a garage extension can also enhance the overall aesthetic of your home.
For advanced projects, try trompe-l’oeil effects using strategic shading to create realistic 3D illusions. Stripes work wonders for spatial perception—vertical ones elongate narrow rooms, horizontal bands widen cramped areas. Consider incorporating stencils or freehand techniques to achieve bold graphic designs that create eye-catching focal points in your space. Always finish with appropriate sealants matching your traffic patterns.
Drying Times and Curing Guidelines
Understanding proper drying and curing times prevents costly mistakes that’ll force you to restart your entire floor painting project. I’ll break down the key timing differences you need to know.
Oil-based paints become touch-dry in 6-8 hours but require 24 hours between coats. Latex paints dry faster—touch-dry in 1 hour, recoatable in 4 hours. However, don’t confuse touch-dry with fully cured. Your floors won’t reach maximum hardness for days or weeks.
I recommend waiting 24 hours before light foot traffic on both paint types. High humidity extends these times considerably, so maintain humidity below 50% using your AC or fans. Poor ventilation traps moisture and risks uneven curing. Monitor conditions with a hygrometer for best results.
Oil-based paints typically cure completely in about 7 days, while latex paints can take up to 30 days to achieve full hardness and durability.
Common Mistakes to Avoid During Floor Painting
Even perfect timing won’t save your project if you make fundamental errors during the painting process. I’ve seen countless DIYers skip essential preparation steps like thoroughly cleaning floors and removing old finishes completely. You can’t paint over problems – those warped boards and squeaky spots will haunt you later. Additionally, consider how a house extension could impact your home’s overall aesthetic and value, which might influence your choice of floor color.
Sanding mistakes plague most projects. Don’t rush through grits or sand against the grain. Remember, you’ll need that gentle sand after your first diluted coat on bare wood.
Application errors kill results fast. Thick coats pool and create uneven surfaces. Thin, even layers win every time. And please, don’t choose Instagram-worthy colors without considering your lifestyle. That pristine white shows every footprint and pet hair in high-traffic areas. Always wear safety goggles, gloves, and a dust mask during the entire process to protect yourself from harmful particles and fumes.
Long-Term Maintenance Tips for Painted Floorboards
Your painted floorboards won’t maintain their fresh appearance without consistent care and strategic protection. I’ll share the essential maintenance strategies that’ll keep your floors looking professionally finished for years.
Regular sweeping prevents dirt accumulation that can scratch your paint. Use microfiber mops, moving in one direction to capture dust effectively. Clean spills immediately—blotting liquids prevents staining and moisture damage that compromises your paint job.
Choose only pH-neutral cleaners designed for painted surfaces. Harsh chemicals and ammonia will strip your finish. For light soiling, dilute washing-up liquid in lukewarm water works perfectly. Always test any new cleaner in an inconspicuous area before applying it to the entire floor surface. Incorporating durable wall finishes in your home may also reduce maintenance needs in other areas.
Protect your investment with felt pads under furniture legs and area rugs in high-traffic zones. When wear appears, apply clear matt varnish for added protection. Monitor for peeling or extensive scratching—these signal it’s time for touch-ups or complete recoating.
Conclusion
I’ve covered the essential steps for transforming your floorboards affordably. You’ll need proper tools, quality primer, and floor-specific paint for durability. Don’t skip surface preparation—it’s critical for adhesion. Work systematically with the grain, maintain consistent drying times, and apply that protective topcoat. Avoid common pitfalls like inadequate sanding or rushing the process. With regular maintenance, your painted floors will last years. This DIY approach saves hundreds compared to professional installation while delivering professional-quality results.
References
- https://www.theottohouse.com/blog/how-to-paint-a-checkerboard-wooden-floor
- https://www.benjaminmoore.com/en-us/interior-exterior-paints-stains/how-to-advice/interiors/paint-wood-floors
- https://www.anniesloan.com/us/techniques/how-to-paint-floorboards-with-chalk-paint/
- https://frenchicpaint.co.uk/blogs/frenchic-tv/how-to-paint-wooden-floorboards
- https://www.work-tops.com/a/expert/paint-floorboards
- https://lollyjane.com/how-to-paint-floors/
- https://www.diy.com/ideas–advice/flooring–tiling/laminate–wood-flooring/how-to-paint-floorboards
- https://www.stephenexteriorpainting.com/14-tools-needed-for-concrete-floor-painting
- https://www.homebuilding.co.uk/advice/painting-floorboards
- https://www.watcofloors.com/paint-rolling-supplies-kit/