I’ll show you how to transform your kitchen scraps and garden waste into nutrient-rich compost using simple materials you can find at any UK hardware store. You don’t need expensive equipment or complex systems – just wooden pallets, chicken wire, and a few basic tools will get you started. The key lies in understanding the right balance of materials and proper construction techniques that work specifically with Britain’s unpredictable weather patterns.
Key Takeaways
- Use four wooden pallets with wire and stakes to create a sturdy, cost-effective compost bin structure.
- Choose a sunny location on bare soil for faster decomposition and microorganism access in your garden.
- Maintain a 3-4 parts brown to 1 part green material ratio for optimal composting results.
- Cover bins during wet UK weather and add dry cardboard to prevent waterlogging issues.
- Turn compost weekly and monitor temperature to ensure proper aeration and decomposition throughout seasons.
Essential Materials and Tools for Your DIY Compost Bin

Building a successful compost bin starts with gathering the right materials and tools for your chosen design. I’ll guide you through what you’ll need for the most popular DIY options.
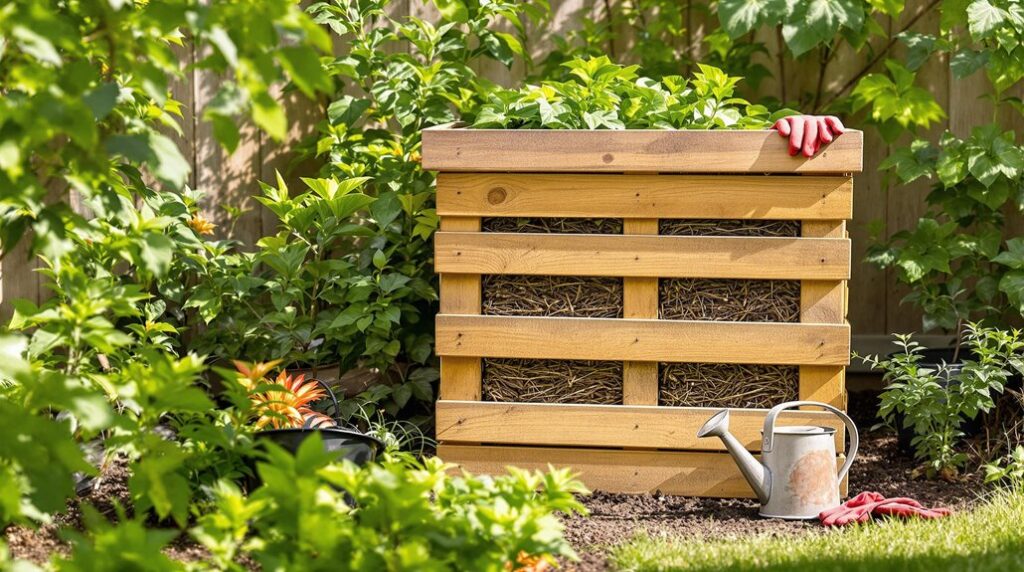
For a classic pallet bin, you’ll want four sturdy wooden pallets, six wooden stakes, and strong wire for securing everything together. Don’t forget chicken wire for the base if rodents are a concern in your area.
Your essential tools include a spade for ground preparation, sledgehammer for driving stakes, and wire cutters for assembly work. Always wear work gloves during construction.
Alternative designs might require different supplies – wire fencing for circular bins, plastic totes for enclosed systems, or barrels for tumbler-style composters. A drill becomes essential for creating proper aeration holes in plastic containers. You’ll also need a rake for turning and aerating your compost materials once the bin is properly constructed.
Choosing the Perfect Location in Your UK Garden
Now that you’ve got your materials and tools ready, let’s find the right spot for your compost bin. I’ll help you choose a location that’ll make your composting journey successful from day one.
Look for a reasonably sunny spot in your garden – this warmth will speed up decomposition and keep your compost active. You’ll want to place it directly on bare soil so beneficial microorganisms can easily access your compost pile and earthworms can work their magic.
If you’re dealing with a hard surface like concrete or paving, don’t worry. Simply add a layer of organic material like leaves, grass clippings, or existing compost underneath. This creates the perfect foundation for your bin while ensuring proper drainage and microbial activity.
Consider the accessibility factor when positioning your bin – you’ll be regularly depositing kitchen scraps and turning your compost, so choose a spot that’s convenient to reach from both your house and garden areas.
Step-by-Step Construction Process for Maximum Efficiency
Five straightforward steps will get your compost bin built efficiently and ready for action. I’ll break down the construction process into manageable phases that’ll have you composting in no time.
First, I prepare the site by clearing and leveling ground with a spade, ensuring placement on bare soil for proper drainage. Adding chicken wire underneath deters unwanted rodents.
Next, I assemble the base structure by positioning the first pallet vertically as the back wall, driving stakes through pallet layers deep into ground. Side pallets attach at right angles, corners butted tightly together.
I secure everything with additional stakes at corners, wiring pallets together for stability. The front gate uses the fourth pallet, cut in half for easy access. Finally, I add finishing touches like covers for heat retention. Remember to elevate the bin slightly using bricks or blocks for better air circulation.
Understanding Green and Brown Composting Ingredients
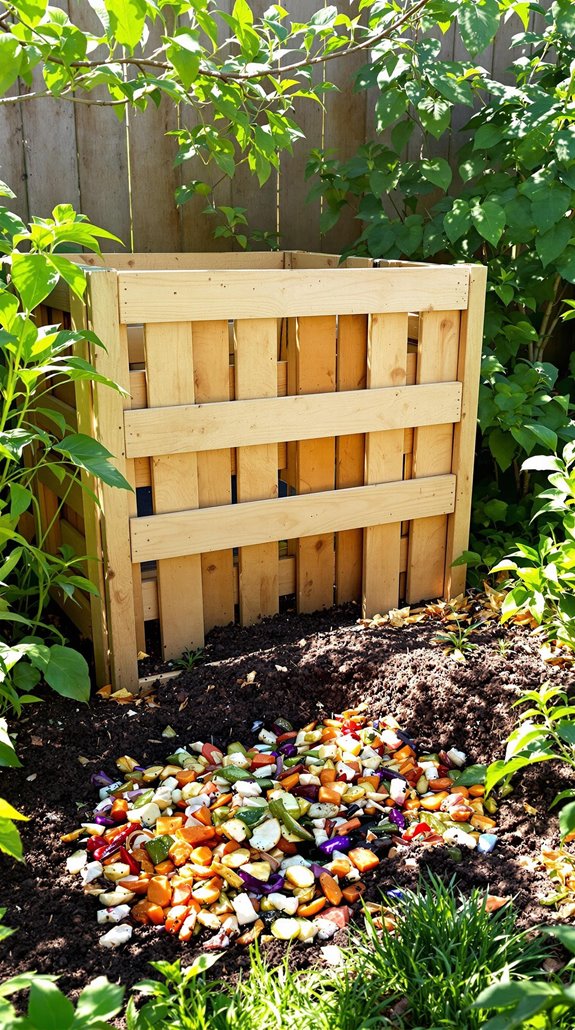
Success with composting hinges on understanding the fundamental difference between green and brown materials. Green materials are nitrogen-rich components like coffee grounds, fresh grass clippings, and vegetable scraps that accelerate decomposition by heating your pile. Brown materials are carbon-rich components like dry leaves, straw, and cardboard that provide structural integrity and absorb excess moisture.
I maintain a 3-4 parts brown to 1 part green ratio by volume for best results. This achieves the ideal carbon-to-nitrogen ratio of 25-30:1. When you smell ammonia, you’ve added too much green material. If decomposition stalls, add more greens. Coffee grounds work brilliantly as a nitrogen booster, while shredded cardboard prevents compaction. Shredding materials increases surface area and speeds up the breakdown process. I adjust these ratios based on moisture levels and temperature to keep everything balanced.
Proper Maintenance Techniques for Healthy Decomposition
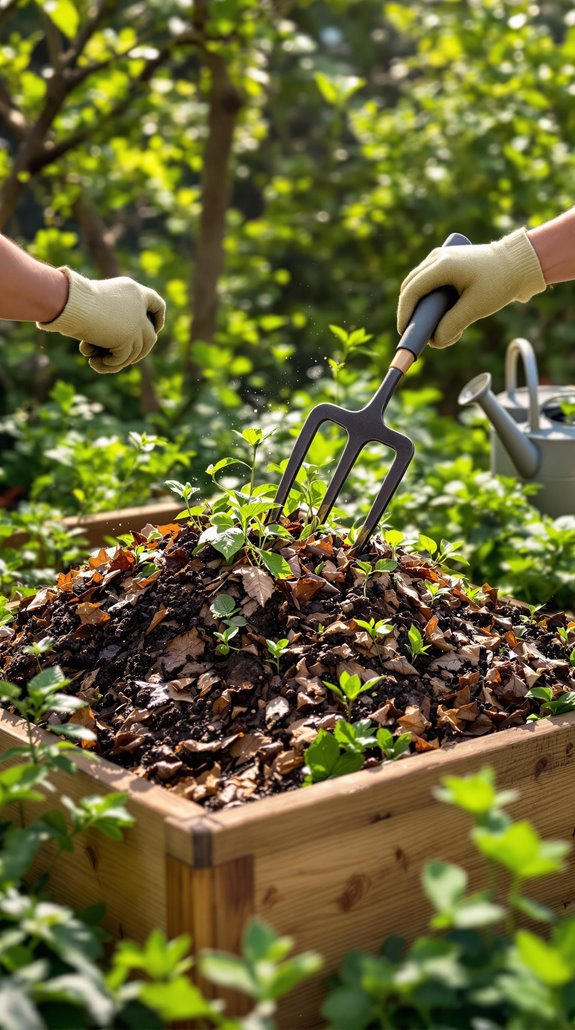
Building your compost bin with the right material balance is just the beginning—maintaining it properly determines whether you’ll get rich, dark compost or a smelly, slow-decomposing mess. I’ll turn my pile every 1-2 weeks using a pitchfork, breaking up clumps to maintain airflow and prevent anaerobic conditions. When temperatures exceed 60°C, I’ll aerate immediately to protect beneficial microorganisms.
Moisture management is essential—I keep my pile damp like a wrung-out sponge, adding water during dry spells and covering it during heavy rain. I monitor internal temperature with a probe thermometer, aiming for 54-65°C. If decomposition slows, I’ll shred materials finer and adjust my carbon-nitrogen ratio while ensuring proper drainage by placing my bin directly on soil. When troubleshooting issues like foul odors, I add dry browns and turn the heap to restore proper balance.
Environmental Benefits and Cost-Saving Advantages
While proper maintenance guarantees your compost bin functions effectively, the environmental and economic benefits you’ll gain extend far beyond your backyard. I’ll show you how your composting efforts directly combat climate change by reducing methane emissions from landfills and sequestering carbon in your soil. Incorporating sustainable materials in your composting process can also enhance the overall effectiveness of your garden.
You’re cutting greenhouse gas emissions considerably compared to throwing organic waste away. Your compost enriches soil structure, boosting water retention while providing slow-release nutrients that eliminate expensive fertilizer purchases. You’ll suppress plant diseases naturally, reducing pesticide dependency.
By composting at home, you’re helping divert food waste from the 6.4 million tonnes that UK households throw away annually. This simple action transforms what would become harmful landfill waste into valuable soil amendment for your garden.
Common Mistakes to Avoid When Building Your Bin
Even experienced gardeners make critical errors when constructing their compost bins that can sabotage months of decomposition work. I’ve seen countless bins fail because they’re placed on concrete instead of soil, blocking natural drainage and organism access. Don’t make this mistake—you’ll end up with stagnant, smelly compost.
I always guarantee my bins have proper drainage taps and ventilation holes. Without these, you’ll face waterlogging and poor airflow that kills beneficial microbes. Position your bin in partial shade on open ground, never in full sun or completely sheltered spots. Additionally, consider using recycled materials for your compost bin structure, which can enhance sustainability while keeping costs low.
Size your bin appropriately for your household’s waste output. Too small means frequent emptying; too large creates maintenance headaches. Build with accessible panels for easy turning—you’ll thank yourself later when maintaining proper aeration becomes effortless. Remember that compost heaps can attract beneficial wildlife like slow worms, hedgehogs, and frogs, which actually help the decomposition process during colder months.
Seasonal Composting Tips for the British Climate
Once you’ve built your bin correctly, Britain’s unpredictable weather becomes your biggest composting challenge. I’ll share the seasonal strategies that keep my compost active year-round.
Winter demands heat retention above all else. I wrap my bins with straw bales or surround them with dry leaf bags for insulation. Positioning bins where they’ll catch winter sun makes a massive difference. I use a compost thermometer to monitor core temperature – below 10°C halts decomposition entirely. Throughout winter, I maintain a 50:50 ratio of brown to green waste to ensure proper decomposition.
During wet months, I cover bins religiously to prevent waterlogging. Mixing dry cardboard with kitchen scraps absorbs excess moisture perfectly. I avoid turning heaps during heavy rain, which releases precious heat.
Come spring, I resume frequent turning and expect decomposition rates to accelerate dramatically with warming temperatures.
Troubleshooting Guide for Optimal Results
Despite following proper construction and seasonal techniques, compost bins occasionally develop problems that halt decomposition or create unpleasant conditions. I’ve encountered every issue imaginable, from stagnant piles to foul-smelling disasters.
When your pile won’t heat up, it’s usually lacking moisture, nitrogen, or proper size. I add water, fresh grass clippings, and guarantee my pile reaches three feet in each dimension. Soggy compost needs carbon-rich materials like shredded cardboard mixed in immediately.
Foul odors signal anaerobic conditions or nitrogen overload. I turn these piles weekly and add dried leaves to restore balance. For pest problems, I maintain consistent moisture levels and bury food scraps deeper.
Coarse texture means I need to chop materials smaller initially. Using a compost sifter helps achieve finer texture by removing large chunks that haven’t fully decomposed. We’re all learning together – these troubleshooting skills develop with experience.
Conclusion
Building your own compost bin isn’t just about reducing waste—it’s about creating a sustainable system that’ll serve your garden for years. I’ve shown you the essential tools, location tips, and maintenance techniques you need for success. Now grab those pallets, find that sunny spot, and start building. Your plants will thank you with healthier growth, and you’ll save money on fertilizers while helping the environment. It’s a win-win situation.
References
- https://www.gardenersworld.com/how-to/diy/how-to-build-a-compost-bin/
- https://tru.earth/blogs/tru-living/how-to-make-a-compost-bin
- https://www.rhs.org.uk/soil-composts-mulches/composting
- https://www.thompsons-plants.co.uk/news/917/how-to-make-a-compost-bin
- https://www.wastewise.co.uk/news/how-to-make-a-compost-bin-a-comprehensive-guide-for-sustainable-gardening/
- https://www.bestathire.co.uk/how-to-create-a-compost-bin
- https://blog.themodernmilkman.co.uk/how-to-build-compost-bin/
- https://greenthumbreview.com/simple-diy-home-compost-bin-ideas/
- https://www.thespruce.com/compost-bin-plans-4769337
- https://www.compostmagazine.com/siting-compost-bin/