I’ll walk you through creating a custom window plant shelf that transforms any UK home into a thriving indoor garden sanctuary. You’ll need precise measurements, quality materials, and the right tools to build a shelf that won’t just hold your plants—it’ll showcase them beautifully while maximizing that precious natural light we cherish here in Britain. The key lies in understanding which mistakes could cost you both time and money before you even pick up your saw.
Key Takeaways
- Measure your window at three points and use kiln-dried timber with poly-acrylic sheeting for a sturdy, transparent shelf base.
- Cut materials with a miter saw, sand from 80-grit to 220-grit, then stain or paint to match your existing woodwork.
- Install using heavy-duty brackets anchored into wall studs, ensuring weight ratings exceed your plant collection’s combined weight.
- Arrange plants by height with tallest at back, group in odd numbers, and place light-hungry succulents nearest the window.
- Rotate plants weekly, water deeply in mornings during summer, and use grow lamps in winter for optimal growth.
Measuring Your Window Space for the Perfect Shelf Fit
Before you reach for your saw, accurate measurements determine whether your plant shelf becomes a perfect fit or an expensive mistake. I’ll guide you through measuring like a pro.
First, grab a metal tape measure—fabric ones stretch and give false readings. Measure your window’s width at three points: top, middle, and bottom. Use the smallest measurement to guarantee your shelf fits properly. Next, measure the depth from glass to frame edge at multiple spots. Adding natural light solutions can also enhance the overall environment for your plants.
Here’s what I’ve learned: if you’ve got room, cut your shelves to extend past the window for better plant display. Don’t have space? You’ll need to cut shorter to fit within the recess. Always double-check measurements before cutting—trust me on this one.
Remember that window placement affects your shelf design choices, as smaller windows are typically found in bathrooms and kitchens while larger ones grace living rooms where you’ll have more space for expansive plant displays.
Essential Materials and Tools for Your Plant Shelf Project
With your measurements locked down, let’s gather everything you’ll need to build your window plant shelf. I’ll break this into categories to make shopping easier.
For wood, grab kiln-dried timber (19mm x 32mm), a 1×6 board cut wider than your window frame, and 2×2 pine boards for support. You’ll also want 6mm poly-acrylic sheeting for the transparent shelf base. Incorporating cost-effective solutions can help you stay within budget while enhancing your indoor garden.
Essential tools include a miter saw for precise cuts, palm sander with 120-220 grit paper, power drill, level, and stud finder. Don’t forget your measuring tape and pencil for marking.
For assembly, stock up on Gorilla Glue Clear, construction adhesive, 3/4″ screws, and load-rated metal brackets. The floating design maximizes sunlight exposure for your plants while maintaining a clean aesthetic. Finally, grab water-based paint, paintable caulk, and brushes for finishing touches.
Cutting Wood to Size and Sanding for a Smooth Finish
Start by double-checking your window measurements against your materials list—accuracy here prevents costly mistakes later. I’ll mark cut lines using a sharp pencil and combination square for straight guidelines across the grain. For crosscuts, I use my miter saw with an 80-100 tooth blade, while rip cuts require the table saw’s rip fence for straight edges. Additionally, thorough planning is essential to ensure all dimensions are accurate and align with your renovation goals.
When cutting multiple identical pieces, I clamp boards together and use stop blocks for consistent lengths. Test angles on scrap wood first—trust me, you’ll thank yourself later.
For sanding, I start with 80-grit paper to eliminate saw marks, progressing through 150 to 220-grit. Always sand with the grain using a sanding block, then remove all dust with a tack cloth before finishing. Remember to pre-drill holes for screws to prevent wood splitting when assembling your frame pieces.
Staining and Painting Your Shelf for a Professional Look
Two finish options will transform your freshly sanded shelf into a professional-looking piece: staining to showcase the wood’s natural grain or painting for a clean, uniform appearance that matches your existing trim. Incorporating budget-friendly tips can help enhance the overall look without breaking the bank.
I’ll guide you through both techniques so you can choose what works best for your space. For staining, apply one coat following the manufacturer’s directions, though you can add more coats for deeper color intensity. The stain penetrates the wood, enhancing its natural beauty while maintaining visible grain patterns. Make sure to stain both the top and underside of your boards for complete protection and a finished appearance.
If you’re painting, select a color that complements your room’s existing woodwork for that built-in look we’re all after. Apply thin, even coats using a quality brush or small roller.
Regardless of your choice, let the shelf dry completely before installing or loading it with plants.
Mounting Brackets and Installing Your Window Shelf

Once your shelf has dried completely, you’ll need to select the right mounting system based on whether you’re installing inside or outside your window frame. For outside mounts, I recommend extending your board 2-3 inches beyond each side and positioning heavy-duty brackets 6-8 inches from the edges. You’ll want to drill directly into wall studs using your power drill and confirm everything’s level before securing with ¾-inch screws. Additionally, consider the importance of inclusive design principles to ensure your indoor garden remains accessible and enjoyable for everyone in your home.
For inside mounts, L-brackets work brilliantly when attached directly to window frame studs. Cut your board to fit precisely within the frame, avoiding any obstructions. Always verify your bracket weight ratings exceed your plants’ combined weight, and test capacity incrementally. Consider adjustable designs that allow you to customize the fit and positioning for different plant arrangements throughout the seasons. Remember, we’re building something that’ll showcase your green thumb for years to come.
Choosing the Right Plants for Your UK Indoor Garden
Now that your shelf’s securely mounted, you’ll want to select plants that’ll actually thrive in your specific UK conditions rather than struggle against them. I’ve learned that matching plants to your room’s unique environment makes all the difference between thriving greenery and disappointing failures.
For north-facing windows with limited light, I recommend Cast Iron Plants, ZZ Plants, or Peace Lilies – they’re practically indestructible in low-light conditions. These shade tolerant varieties are typically hardier than other indoor plant varieties, making them perfect for UK homes with limited natural sunlight. Additionally, using energy-efficient options for heating can help create a more stable environment for your plants. If you’ve got a cool, bright conservatory, try Geraniums or Lemon Cypress trees that actually prefer those conditions.
For drafty bedrooms that get chilly in winter, Dracaena Marginata and Snake Plants are champions at handling temperature fluctuations. These hardy choices will reward your efforts with consistent growth rather than constant worry about their survival.
Arranging Plants for Maximum Visual Impact and Growth

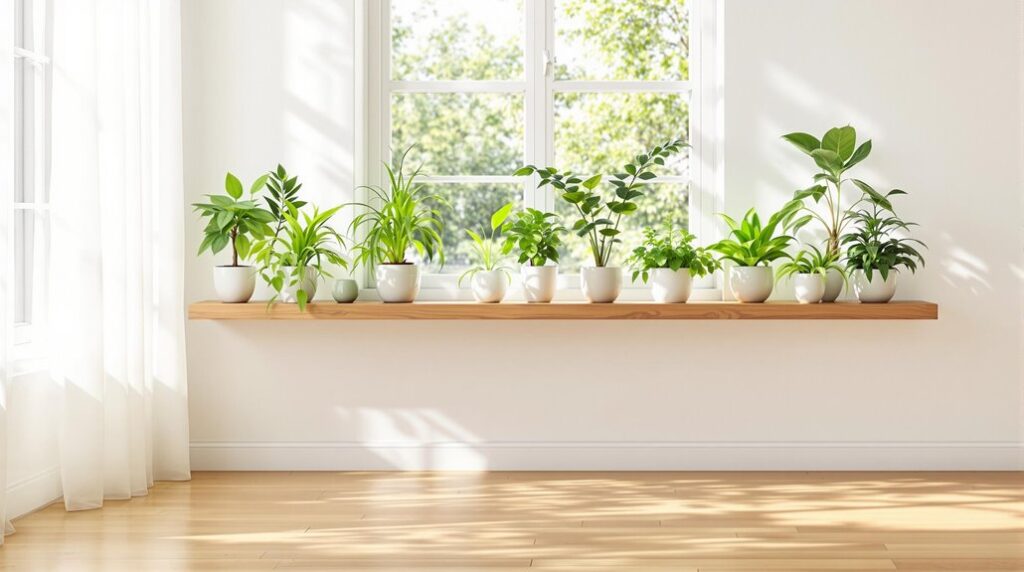
When you’re arranging your chosen plants, think like a garden designer who’s working in three dimensions rather than simply lining pots along your shelf. I’ll position my tallest specimens at the back to create natural depth, then layer medium-height plants forward. I always group plants in odd numbers—three or five works beautifully.
For visual punch, I contrast textures by pairing broad leaves with delicate trailing varieties. My snake plants anchor the display while string-of-pearls softens harsh edges by cascading down. I’ll place light-hungry succulents directly on the sill, then position my pothos on upper shelves where they’ll thrive in medium light.
Consider adding plants with variegated leaves to brighten darker corners of your arrangement, as these naturally lighter foliage patterns help reflect available light throughout your display.
Remember to rotate everything biweekly so each plant receives equal sun exposure. This creates balanced growth and prevents that lopsided look we’re all trying to avoid.
Maintaining Your Window Plant Display Year-Round
Your beautiful window display will only thrive if you adapt your care routine to match the changing seasons and light conditions throughout the year. I’ll rotate my plants weekly to prevent uneven growth and supplement winter’s dim light with grow lamps when needed. During summer, I water deeply in early mornings to reduce evaporation, then cut back frequency as winter arrives. I inspect leaves weekly for pests, treating immediately with organic neem oil to keep problems at bay. Every quarter, I replace spent annuals with fresh varieties—drought-tolerant sedums for summer heat, evergreen ivy for winter interest. I’ll group plants with similar needs together, making seasonal care adjustments simpler while maintaining that vibrant display we’re all working toward. Additionally, incorporating renewable materials in your indoor gardening setup can further enhance sustainability and create a healthy environment for your plants. Creating diverse plant communities within your window display helps establish natural-looking arrangements that provide visual interest throughout every season.
Troubleshooting Common Installation and Plant Care Issues

Even the most carefully planned window shelf project can hit snags during installation or present unexpected challenges once your plants are in place. I’ve learned that wobbly brackets are your biggest enemy—always do a wiggle test after mounting and add extra screws where needed. If you’re dealing with stubborn wall materials, pre-drill holes to prevent splitting and anchor into studs whenever possible.
For plant care issues, I recommend investing in self-watering pots to eliminate the guesswork around watering schedules. They’re game-changers for busy plant parents like us. Additionally, fostering a respectful relationship with your plants by ensuring their needs are met can lead to thriving greenery. Also, don’t forget to adjust your shelf height based on your plant collection—if you’ve got taller specimens, hang the shelf lower to prevent overcrowding. Remember to measure window dimensions several times before cutting any materials to ensure a perfect fit. These small adjustments make all the difference in your growing success.
Conclusion
I’ve walked you through every step—from measuring your window to selecting the perfect plants for your UK indoor garden. You’ve got the tools, techniques, and troubleshooting tips to create a stunning window plant shelf that’ll thrive year-round. Don’t overthink it; start with your measurements and work methodically through each phase. Your new green oasis is just a weekend project away. Grab your drill, pick your plants, and transform that window into something special.
References
- https://www.realhomes.com/news/diy-plant-shelf
- https://www.usqualityconstruction.com/blog/window-plant-shelf/
- https://www.younghouselove.com/adding-a-floating-shelf-to-a-window/
- https://healthhomeandheart.com/2020/11/diy-window-plant-shelf/
- https://grillo-designs.com/diy-floating-window-plant-shelf/
- https://www.doubleglazingnetwork.com/blog/standard-window-sizes-uk/
- https://www.loveandrenovations.com/window-plant-shelf/
- https://www.londonsash.com/knowledge-hub/uk-window-sizes-what-you-need-to-know/
- https://www.uglyducklinghouse.com/diy-houseplant-window-shelves/
- https://www.greenmatch.co.uk/windows/upvc/sizes