
I’ve dealt with condensation dripping from cold water pipes in countless UK homes, and I can tell you it’s more than just an annoying puddle—it’s a moisture problem that’ll create mould, damage your property, and waste your money on repairs. The good news is that you don’t need expensive contractors or complicated solutions to fix this issue permanently. Let me show you exactly how to tackle pipe condensation using proven methods that actually work in our damp climate.
Key Takeaways
- Insulate cold water pipes with polyethylene or elastomeric foam sleeves to prevent warm, humid air from meeting cold pipe surfaces.
- Maintain indoor humidity between 30-50% using dehumidifiers, mechanical ventilation systems, or Positive Input Ventilation like Drimaster-Eco units.
- Focus on high-risk areas including bathrooms, kitchens, and basements where humidity levels can exceed 60% and cause condensation.
- Install professional vapor barriers with overlapping seams and butyl tape sealing to create continuous moisture protection around pipe systems.
- Perform regular maintenance by checking pipe insulation every six months and monitoring humidity levels monthly to prevent future condensation issues.
Understanding Why Cold Water Pipes Develop Condensation in UK Homes
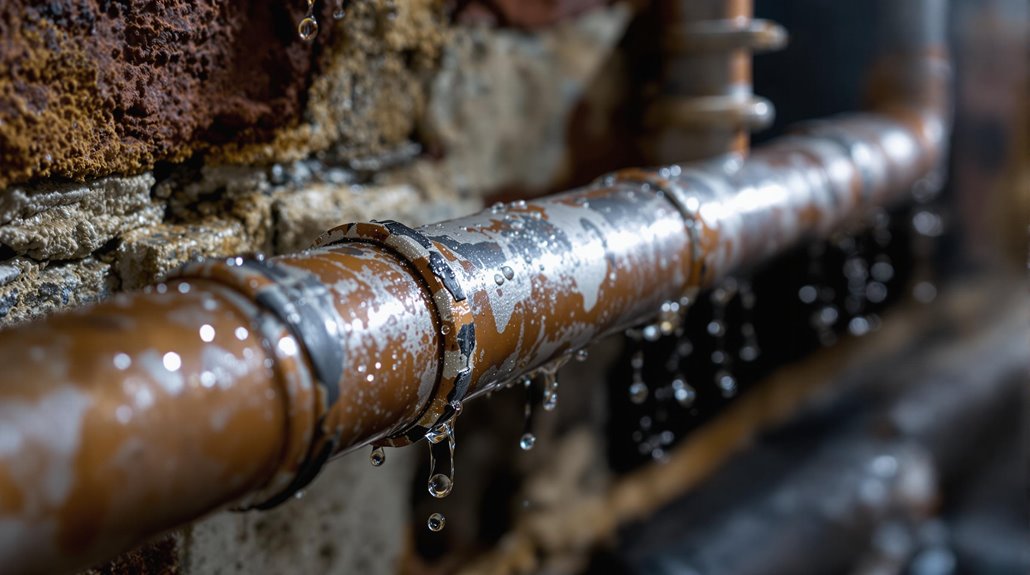
When warm, humid air meets the cold surface of your water pipes, condensation forms instantly—much like droplets appearing on a cold glass of water on a summer day. In UK homes, this happens frequently because our maritime climate creates naturally high humidity levels, whilst cold mains water temperatures often drop below 10°C. Proper home insulation can help mitigate temperature differences and subsequently reduce the condensation risk.
Your home’s heating system makes this worse by creating temperature differences between warm indoor air and cold pipes. Poor ventilation in older UK properties traps moisture-laden air, especially in kitchens and bathrooms where daily activities boost humidity levels. This excess moisture from condensation can lead to mold growth if not properly addressed.
When humidity exceeds 60%, condensation risk jumps considerably. Enclosed spaces like cupboards intensify the problem because airflow can’t disperse moisture effectively around your pipes.
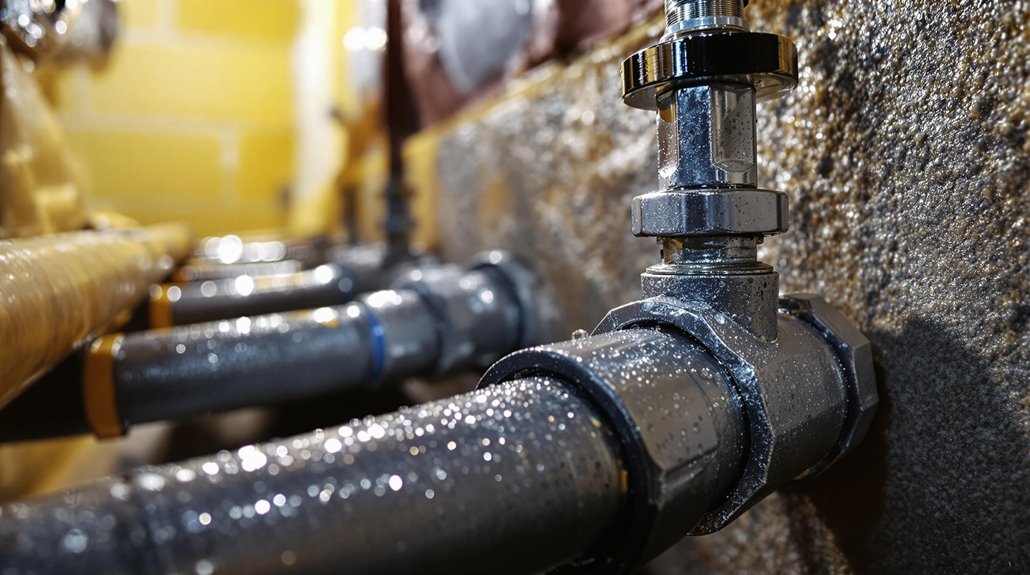
Essential Insulation Materials and Application Techniques for Pipe Protection
Proper insulation materials can eliminate condensation problems on your cold water pipes entirely. I recommend polyethylene foam and elastomeric foam as your best options—both offer excellent thermal protection and moisture resistance that cold pipes need.
Polyethylene foam comes in pre-slit tubes that slip easily over pipes, making installation straightforward for any homeowner. Elastomeric foam works brilliantly too, handling temperatures down to -50°C while conforming perfectly to pipe contours.
For installation, I simply slide the foam tubes over clean, dry pipes and seal all joints with matching tape. Stone wool works well for outdoor applications, though it needs aluminium laminate protection. These materials typically last years without maintenance, giving you permanent condensation control that actually works. Quality insulation can reduce your energy costs by up to 50% while maintaining the desired low temperatures in your cold water system.
Maintaining Optimal Indoor Humidity Levels Between 30-50
While insulation tackles condensation at the pipe level, controlling your home’s humidity creates the foundation for preventing this problem entirely. I recommend maintaining indoor humidity between 30-50% year-round using an affordable hygrometer for monitoring.
Winter requires stricter control at 30-50% since your central heating naturally reduces moisture levels. Summer allows 40-60% due to higher atmospheric humidity. You’ll know there’s trouble when humidity exceeds 60% – that’s when mould thrives and condensation becomes inevitable.
Different rooms need specific attention: keep bedrooms and living areas at 30-50%, while bathrooms can handle 40-60% with proper ventilation. If you’re seeing persistent window condensation or musty odours, your humidity’s too high. Below 30% causes dry skin and respiratory irritation – neither extreme works for your comfort or pipes.
Poor humidity control affects your sleep quality significantly, as both excessively high and low levels can disrupt your rest throughout the night.
Strategic Ventilation Solutions to Combat Stagnant Humid Air
Beyond humidity control, stagnant air creates pockets where moisture accumulates around your cold water pipes, making targeted ventilation your next line of defense. I’ve found that Positive Input Ventilation systems work brilliantly for UK homes, introducing fresh filtered air that displaces humid stagnant zones. The Drimaster-Eco models are particularly effective and retrofit easily into existing properties without structural changes. Additionally, dehumidifiers can quickly reduce excess moisture, complementing these ventilation strategies to enhance overall effectiveness.
For multi-room solutions, I recommend Mechanical Extract Ventilation systems with centralized extraction from multiple areas simultaneously. These low-watt motors operate continuously, preventing moisture buildup before it reaches your pipes. If you’re dealing with period properties, whole-house background ventilation integrates seamlessly while maintaining steady airflow without drafts. Passive vents offer an environmentally friendly solution for targeted areas where structural ventilation isn’t feasible. These strategic approaches create the air movement needed to prevent condensation problems at their source.
Upgrading From Copper to Modern Corrosion-Resistant Pipe Materials
When copper pipes repeatedly develop condensation issues despite proper ventilation, upgrading to modern corrosion-resistant materials often provides the permanent solution you’re seeking. I’d recommend considering PEX tubing or PVC pipes as your top alternatives. They’re not only corrosion-resistant but also have lower thermal conductivity, which greatly reduces condensation formation compared to copper.
PEX offers exceptional flexibility and requires fewer connection points, minimizing potential leak spots. PVC provides smooth interior walls that prevent mineral buildup while remaining completely rust-proof. Both materials cost 30-50% less than copper and come with 25+ year warranties. Additionally, when selecting materials, it’s crucial to obtain detailed estimates to ensure you understand the full scope of work involved.
If you’re dealing with harsh water conditions, stainless steel pipes offer superior durability, though at higher upfront cost. The installation’s faster too, since you won’t need specialized soldering skills. Copper’s antimicrobial properties do promote cleaner water flow, but when condensation becomes a persistent problem, the thermal benefits of modern alternatives typically outweigh this advantage.
Temperature Regulation Methods to Minimise Pipe-Air Differentials
Material upgrades address pipe durability, but controlling temperature differentials between your pipes and surrounding air tackles condensation at its source. I’ll help you implement proven temperature regulation methods that work.
First, maintain your cold water systems below 20°C consistently. This prevents the dramatic temperature gaps that create condensation. I recommend installing thermostatic mixing valves within 2 meters of outlets—they’ll deliver safe 35-46°C discharge temperatures while keeping your distribution system at ideal 55-60°C. Additionally, consider how basement extensions can influence temperature control in your home environment.
Design your pipe routes through cooler zones like external walls, and keep cold water runs short to minimize warming. Use expansion loops for thermal movement management without stress.
Monitor temperatures regularly with sensors that detect deviations in real-time. Document everything for Water Regulations UK compliance—this protects you and maintains system efficiency. Remember that risk assessment is required after any significant changes to your water system, ensuring your temperature regulation methods remain effective.
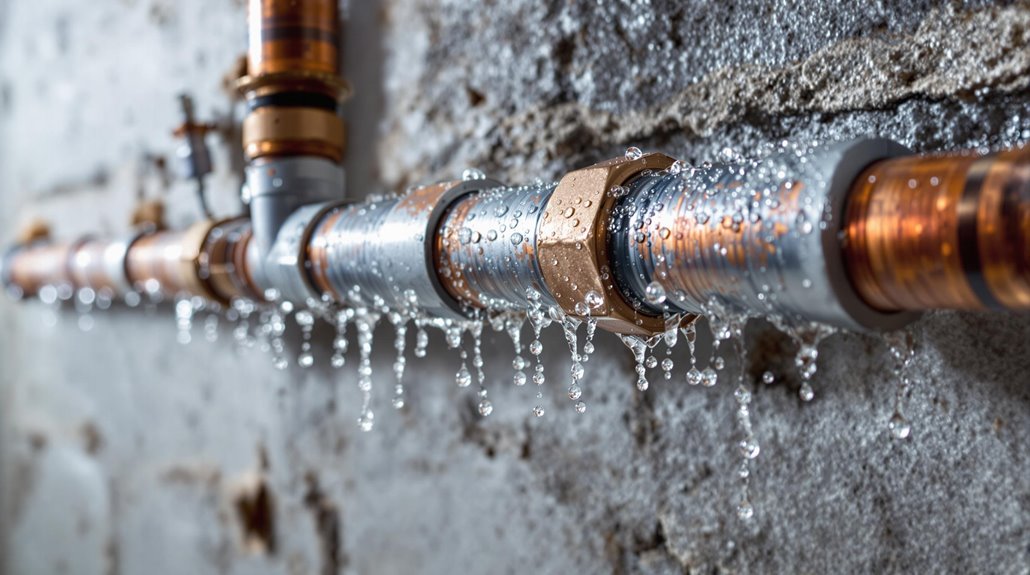
Professional Moisture Barrier Installation Techniques
While temperature regulation reduces condensation risk, professional moisture barrier installation provides the critical defense layer your cold water pipes need. I’ll guide you through the essential techniques that separate amateur attempts from lasting solutions.
Surface Preparation
- Clean pipe surfaces thoroughly to remove dirt and debris
- Inspect for existing damage like corrosion or cracks and repair
- Verify surfaces are completely dry before barrier application
- Select vapor barrier material compatible with pipe material and environment
- Measure and cut barrier material precisely to fit pipe dimensions
Barrier Orientation and Placement
- Position vapor barrier with impermeable side facing warm air source
- Install starting from pipe ends, moving toward central sections systematically
- Cover entire pipe surface including joints, valves, and fittings
- Overlap seams by at least 50mm to prevent moisture penetration
- Secure barrier temporarily during installation to avoid displacement
Sealing and Adhesion Techniques****
- Seal longitudinal seams with butyl tape or compatible adhesive
- Apply adhesive at overlaps and joints for continuous coverage
- Reinforce seals around pipe supports, penetrations, and fittings
- Avoid puncturing barrier during handling or installation
- Press seams firmly to guarantee full adhesion and eliminate air pockets
- Use plastic foil at least 0.2mm thick for optimal moisture resistance and durability
High-Risk Areas: Targeting Kitchens, Bathrooms, and Basements
Even with proper moisture barriers in place, certain areas of your home create perfect storms for condensation problems. I’ve found kitchens, bathrooms, and basements consistently cause the most headaches for homeowners like us.
Your bathroom’s steam can push humidity to 90%, whilst kitchens generate constant moisture from cooking and boiling. These environments turn your cold water pipes into condensation magnets. Basements are equally troublesome – they trap ground moisture and maintain cooler temperatures year-round. Maintaining optimal humidity levels is crucial to preventing condensation buildup.
I always target these specific pipe locations first: toilet cistern feeds, exposed copper under sinks, and basement mains near exterior walls. These spots combine high humidity with temperature differentials, creating ideal condensation conditions. The Green Building Press community often discusses how professionals prioritise insulation in these critical zones first. Focus your insulation efforts here, and you’ll prevent most moisture problems before they start.
Cost-Effective DIY Solutions Using Household Tools and Materials
Since professional pipe insulation can cost hundreds of dollars, tackling condensation problems yourself using common household tools and readily available materials makes perfect financial sense. In the UK, ensuring that your home complies with updated building codes is essential for overall safety and comfort.
I’ll show you how foam pipe sleeves from any hardware store can wrap around your cold water pipes in minutes. You’ll cut them with a utility knife and secure with electrical tape every few inches. Don’t forget to seal gaps around pipes with caulk or expanding foam – this stops warm, humid air from reaching cold surfaces.
Running a dehumidifier in problem areas like basements dramatically reduces moisture levels. Keep those spaces warm with space heaters or improved ventilation. Poor pipe lagging often creates the perfect conditions for moisture problems, so addressing insulation gaps becomes crucial for long-term success. I’ve found that combining pipe insulation with humidity control tackles condensation from both angles without breaking the bank.
Long-Term Maintenance Schedules to Prevent Future Condensation Issues
After you’ve solved your immediate condensation problems with DIY solutions, establishing a consistent maintenance routine becomes your best defense against future issues. I recommend checking your pipe insulation every six months for gaps or damage, replacing any compromised sections immediately. You’ll want to monitor humidity levels monthly, keeping them between 30-50% using dehumidifiers in high-risk areas, as they can be more energy-efficient for drying laundry compared to other methods. Clean your HVAC ducts and exhaust vents twice yearly, and inspect pipe penetrations quarterly for air leaks. If you’ve applied anti-condensation coatings, check them annually and recoat every three years. Pay special attention to steam trap maintenance if your property has any steam heating systems, as condensate buildup can lead to serious water hammer incidents. Document everything in a maintenance log – this helps you spot patterns and stay ahead of problems. Consistent care prevents costly repairs later.
Conclusion
I’ve covered the essential strategies to tackle condensation on your cold water pipes. From proper insulation techniques to maintaining ideal humidity levels, you now have a thorough toolkit. Don’t forget to focus on high-risk areas like bathrooms and kitchens, and stick to regular maintenance schedules. Whether you choose DIY solutions or professional installations, consistent action prevents long-term moisture problems. Start with the most affected areas and work systematically through your home.
References
- https://www.buyinsulationonline.co.uk/blog/tips-on-preventing-condensation-on-pipes
- https://www.thermaxxjackets.com/news/best-way-to-stop-chilled-pipe-sweating/
- https://www.homebuilding.co.uk/advice/condensation-on-cold-water-pipes
- https://happydogplumbing.london/blog/preventing-sweating-pipes
- https://community.screwfix.com/threads/mains-water-pipe-condensation.259762/
- https://www.balkanplumbing.com/sweating-pipes-and-pipe-condensation-causes/
- https://www.rockwool.com/group/products-and-applications/hvac-insulation/pipe-insulation/cold-pipe-insulation/
- https://www.buyinsulationonline.co.uk/blog/types-of-pipe-insulation
- https://insulation-more.co.uk/blogs/the-pipe-duct-lagging-expert/what-insulation-keeps-pipe-cold
- https://www.rockwool.com/uk/applications/hvac-insulation/pipe-insulation/cold-pipe-insulation/