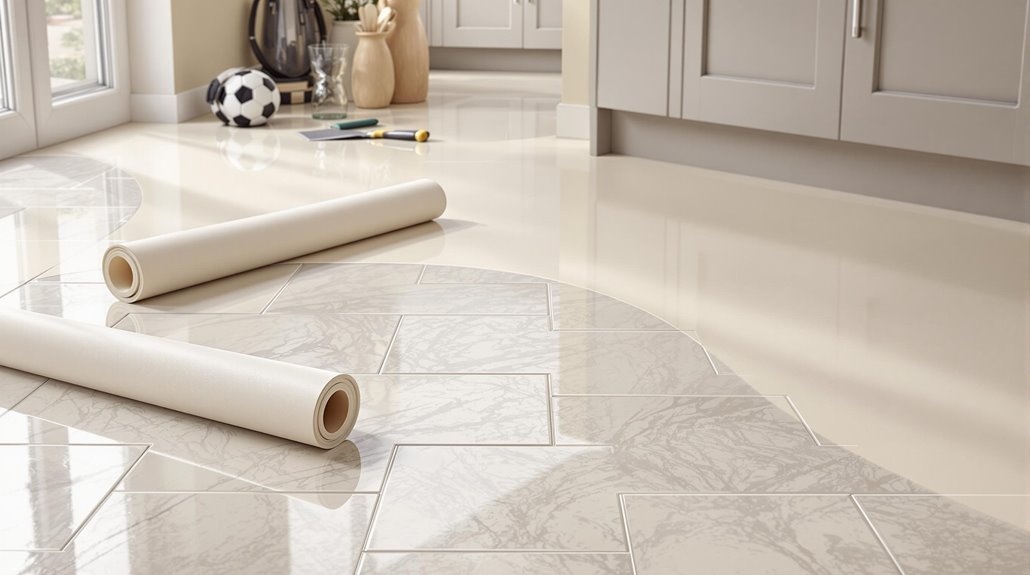
I’ve helped countless UK homeowners transform their tired tiled floors with lino overlays, and I’ll tell you straight – it’s absolutely possible when done correctly. The key lies in understanding your existing tile condition and selecting the right preparation methods. While this approach can save you thousands compared to tile removal, there’s a specific sequence of steps that determines whether you’ll achieve professional results or face costly problems down the line.
Key Takeaways
- Yes, you can install linoleum over tiles if they’re stable, level, and properly prepared beforehand.
- Test tiles by tapping with rubber mallet – hollow sounds indicate loose tiles requiring repair first.
- Fill grout lines exceeding 1mm depth with cement-based compound to create smooth, even surface.
- Choose click-system linoleum for DIY installation as it requires no adhesive and installs tool-free.
- Maintain 15-27°C temperature and acclimate vinyl 24-48 hours in room before installation begins.
Assessing Tile Condition for Lino Installation

Before installing lino over tiles, I need to thoroughly evaluate the existing surface to confirm a successful installation. First, I’ll test tile stability by applying pressure and tapping with a rubber mallet – hollow sounds indicate loose tiles that need addressing. I’ll check for movement, chipping, or lifting edges that could telegraph through the lino.
Next, I’ll assess surface levelness using a 6-foot level, marking any deviations exceeding 3mm over one meter. High spots require grinding, while low areas need self-leveling compound. I’ll examine grout lines for cracking, crumbling, or excessive depth over 3mm. It’s crucial to ensure that the surface is adequately prepared since home extension costs can significantly increase if the underlying structure requires extensive repairs.
Finally, I’ll verify the substrate’s integrity by checking for moisture damage, mold, or soft spots. I’ll also confirm the substrate can support the additional weight, as the combined load of lino and tile adhesive can add approximately 5kg/m² to the floor structure. Proper assessment confirms we’ll achieve the professional finish we’re aiming for together.
Essential Preparation Steps Before Laying Lino
Once you’ve confirmed your tiles provide a suitable foundation, proper preparation becomes the determining factor between a professional installation and a problematic floor. I’ll start by thoroughly vacuuming and scrubbing your tile surface with pH-neutral detergent to eliminate grease residues. After rinsing and complete drying, I’ll wipe everything down with denatured alcohol for final degreasing.
Next, I’ll fill any grout lines exceeding 1mm depth using cement-based patching compound, then sand smooth with 120-grit sandpaper once cured. I’ll check levelness with a 2-meter straightedge—you can’t exceed 3mm deviation per meter. For measuring your room accurately, I’ll multiply the width by height to determine the total square footage needed.
Finally, I’ll unroll your vinyl in the installation room 24-48 hours beforehand, maintaining consistent temperature between 15-27°C throughout the process.
Choosing the Right Lino Products for Tile Surfaces

With your tile surface properly prepared, selecting the right linoleum product becomes critical for long-term performance over your existing floor. I recommend click-system linoleum for DIY installation – it’s tool-free and floats over tiles without adhesive. For wet areas like bathrooms, choose luxury vinyl tiles (LVT) with waterproof cores starting from £9.99 per unit. Additionally, consider the typical renovation costs associated with upgrading your flooring, as this can influence your overall budget.
Sheet linoleum works brilliantly for larger spaces, creating seamless coverage with minimal joins. If you’re after durability, look for 0.5mm+ wear layers that’ll withstand heavy traffic for 10+ years. Forbo Marmoleum offers 98% natural materials with excellent anti-microbial properties, while Polyflor Camaro provides non-absorbent vinyl options. Marmoleum’s bacteriostatic properties provide constant protection against bacterial growth without diminishing over time. The key is matching your product’s moisture resistance to your room’s humidity levels for best results.
Step-by-Step Installation Process Over Existing Tiles
After you’ve selected your linoleum product, the installation process requires methodical execution to achieve professional results over your tile surface. I’ll start by acclimating your vinyl for 48 hours in the room to prevent post-installation movement. Next, I’ll begin laying planks parallel to your longest wall, maintaining that essential 1/4-inch expansion gap along all edges. You’ll want to stagger end joints by at least 6 inches for both visual appeal and structural integrity. I’ll use a utility knife and straightedge for precise cuts around obstacles like pipes or corners. Before proceeding, I’ll fill any large grout lines with thin-set mortar to create a completely smooth surface for optimal vinyl adhesion. Once installed, I’ll roll the floor with a 100-pound roller to secure adhesive bonds and eliminate air pockets, ensuring your new floor performs beautifully.
Weighing Benefits Against Potential Drawbacks

Before committing to linoleum installation over existing tiles, you’ll need to evaluate significant advantages against notable limitations that could impact your project’s success. I’ve found the cost savings substantial—you’ll eliminate demolition expenses while reducing labour costs through simpler installation. The process is genuinely DIY-friendly, offering immediate use without curing time and minimal household disruption.
However, I must highlight critical drawbacks. Moisture can become trapped beneath, creating mould risks, while scratches from furniture and UV fading are common issues. If your existing tiles have cracks or uneven grout lines, you’ll face adhesion problems and visible telegraphing. The water-resistant surface isn’t fully waterproof, and high-humidity areas accelerate degradation. Vinyl’s multiple layers provide enhanced durability compared to single-layer alternatives, though this doesn’t eliminate all performance concerns. Consider these trade-offs carefully before proceeding.
Professional Tips for Long-Lasting Results
Although proper installation techniques determine whether your lino-over-tile project succeeds or fails within months, I’ve observed most DIYers skip critical preparation steps that professionals never overlook.
I always acclimate lino for 48 hours before installation—this prevents expansion issues that’ll ruin your work. You’ll need a 100-pound roller for uniform adhesion; hand-pressing won’t cut it. Stagger your seams by 6-8 inches to distribute weight properly and prevent buckling. Additionally, proper insulation can significantly enhance your home’s thermal efficiency, making it more comfortable year-round with lower energy bills.
Temperature control matters more than you’d think. Keep your room between 18-27°C during installation and avoid high-moisture areas unless you’re using waterproof products with sealed seams. Check for any uneven surfaces before starting, as these will telegraph through your lino and create visible imperfections.
After installation, wait 24-48 hours before moving furniture back. I re-roll edges annually with a heavy roller—this simple step prevents lifting that destroys otherwise perfect installations.
Maintenance Requirements for Lino Over Tiles

Your lino-over-tile installation’s lifespan depends entirely on consistent maintenance that addresses the unique challenges of this flooring combination. I’ll focus your attention on the critical areas where tile underlayment creates vulnerability.
Daily sweeping prevents grit from settling into seams where linoleum meets tile edges. I recommend pH-neutral cleaners exclusively—harsh chemicals weaken adhesive bonds at these junction points. Damp mop weekly with a well-wrung mop, then dry immediately to prevent moisture infiltration under edges. Incorporating energy-efficient upgrades in your renovation can also enhance the longevity of your flooring.
Furniture pads aren’t optional here; they’re essential for preventing indentations that telegraph tile patterns beneath. Place doormats strategically to reduce tracked debris that accumulates along grout lines. With proper care, your genuine linoleum flooring can maintain its integrity for 25 to 40 years even over this challenging substrate.
Apply thin wax coats annually and reseal every two years. The tile substrate’s height variations stress the linoleum differently, making professional deep-cleaning every 18 months your insurance against premature wear.
Conclusion
I’ve found that installing lino over tiles works brilliantly when you’ve done the prep work properly. You’ll get excellent results if you’ve assessed your tile condition, filled those grout lines, and chosen the right click-system product. Don’t skip the acclimatization step – it’s essential for preventing future problems. With proper installation and regular maintenance, you’ll have durable flooring that’ll last years without the hassle of tile removal.
References
- https://www.blesserhouse.com/how-to-install-sheet-vinyl-flooring-over-tile/
- https://www.idealhome.co.uk/diy/can-you-put-lino-over-tiles
- https://www.easipaycarpets.co.uk/blog/vinyl-flooring-over-tile-tips/
- https://www.mybuilder.com/questions/v/26943/is-it-possible-to-lay-new-vinyl-over-old
- https://www.stonesuperstore.co.uk/advice/tile-installation/what-to-do-before-tiling-over-vinyl-or-linoleum
- https://www.kentflooringuk.co.uk/put-vinyl-flooring-over-tile/
- https://tekaflooring.co.uk/blog/can-you-put-vinyl-flooring-over-tile/
- https://www.tilingadvice.co.uk/blog/post/can-you-tile-over-vinyl-flooring/
- https://www.vinylflooringuk.co.uk/blog/install-vinyl-flooring-yourself-a-step-by-step-guide.html
- https://tekaflooring.co.uk/blog/vinyl-flooring-installation/

