
I’ve tackled countless greasy kitchen walls throughout my DIY career, and I’ll tell you straight—painting over grease without proper preparation is a recipe for disaster. Your fresh paint will bubble, peel, and look absolutely dreadful within weeks. However, there’s a proven method that transforms even the greasiest surfaces into perfectly paintable walls. It’s not complicated, but you must follow specific steps in the correct order, or you’ll waste time and money on a job that won’t last.
Key Takeaways
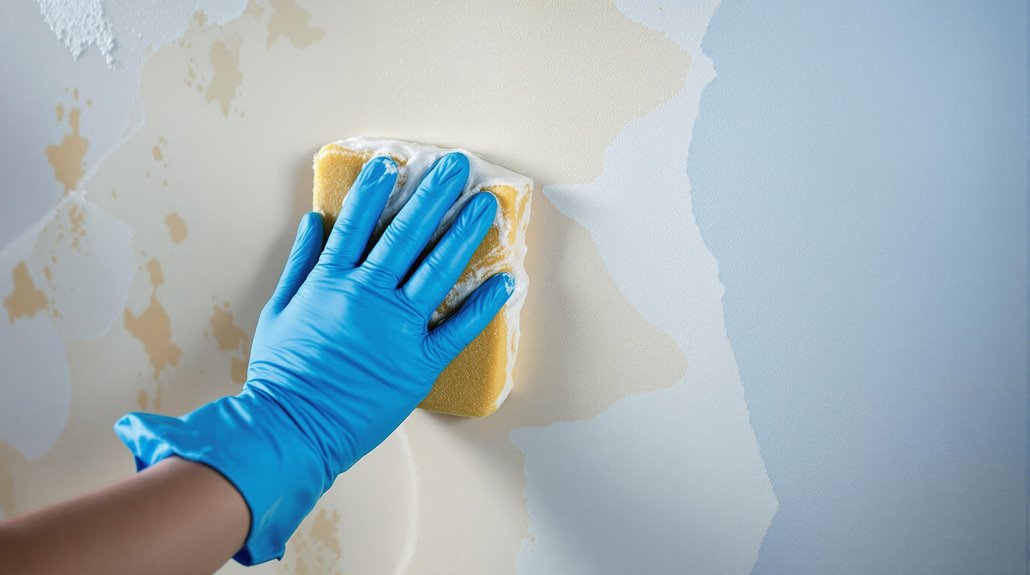
- Clean grease thoroughly with sugar soap before painting; rinse with warm water and ensure surfaces are completely dry.
- Apply shellac-based primer like Zinsser B-I-N to seal grease stains and create an impenetrable barrier for paint adhesion.
- Use high-density rollers with “W” strokes and apply two thin coats instead of one thick application for durability.
- Choose satin or semi-gloss washable paints that resist grease absorption and provide easy cleaning for kitchen walls.
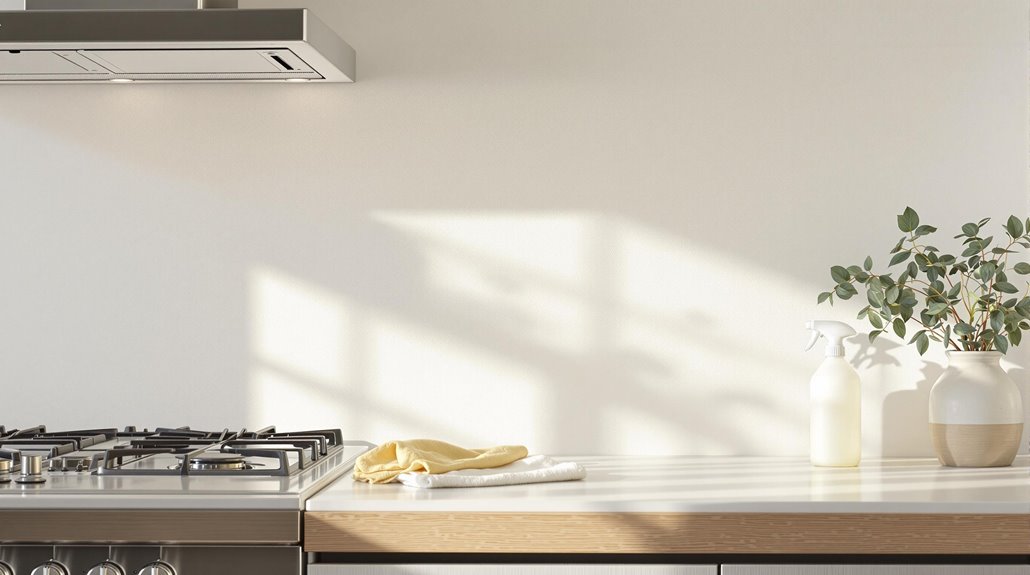
- Install exhaust fans and wipe walls immediately after cooking to prevent future grease buildup on painted surfaces.
Essential Preparation Steps Before Tackling Greasy Walls
Five critical preparation steps separate a successful paint job from a disappointing one when you’re dealing with greasy walls. I’ll walk you through each essential stage that guarantees your paint actually sticks and stays put.
First, I clean thoroughly with sugar soap to cut through grease and grime, then rinse with warm water. Additionally, typical cost structures can help you plan your budget effectively before starting the painting process. Next, I repair the surface by filling holes and cracks with flexible filler, confirming everything’s smooth and flush. Then I sand lightly with fine-grit paper to create proper adhesion. Areas with peeling paint require extra attention during this sanding stage to ensure a solid foundation. The fourth step involves applying shellac-based primer to seal those stubborn stains completely. Finally, I do a final cleaning to remove all dust and verify everything’s bone dry before painting.
These aren’t optional shortcuts—they’re your foundation for professional results.
Proven Grease Removal Techniques That Actually Work
Once you’ve prepared your surface properly, selecting the right grease removal technique determines whether your paint job succeeds or fails within months. I’ll share five proven methods that work consistently.
For light grease, mix equal parts white vinegar and warm water. Spray, wait 3-5 minutes, then wipe in circles. For stubborn spots, make a baking soda paste with water, apply for 2-3 minutes, then scrub gently. Additionally, malt vinegar is a natural alternative that can also effectively cut through grease.
Dish soap works brilliantly—mix 1:4 with warm water, let penetrate 5 minutes, then wipe with microfiber cloth. For commercial options, choose plant-based degreasers without ammonia. Always test cleaning solutions on an inconspicuous area first to prevent paint damage or discoloration.
Got wallpaper? Cornstarch paste (1:2 with cold water) absorbs oils without liquid damage. Let it sit 10 minutes, then brush off.
Choosing the Right Primer to Block Stubborn Stains
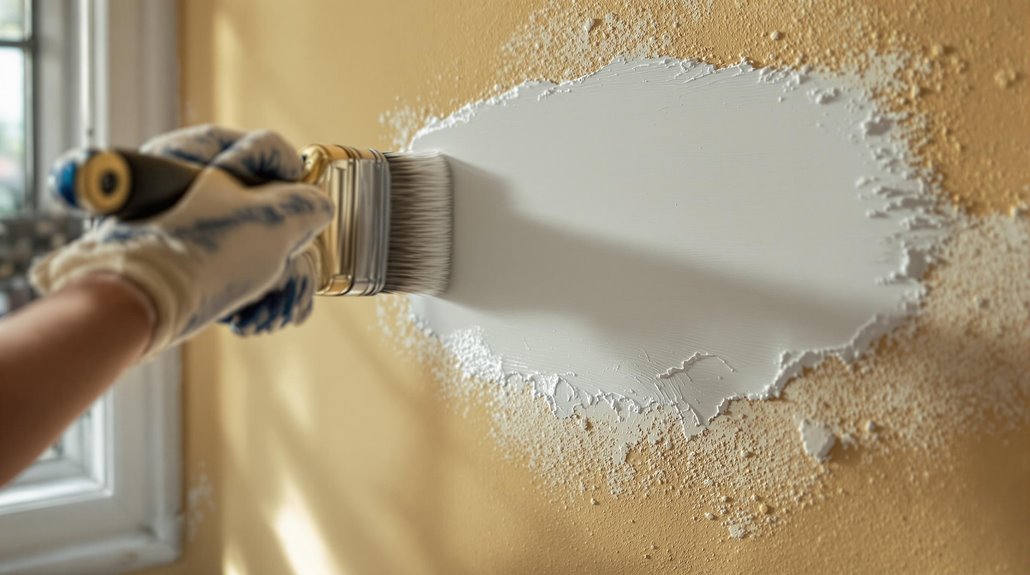
After removing surface grease, your primer choice becomes the make-or-break factor that determines whether those stains bleed through your fresh paint job. I’ve found shellac-based primers like Zinsser B-I-N consistently outperform alternatives—they dry in just 15 minutes and create an impenetrable barrier against grease, smoke, and odours. You can’t rely on standard water-based primers here; they’ll fail every time.
For versatility across surfaces, oil-based options like Zinsser Cover Stain work brilliantly, though you’ll wait up to 2 hours for drying. I always avoid oil-based primers on wood to prevent adhesion issues.
The key? Apply 1-2 coats directly over cleaned surfaces—no sanding required. This approach permanently seals stains and eliminates odours, ensuring your topcoat performs exactly as intended. Water-based primers offer the advantage of minimal environmental impact while still providing reliable coverage for lighter staining issues. Additionally, using a quality primer can significantly enhance the aesthetic benefits of your overall paint job, making the space feel more modern and inviting.
Professional Painting Methods for Long-Lasting Results
Since proper primer application sets the foundation, your painting technique becomes the critical factor that separates amateur work from professional results. I’ll share the methods that deliver lasting coverage over grease-prone surfaces.
Use high-density rollers—9-inch for walls, 4-inch for detailed work. Apply paint using “W” or “M” strokes for even distribution, maintaining a wet edge to prevent lap marks. I always select moisture-resistant, washable paints specifically labeled for kitchens. Additionally, consider the principle of inclusive design to ensure your painted surfaces accommodate various needs and preferences.
Two thin coats outperform one thick application every time. Allow complete drying between layers while maintaining cross-ventilation to accelerate the process. Inspect your work under varied lighting conditions to catch any missed spots.
For ceilings, extension poles guarantee consistent pressure and reach. Clean tools immediately with soapy water—this preserves their functionality for future projects. Choose satin finish paint for superior resistance to grease and moisture compared to other options.
Smart Prevention Tips to Keep Your Walls Grease-Free
While proper painting technique guarantees quality coverage, preventing grease buildup eliminates the need for frequent repainting altogether. I’ll share prevention strategies that’ll keep your walls pristine.
First, establish a weekly cleaning routine using dish soap and baking soda paste for stubborn spots. Install splatter guards and use exhaust fans during cooking – they’re game-changers for reducing airborne grease. Wipe walls immediately after cooking sessions; fresh grease removes easily compared to set-in stains. Additionally, consider that effective insulation can help maintain a comfortable cooking environment, reducing the likelihood of grease accumulation from excess heat.
Choose semi-gloss or washable paints that resist grease absorption. Apply stain-blocking primer before painting for extra protection. Position cooking equipment away from walls when possible, and keep lids on pans to minimize splatter. Remember that proper preparation saves time and money in the long run compared to repeatedly dealing with grease stain issues.
These simple habits prevent the frustrating cycle of scraping, priming, and repainting grease-stained surfaces.
Conclusion
I’ve shown you that painting over grease isn’t impossible—it’s about proper preparation. Clean thoroughly with sugar soap, prime with shellac-based products, and apply thin paint coats for durability. Don’t skip the prep work or you’ll waste time repainting. Use splatter guards and maintain regular cleaning schedules to prevent future grease buildup. Follow these technical steps precisely, and you’ll achieve professional results that last years, not months.
References
- https://www.homebuilding.co.uk/advice/painting-over-grease-stains
- https://www.thedecoratorsforum.com/how-to-paint-over-grease/
- https://www.mybuilder.com/questions/v/2274/how-to-paint-over-grease-stains-on-new-plaster
- https://www.tiktok.com/@melanielissackinteriors/video/7242953485271043355
- https://www.myworkman.co.uk/questions/view/2069/how-to-paint-over-oil-based-paint-on-walls-/
- https://www.diy.com/ideas-advice/prepping-your-walls-for-painting/CC_npcart_700010.art
- https://www.mumsnet.com/talk/property/2888326-How-to-prepare-really-grimy-kitchen-walls-for-painting
- https://www.hamiltondecoratingtools.co.uk/knowledge-room/guides/how-to-prepare-walls-for-painting/
- https://www.familyfirstcompanies.com/how-to-remove-grease-from-walls-without-removing-paint/
- https://cleancorp.biz/stains-and-grease/