I’ll show you exactly how to transform your glossy kitchen cabinets without breaking the bank or hiring professionals. You’re probably wondering if it’s even possible to paint over that slick, shiny surface – and I can tell you it absolutely is. The key lies in proper preparation and choosing the right materials for the job. But there’s a specific order you’ll need to follow, and skipping even one step could leave you with peeling paint and wasted effort.
Key Takeaways
- Yes, you can paint gloss kitchen cabinets by thoroughly sanding, degreasing, and using proper oil-based primers for adhesion.
- Use medium grit sandpaper (80-150) followed by fine grit (180-220) to remove gloss and create paintable surface.
- Apply Zinsser Cover Stain primer or similar oil-based primer specifically designed for glossy surfaces before painting.
- Choose trade-quality paints like Dulux Cupboard paint over retail alternatives for better durability and professional results.
- Remove cabinet doors, clean with sugar soap degreaser, and allow 21-30 days curing time for maximum durability.
Essential Tools and Materials for Painting Gloss Kitchen Cabinets
When you’re ready to transform your gloss kitchen cabinets, having the right tools and materials makes the difference between a professional-looking finish and a disappointing result. You’ll need sugar soap or degreaser, rubber gloves, and a kitchen scourer for thorough cleaning. For surface preparation, gather medium grit sandpaper (80-150), fine grit sandpaper (180-220), and all-purpose filler for any imperfections. Your painting arsenal should include quality paintbrushes, a mini foam roller, paint tray, and masking tape for crisp edges. Most importantly, invest in oil-based primer and high-quality paint in your chosen finish. Consider specialized products like Dulux Cupboard paint, Zinsser AllCoat, or Frenchic AlFresco for durability. Additionally, be aware of cost-effective materials that can help keep your renovation budget in check. Don’t forget drop cloths and clean, damp cloths for cleanup. Remember that proper preparation is absolutely critical for success, as poor preparation leads to a subpar finish and reduced durability even when the initial appearance looks good.
Removing Cabinet Doors and Hardware Safely
With your tools and materials ready, you’ll need to safely remove your cabinet doors and hardware before starting the painting process. I’ll start by supporting each door’s weight while removing the hinge screws with my Phillips screwdriver. For concealed hinges, I’ll press the quick-release lever upward to detach them easily. I always label each door and store the screws in corresponding bags – this saves massive headaches during reinstallation. Proper kitchen layout planning ensures that the doors are removed in a way that maintains the structural integrity of the cabinets.
For handles and knobs, I’ll unscrew fasteners from inside the cabinet. If paint’s covered the screws, I’ll scrape it off with my utility knife first. I’ll place drop cloth below to catch falling hardware and apply painter’s tape around fixtures to protect the cabinet surfaces. I’ll use pliers for stubborn screws that won’t budge with the screwdriver alone. Finally, I’ll arrange doors horizontally on sawhorses to prevent warping.
Deep Cleaning and Degreasing Your Cabinet Surfaces
Before I can apply primer and paint, I’ll need to thoroughly clean and degrease every cabinet surface to guarantee proper paint adhesion. I’ll start with a dry microfibre cloth to remove loose debris, then tackle grease with a degreaser spray, applying real elbow grease for stubborn spots.
For heavy grime, I’ll mix equal parts white vinegar and water, dampening my microfibre cloth without oversaturating. I’ll test this solution in an inconspicuous area first, then rinse immediately with water to prevent acidic damage. Proper cleaning is essential, as it enhances the longevity of insulation effectiveness for any future projects.
My go-to cleaning solution combines warm water with minimal gentle dish soap – keeping concentrations dilute prevents cloudiness. After cleaning, I’ll buff everything dry with a separate microfiber cloth, inspecting under bright light for water spots that could interfere with paint adhesion. I’ll use gentle sweeping strokes when wiping the cabinet surfaces to avoid creating any micro-scratches that could show through the new paint finish.
Sanding Techniques for High-Gloss Finishes
Achieving a flawless high-gloss finish demands meticulous sanding that progresses through multiple grit stages, each serving a specific purpose in creating that mirror-like surface.
I’ll start with 80-120 grit to strip existing finishes, then progress to 150-180 grit for smoothing. The final 220-320 grit creates that ultra-smooth base vital for gloss reflectivity. I use my random orbital sander for flat surfaces and switch to detail sanders for edges and corners.
Here’s what’s important: I always sand with the grain direction and maintain light, even pressure to prevent swirls. Between each grit change, I clean thoroughly with a tack cloth and inspect for imperfections. This meticulous preparation increases longevity of the finished pieces, ensuring your high-gloss cabinets maintain their stunning appearance for years to come. Remember, gloss magnifies every flaw, so meticulous preparation now saves disappointment later. Additionally, proper painting techniques can further enhance the overall finish and durability of your cabinets.
Choosing the Right Primer for Kitchen Cabinets
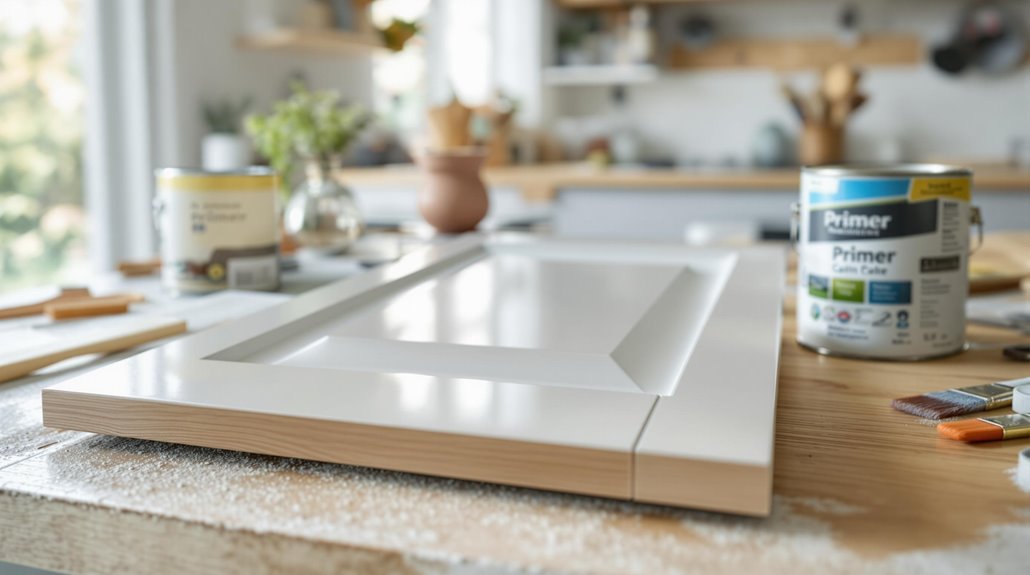
Since your kitchen cabinets will endure daily exposure to grease, moisture, and temperature fluctuations, selecting the right primer becomes the foundation that determines whether your paint job lasts months or years.
I’ve found oil-based primers work best on glossy surfaces, providing superior adhesion where others fail. For UK DIYers, Zinsser Cover Stain offers excellent stain-blocking properties, while Sherwin-Williams Bonding Primer tackles challenging laminate surfaces effectively.
Here’s what separates successful cabinet painters from weekend warriors: they match primer type to cabinet material. Wood cabinets need different treatment than laminate or previously painted surfaces. Don’t skip the degreasing step—kitchen grime destroys primer adhesion.
Apply thin, even coats and resist rushing the drying time. Your patience here prevents headaches later. The right primer prevents peeling of your topcoat, ensuring your kitchen transformation stands the test of time.
Best Paint Types for UK Kitchen Cabinet Makeovers
After choosing the right primer, your paint selection becomes the make-or-break decision for your kitchen cabinet transformation. I’ve found that durable, scrubbable paints are absolutely vital for cabinets that’ll withstand daily use. Additionally, budgeting for estimated costs related to your DIY project can help ensure you have adequate resources for high-quality materials.
For finish options, I recommend either eggshell or satin. Eggshell provides excellent durability while maintaining a subtle, sophisticated appearance that won’t show every fingerprint. Satin offers slightly more sheen and superior wipeable properties, making cleanup effortless after cooking sessions.
Both finishes resist moisture and grease – essential factors in UK kitchens. They’re also forgiving during application, which matters when you’re tackling this project yourself. The key is selecting a high-quality paint specifically formulated for cabinetry. Don’t compromise here; your cabinets need protection that’ll last years, not months. Trade paints consistently outperform retail alternatives in both quality and long-term durability.
Professional Application Methods and Brush Techniques
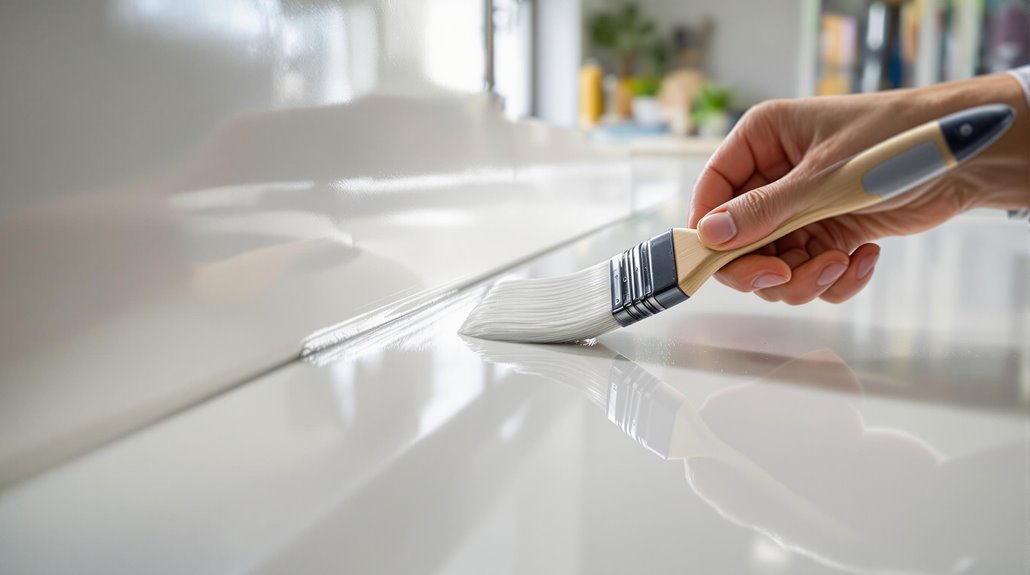
While your paint choice sets the foundation, the application method determines whether your cabinets look professionally finished or clearly DIY. I’ll break down your two main options so you can choose what works for your situation.
Spraying delivers that coveted factory-smooth finish but requires proper equipment and a dust-free workspace. You’ll need to invest in a quality spray gun and work in thin coats to avoid drips. This method eliminates brush marks and creates the flawless outcome that mimics factory-applied coatings.
Brushing is more accessible for most DIYers. Use high-quality synthetic brushes and work in sections, following the wood grain. Maintain a wet edge to prevent lap marks, and consider mini rollers for flat panels.
Both methods demand thorough surface prep—clean with degreaser, sand glossy surfaces, and repair any imperfections first.
Proper Drying and Curing Timeline
Understanding the difference between drying and curing will save you from costly mistakes that could ruin your cabinet project. I’ve learned that drying makes surfaces touch-dry within hours, but curing takes weeks to achieve maximum durability.
For gloss finishes, I’ll give you the timeline: water-based paints dry in 1-2 hours but need 21-30 days to cure, while oil-based takes 6-8 hours to dry and 7-10 days to cure fully. The sheen level of your paint affects both drying and curing times, with high-gloss finishes often requiring longer cure periods than flat paints. Here’s what I do – light cabinet use after 24 hours, reattach doors after 48 hours, but wait the full cure time before exposing them to steam or cleaning chemicals.
Reassembly Tips and Long-Term Maintenance
Once your gloss paint has fully cured, proper reassembly becomes critical to preserving that professional finish you’ve worked so hard to achieve. I’ll organize hardware systematically and clean each piece before reinstallation. Using a level, I’ll verify hinge alignment and work in a dust-free space to protect painted surfaces. Additionally, incorporating stylish wall finishes can complement your kitchen aesthetic, enhancing the overall look.
When reattaching doors, I’ll mount hinges to frames first, then align doors with shims for even gaps. Hand-tightening screws initially allows micro-adjustments before final securing. For hardware, I’ll use thread-locking adhesive and positioning templates for consistency.
After reassembly, I’ll test each door 10-15 times, checking for friction or paint transfer. Long-term maintenance involves monthly cleaning with pH-neutral soap, immediate spill cleanup, and quarterly hinge inspections to maintain that showroom appearance. Remember that proper surface preparation was essential for achieving this durable finish that will now withstand daily use.
Conclusion
I’ve walked you through every step needed to transform your glossy kitchen cabinets into something fresh and modern. With proper tools, thorough prep work, and quality materials, you’ll achieve professional-looking results that’ll last for years. Don’t rush the process—take time with each stage, especially sanding and priming. Your patience will pay off with a stunning kitchen makeover that saves you thousands compared to cabinet replacement. You’ve got this!
References
- https://www.homebuilding.co.uk/advice/painting-gloss-kitchen-cabinets
- https://www.mosdesigns.co.uk/advice-inspiration/general-advice/can-you-paint-gloss-kitchen-cabinets/
- https://www.tiktok.com/@homeofharro/video/7504987928498621718
- https://www.dreamofhome.co.uk/2022/06/23/how-to-paint-your-kitchen-cabinets/
- https://www.idealhome.co.uk/diy/can-you-paint-gloss-kitchen-cabinets
- https://www.tikkurila.co.uk/diy-kitchen-cabinet-kit
- https://www.diy.com/departments/rust-oleum-white-gloss-kitchen-cupboard-paint-tester-samples-10ml/5013296766326_BQ.prd
- https://www.youtube.com/watch?v=xl5ONKQ-KfM
- https://blog.frelanhardware.co.uk/how-to/how-to-change-kitchen-cabinet-door-handles-a-diy-guide
- https://www.youtube.com/watch?v=DSS4zgma6gw