I’ve tackled countless painting projects where homeowners assume they can simply roll new paint over that stubborn gloss finish—only to watch it peel away weeks later. The truth is, gloss paint creates a slick surface that repels most paints, but there’s a specific strategy that’ll guarantee your new finish stays put. I’ll walk you through the exact paint types and preparation steps that professional painters use to transform glossy surfaces into beautifully finished walls that last.
Key Takeaways
- Heavy-duty latex or alkyd paints work best for high-gloss surfaces after proper preparation.
- Sand with 180-grit sandpaper to remove glossy sheen and create better paint adhesion.
- Always use adhesion-promoting primer like Super Grip rather than standard primers on gloss surfaces.
- Oil-based paints are ideal for kitchen cabinets and trim, while quality acrylic latex suits semi-gloss areas.
- Never skip surface preparation—wash with sugar soap, sand, fill holes, and prime for best results.
Understanding Gloss Paint Surfaces and Their Challenges
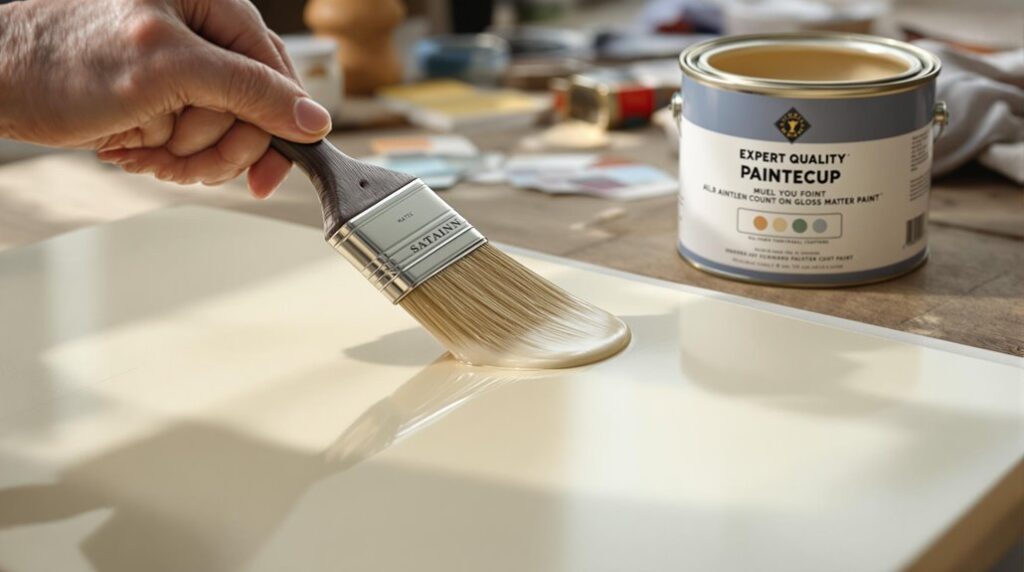
When you’re planning to paint over a glossy surface, understanding what makes that surface challenging is essential for success. Gloss paint creates a smooth, hard finish that reflects light directly, making it incredibly durable but problematic for adhesion. The surface’s smoothness – what gives it that beautiful shine – also makes it slippery for new paint layers.
I’ve learned that glossy surfaces highlight every imperfection, so any flaws become glaringly obvious. The same properties that make gloss paint perfect for high-traffic areas work against you when repainting. That reflective quality comes from low surface roughness, which new paint struggles to grip onto. The high resin quantities in gloss paints create this exceptionally smooth flow that enhances the glossy appearance but complicates repainting efforts.
You’ll face adhesion challenges because the smooth surface doesn’t provide the “tooth” that paint needs to bond properly, leading to peeling and poor coverage.
Essential Surface Preparation Steps Before Painting
Now that you understand why glossy surfaces resist new paint, let’s tackle the preparation work that makes all the difference.
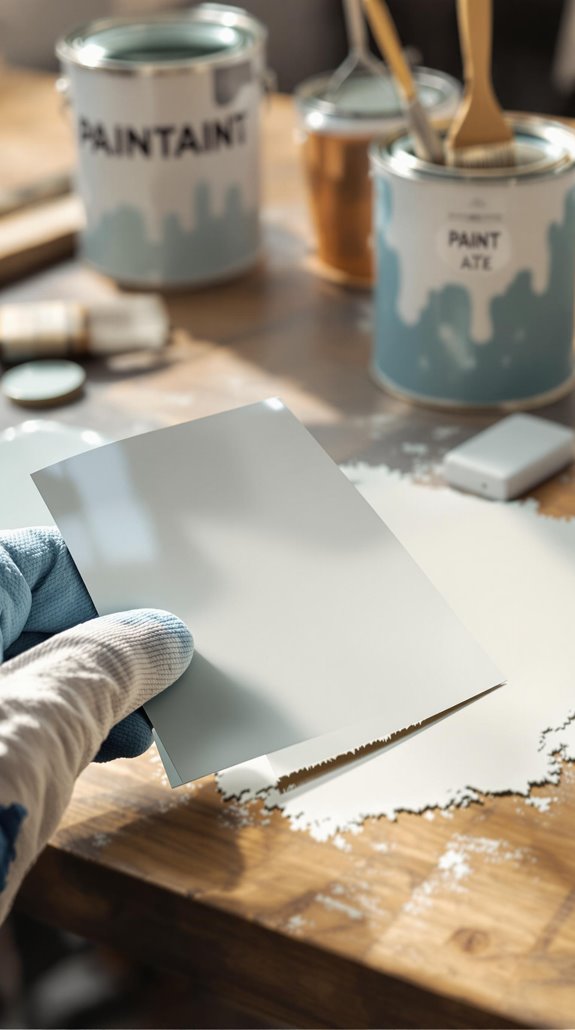
I’ll walk you through the essential steps that guarantee your paint job succeeds. First, wash the surface thoroughly with sugar soap solution to eliminate grease and contaminants. Rinse with clean water and let it dry completely. Additionally, using water for wallpaper removal can help ensure that your surface is free from any old adhesives that might interfere with painting.
Next, sand with 180-grit sandpaper to remove that glossy sheen – this step’s vital for proper adhesion. Use orbital sanders for large areas to speed things up. Remove all sanding dust with a tack cloth afterward.
Fill any cracks or holes with appropriate filler, then sand smooth with 120-grit paper. For chips in the existing gloss, use fine grit sandpaper to blend edges of the damaged areas before proceeding with filler. Finally, apply adhesion-promoting primer and let it cure fully before painting.
Priming Requirements for Gloss Paint Coverage
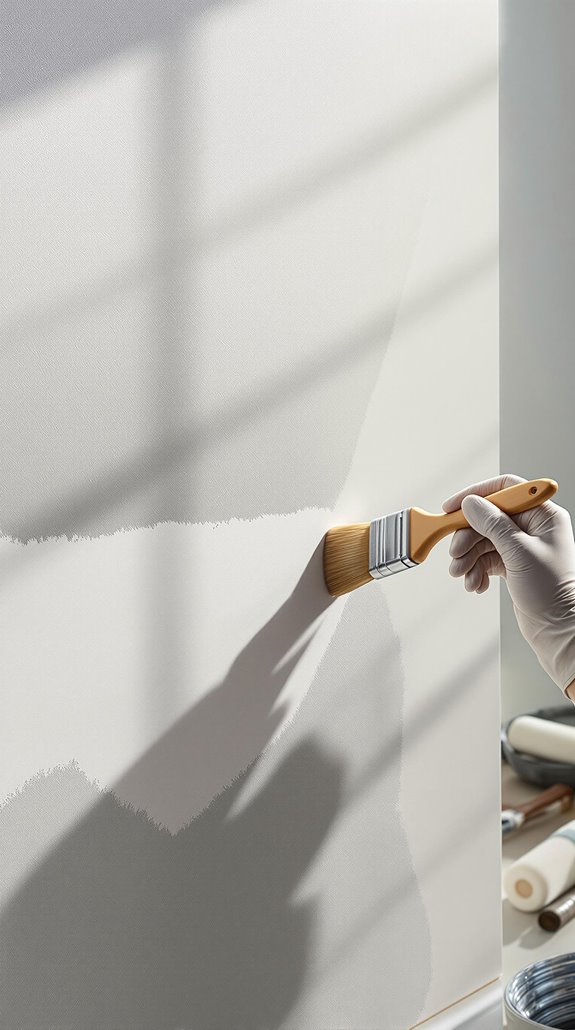
After completing your surface preparation, choosing the right primer becomes your next critical decision. I’ll tell you straight – you can’t skip this step when painting over gloss. That shiny surface creates adhesion barriers that’ll cause your new paint to peel without proper priming.
I recommend using one coat of adhesion-promoting primer like Super Grip for most gloss surfaces. It’s specifically designed to bond with slick finishes. For extreme color changes – think dark to light – you’ll need primer to prevent bleed-through of underlying pigments.
Here’s what works: oil-based primers excel on glossy wood surfaces, while specialty stain-blocking primers handle any existing damage. The primer also creates a moisture barrier that prevents mold development in humid conditions. Remember, even the best self-priming paints can’t fully replace dedicated primer when you’re tackling glossy surfaces.
Best Paint Types for Different Gloss Surfaces
With your primer properly applied, selecting the right paint type for your specific gloss surface determines whether your project succeeds or fails. Different gloss levels demand specific paint formulations to achieve lasting results.
For high-gloss surfaces, you’ll need heavy-duty latex or alkyd paints that can grip tenaciously. Semi-gloss areas work beautifully with quality acrylic latex paints offering excellent durability. Satin finishes respond well to both latex and oil-based options, giving you flexibility. Budget-friendly renovations often include refreshing spaces with paint, making it an essential part of your project.
I’ve found that oil-based paints excel on kitchen cabinets and trim work, while latex paints perform brilliantly on walls and ceilings. The key lies in matching paint chemistry to your surface’s original finish. When working in bathrooms or other high-moisture areas, acrylic paints provide maximum durability against humidity and water exposure.
Choose paints specifically labeled for “difficult surfaces” or “maximum adhesion” – they’re formulated for challenging applications like yours.
Professional Application Techniques and Tools
Three critical factors separate amateur paint jobs from professional-quality results: proper tool selection, meticulous surface preparation, and flawless application technique. I’ll share the exact tools and methods that deliver showroom-quality finishes every time.
For precision work, I use angled sash brushes (2-3 inches) that give you complete control around trim and edges. On larger surfaces, microfiber rollers eliminate texture while high-density foam brushes handle complex profiles beautifully. The wet edge technique prevents lap marks—never let your paint dry between sections. Additionally, understanding the costs associated with renovations can help you budget for painting projects effectively.
Multiple thin coats always outperform single heavy applications. I allow 2-4 hours between coats and maintain 40-60% humidity during curing. Light sanding between coats on glossy surfaces ensures optimal results and prevents adhesion issues. For high-traffic areas, I finish with clear polyurethane sealant for lasting protection.
Common Mistakes That Lead to Paint Failure
Even perfect application technique can’t save a paint job doomed by fundamental errors. I’ve seen countless DIY disasters that could’ve been avoided by understanding these critical mistakes.
Skipping surface preparation is the biggest culprit. When you don’t degloss with sandpaper or clean with sugar soap, you’re setting yourself up for peeling and poor adhesion. I can’t stress enough how essential proper sanding is – without that “key,” your new paint simply won’t bond. Proper surface preparation is crucial for ensuring the right bonding characteristics between layers.
Using the wrong primer is another common failure point. Standard primers won’t cut it over gloss; you need high-adhesion products designed for challenging surfaces.
Finally, rushing the process by applying thick coats or painting before proper curing destroys your finish. Multiple thin coats will always deliver superior results compared to attempting one heavy application. Take your time – we’ve all been there, but patience pays off.
Maintenance Tips for Long-Lasting Results
After investing time and effort into painting over gloss, you’ll want to protect that finish through proper maintenance. I recommend cleaning your painted surfaces weekly with a soft, lint-free cloth and mild detergent in warm water. This prevents dust buildup and maintains that fresh appearance we all want.
Wipe spills immediately to prevent stains, and avoid abrasive cleaners that’ll dull your finish. I always keep leftover paint for touch-ups – addressing chips promptly prevents moisture from compromising your work. Control humidity levels and shield surfaces from direct sunlight to prevent fading and peeling.
For high-traffic areas like doors and skirting, inspect annually and recoat as needed. If you notice peeling paint on any surface, this indicates inadequate preparation or primer issues that need immediate attention. Following these simple steps guarantees your painted surfaces stay beautiful for years.
Conclusion
I’ve shown you that painting over gloss isn’t complicated when you follow the right steps. Don’t skip the prep work—it’s what separates a professional finish from a peeling disaster. Choose heavy-duty latex or alkyd for high-gloss surfaces, quality acrylic latex for semi-gloss, and always use an adhesion primer. Take your time with surface preparation, and you’ll get results that last for years. Your patience upfront pays off with a flawless finish.
References
- https://www.littlehouseonthecorner.com/how-to-paint-over-gloss/
- https://www.homebuilding.co.uk/advice/paint-over-gloss
- https://www.lightmenpainting.com/blog/painting-over-glossy-finishes
- https://fantastichandyman.com.au/blog/all-you-need-to-know-about-gloss-paint/
- https://www.valsparpaint.co.uk/how-to-guides/how-to-paint-over-gloss/
- https://www.specialchem.com/coatings/guide/gloss
- https://www.crashofrhinospainting.com/blog/a-guide-to-paint-gloss
- https://culverspainting.com/blog/gloss-levels-paint/
- https://www.sherwin-williams.com/painting-contractors/business-builders/styles-and-techniques/sw-art-gloss-sheen-differences
- https://www.naturalpigments.com/artist-materials/gloss-matte-paint-surfaces