I’ll walk you through the critical steps that separate amateur wallpapering disasters from professional-grade results on fresh plaster. You can’t simply slap wallpaper onto newly plastered walls—the porous surface will absorb adhesive unevenly, creating bubbles and poor adhesion that’ll haunt you for years. There’s a specific sequence of sealing, preparation, and application techniques that UK professionals use to achieve flawless finishes, and I’m about to reveal exactly how they do it.
Key Takeaways
- Wait 2-14 days for new plaster to dry completely, watching for color change from mid-brown to light salmon pink.
- Apply diluted contract matt (10-30% water) as a mist coat to seal porous plaster surfaces before wallpapering.
- Maintain ideal drying conditions: 18-21°C temperature, 40-60% humidity, and good ventilation without direct drafts on walls.
- Lightly sand sealed surfaces, remove dust thoroughly, then apply wallpaper size and allow 24 hours drying time.
- Mark patterned strips with “T”, use plumb lines for alignment, and smooth from center outward to eliminate air pockets.
Understanding New Plaster Drying Requirements
Before you can successfully wallpaper over new plaster, you’ll need to understand that proper drying is absolutely critical to your project’s success. I’ve learned that rushing this process leads to cracking and poor durability that’ll ruin your hard work.
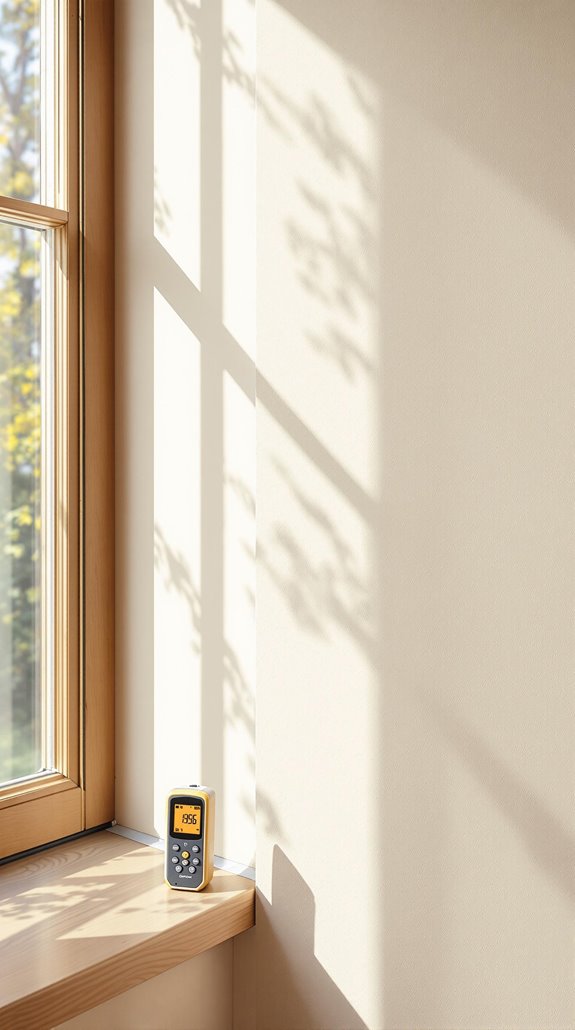
Natural drying typically takes 2–14 days, depending on your specific conditions. You’ll notice the plaster changing from mid-brown to light salmon or pale pink when it’s ready. I always wait until there aren’t any dark patches remaining, as these indicate moisture.
Several factors affect drying time: humidity, temperature, and plaster thickness. Cold or wet weather can double your waiting period. Small patchwork jobs need up to one week, while whole walls require two weeks minimum. Multiple layers can take up to four weeks. Keep windows and doors open to maintain proper ventilation throughout the drying process.
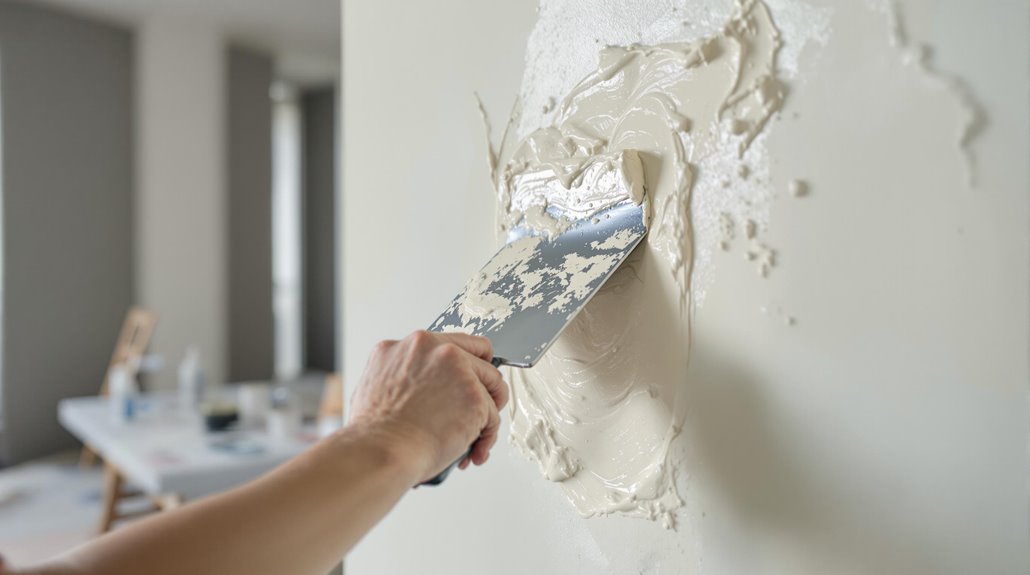
Essential Sealing Solutions for Porous Surfaces
Once your new plaster has dried completely, you’ll need to secure its porous surface before applying wallpaper. I recommend using a diluted contract matt as your mist coat—mix 10-30% water with the paint to create a breathable primer that allows remaining moisture to escape while preventing uneven absorption. Additionally, conducting a structural survey can help identify any underlying issues before you start your wallpapering project, ensuring a smoother finish.
For problem surfaces, I’d choose Zinsser Gardz Problem Surface Sealer, which penetrates deeply into chalky substrates and forms a tough, moisture-resistant film. It’ll repair torn drywall paper and eliminate bubble formation during wallpapering. This specialized sealer is also suitable for wallpapering and texturing projects, making it an excellent choice for various decorative applications.
Apply your chosen sealer using a brush or roller on clean, dust-free surfaces. Avoid PVA sealants—they lack proper moisture resistance. Always test adhesion on small areas first, then secure adequate drying time before wallpapering.
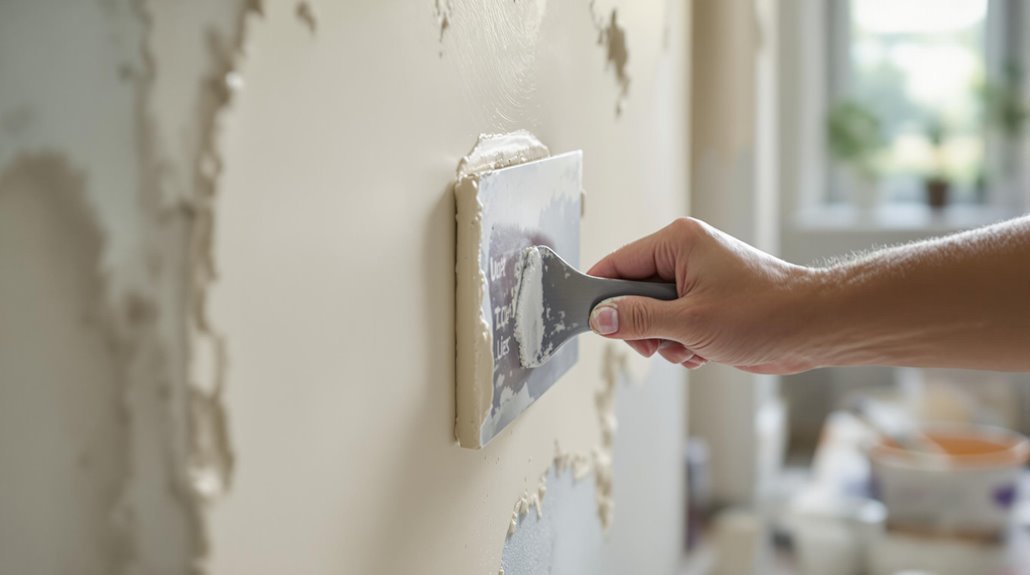
Proper Preparation Steps Before Wallpapering
After sealing your new plaster surface, you’ll need to complete several critical preparation steps that determine wallpaper adhesion success. I’ll guide you through each essential stage to guarantee professional results.
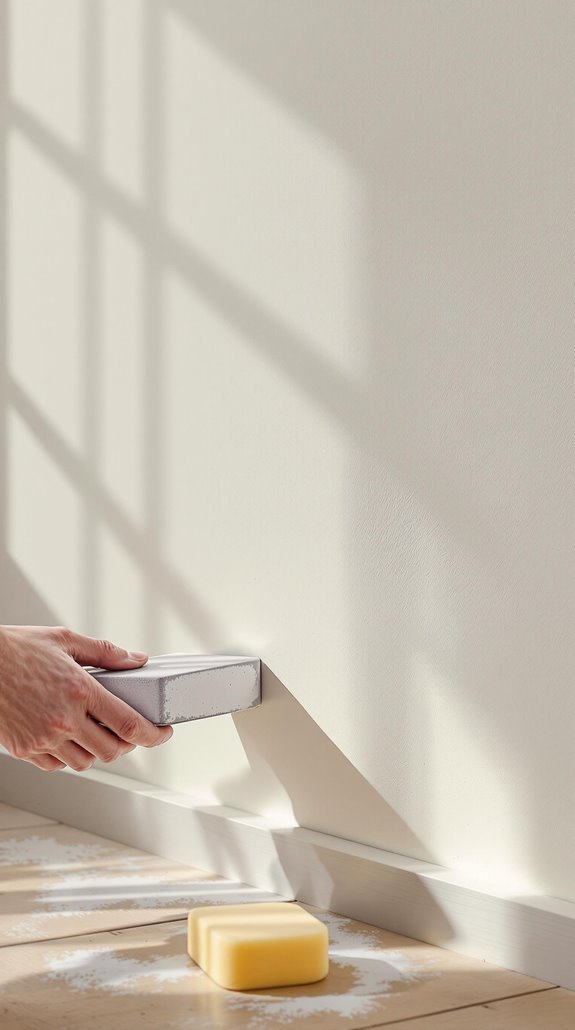
First, lightly sand the sealed surface using fine-grit sandpaper to eliminate any rough patches or imperfections. Remove all sanding dust thoroughly with a vacuum and damp cloth—dust interferes with adhesion.
Next, apply wallpaper size according to manufacturer instructions. Mix cellulose-based size to uniform consistency and apply liberally with a roller. This creates a moisture-resistant barrier that prevents rapid paste absorption and allows wallpaper repositioning. Proper preparation can significantly reduce the risk of costly mistakes later on.
Allow the size to dry completely—typically 24 hours. For thin or pale wallpapers, consider hanging lining paper horizontally to prevent the plaster color from showing through and to provide an additional layer for improved wallpaper application. Finally, conduct a final inspection, wiping walls clean and testing adhesion in an inconspicuous area before proceeding.
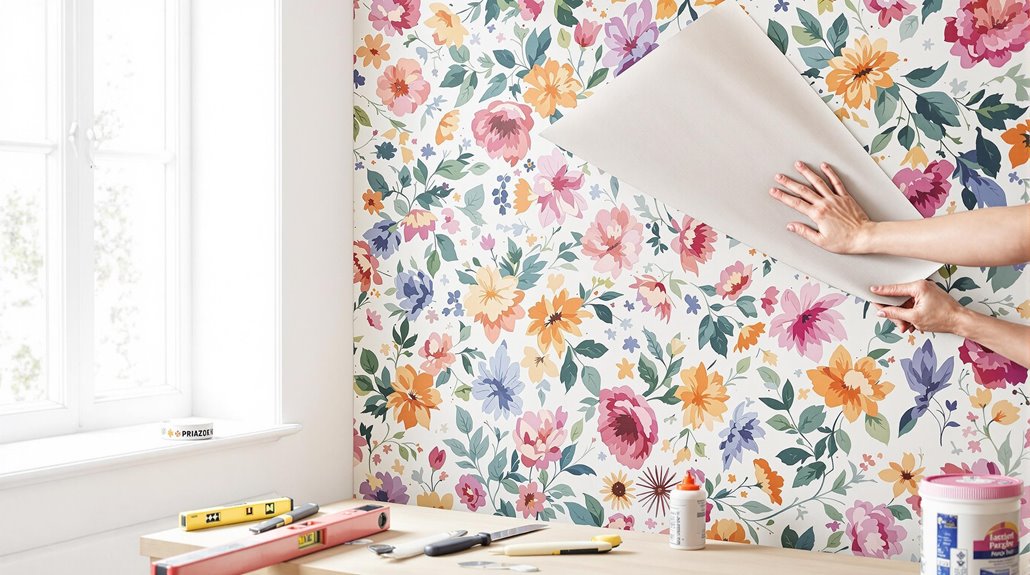
Professional Application Techniques for Success
With your walls properly prepared and sized, the actual wallpaper application requires precise technique and systematic execution. I’ll mark “T” on every patterned strip to prevent upside-down hanging, then measure wall height plus 4 inches for trimming allowance.
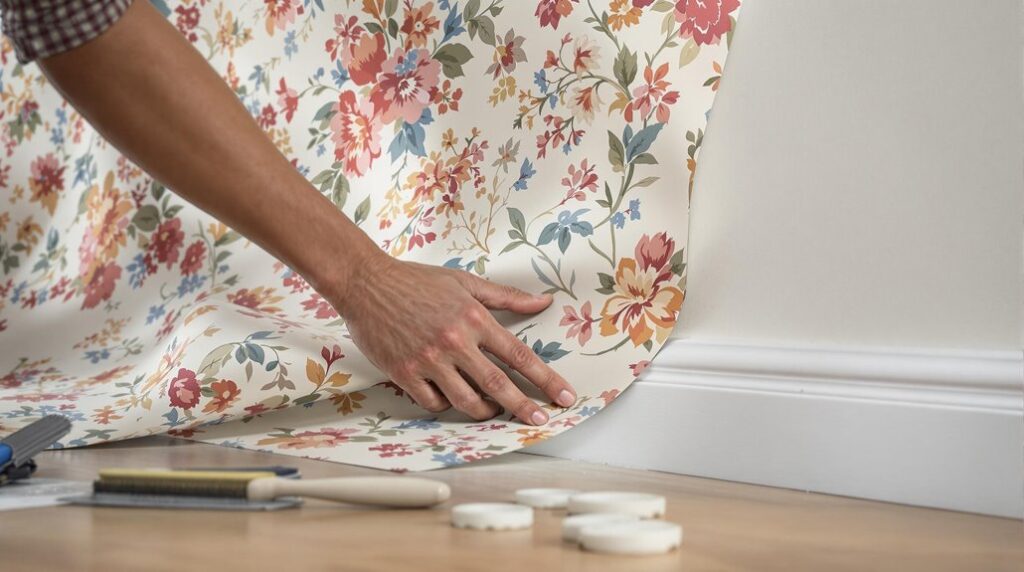
For paste-the-wall paper, I apply paste liberally with a roller, extending 2cm beyond paper width. I use a 2-inch brush at ceilings and skirting for secure adhesion. The first drop’s critical—I align it perfectly with my plumb line, maintaining 4-inch overhangs. Proper surface preparation is crucial to achieving the best results, as it ensures a smooth finish.
I smooth from center outward using firm pressure, eliminating air pockets without overstretching. After smoothing each drop, I crease excess paper at edges using scissor backs, then cut with fresh blades. I butt subsequent strips tightly, checking vertical alignment with my spirit level throughout. I use a seam roller to achieve a professional finish by ensuring all edges are properly secured and flat against the wall.
Critical Mistakes That Ruin Your Project
Although proper technique matters tremendously, even experienced decorators can destroy their projects through avoidable errors that prove costly and time-consuming to remedy.
I’ve seen countless projects fail because decorators rushed the drying process. Your plaster must achieve uniform light pink color without dark patches—this takes minimum two weeks under ideal conditions. Rushing creates lifting and adhesion failure.
Never skip sealing your plaster. Unsealed surfaces absorb paste moisture instantly, preventing repositioning and weakening bonds. Standard emulsion won’t work—you need proper sizing solution. Allow 2-3 hours for your sizing to dry completely before attempting to hang wallpaper.
I always emphasize paste preparation. Diluted paste causes blistering, whilst expired adhesive lacks binding properties. Match your paste to wallpaper weight.
Finally, don’t ignore environmental factors. High humidity extends drying times, cold temperatures prevent proper curing, and poor ventilation traps moisture between layers.
Recommended Products for Optimal Results
- Zinsser Gardz: A water-based primer sealer that seals porous surfaces and prevents leaching, ideal for new plaster. This product is particularly beneficial in preventing common pitfalls during the wallpapering process.
- Mist Coating with Paste: Thinned wallpaper paste applied to the wall to reduce porosity and improve slip.
- Diluted PVA: Polyvinyl acetate mixed with water (1:5) to create a sealing layer; apply two coats.
- Proprietary Size: Ready-mixed products designed for sealing new plaster before wallpapering.
- Alkali-Resistant Primer: Any primer labeled for alkaline surfaces to prevent damage to wallpaper.
These products form your foundation for successful wallpapering on fresh plaster surfaces. When selecting your wallpaper, consider options made with FSC certified materials that use environmentally safe inks for a more sustainable decorating approach.
Timing and Environmental Considerations
Since proper timing determines the success of your wallpapering project, you’ll need to wait a minimum of four weeks after plaster application before hanging any wallpaper. I understand this seems lengthy, but modern plaster may dry in 7-10 days under ideal conditions, whilst traditional thick plaster requires months.
During drying, maintain 18-21°C ambient temperature with 40-60% humidity. Don’t use artificial heat sources like radiators—they’ll cause cracking. Confirm cross-ventilation without direct drafts on walls. Winter drying takes 2-3 times longer than summer. It’s crucial to monitor for any signs of damp issues, as these can hinder the drying process and affect the integrity of your wallpaper.
Check for uniform light pink colour with no dark patches or damp sheen. The surface should feel consistently matte without coolness when touched. These visual indicators confirm complete drying before you proceed with sealing and wallpapering. Remember that visible dryness doesn’t guarantee the plaster is ready for wallpapering, as drying occurs in stages throughout the material’s depth.
Conclusion
I’ve walked you through the essential steps for wallpapering new plaster successfully. You must allow proper drying time, seal the surface correctly, and follow each preparation step precisely. Don’t rush the process—timing and environmental conditions are vital. Use quality sealers and sizing products I’ve recommended. Apply these professional techniques systematically, and you’ll achieve a durable, professional finish that won’t fail. Remember, patience during preparation prevents costly mistakes later.
References
- https://www.thedecoratorsforum.com/how-to-wallpaper-over-bare-plaster/
- https://www.homebuilding.co.uk/advice/wallpapering-new-plaster
- https://www.grahambrown.com/uk/how-to/wallpaper-newly-plastered-walls/
- https://www.diydoctor.org.uk/projects/wallpaperprep.htm
- https://www.mybuilder.com/questions/v/21210/correct-procedure-for-wallpapering-on-new-plaster
- https://www.homebuilding.co.uk/advice/how-long-does-plaster-take-to-dry
- https://abdrylining.com/plaster-drying-time/
- https://www.speedyservices.com/news/plaster-drying-time
- https://www.checkatrade.com/blog/ask-a-trade/advice-on-drying-plaster/
- https://www.myworkman.co.uk/questions/view/1444/how-long-to-leave-plaster-to-dry-/