
I’ll walk you through the exact process I use to install solar panels in the UK, from evaluating your property’s potential to maximizing your energy savings. You’ll need specific tools, understand planning permissions, and calculate your return on investment properly. The installation process isn’t complicated, but there’s an essential sequence you must follow to avoid costly mistakes and guarantee maximum efficiency. Most homeowners skip one vital step that could save them thousands.
Key Takeaways
- Assess roof’s structural integrity, orientation (south-facing ideal), and ensure 10-25 square meters of unshaded space for optimal installation.
- Choose monocrystalline panels for highest efficiency (18-24%) despite higher cost, or polycrystalline for balanced performance and affordability.
- Ensure panels don’t protrude 20cm+ from roof and total area stays under 9 square meters to avoid planning permission.
- Budget £5,000-£6,000 for standard 4kW system installation, with potential battery storage adding £1,200-£6,000 for energy independence.
- Maximize savings through Smart Export Guarantee payments (£159 annually) and 6.1%-7.1% property value increases over 25+ years.
Evaluating Your Property for Solar Panel Installation
Assessment forms the foundation of any successful solar panel installation project. I’ll guide you through the essential evaluation steps that determine your property’s solar potential.
First, I examine your roof’s structural integrity. The framework must support additional panel weight—typically 15-20kg per square meter. I measure load-bearing capacity and inspect for damage that could compromise installation safety. Proper home insulation can further enhance energy efficiency, maximizing the benefits of your solar system.
Next, I assess orientation and shading. South-facing roofs generate ideal energy, though east and west orientations work effectively. I identify obstructions like trees or buildings that create shadows during peak sunlight hours. For optimal efficiency, you’ll need a minimum of 10 to 25 square meters of roof space for standard installations.
I evaluate your electrical system’s compatibility with solar integration. Your consumer unit requires spare capacity for the generation meter and inverter connection. Finally, I verify compliance with building regulations covering structural, electrical, and fire safety requirements before proceeding.
Choosing the Right Solar Panel System for Your Home
Once you’ve confirmed your property’s solar readiness, I’ll walk you through selecting the ideal panel system for your specific requirements.
Start by evaluating panel types against your budget and performance needs. Monocrystalline panels deliver 18-24% efficiency at £350/m², making them ideal for limited roof space. Polycrystalline panels offer 13-16% efficiency at £280/m², providing solid value for larger installations. Thin-film panels cost just £99/m² but require more space due to 7-13% efficiency.
Consider top-performing models like the AIKO ABC Neostar 3N54 with 24.8% efficiency, particularly effective in warm weather. Jinko Solar Tiger NEO delivers 515W at 23.8% efficiency, while Maxeon 7 provides 445W at 24.1%.
Factor in lifespan expectations: monocrystalline panels last 25-40 years, while thin-film options typically manage 10-20 years. Remember that solar panels can generate electricity even in cloudy conditions, though they perform better during sunny weather.
Understanding UK Planning Permission and Legal Requirements

While most UK homeowners can install solar panels without planning permission, steering through the legal requirements demands careful attention to specific regulations and property types.
I’ll walk you through the essential checkpoints. First, verify your panels don’t protrude more than 20 centimetres from your roof or wall surface. Second, confirm your system doesn’t exceed 9 square metres total area. These restrictions keep you within permitted development rights and align with local planning policies.
However, you’ll need planning permission if you’re installing ground-mounted panels, working on listed buildings, or living in conservation areas. Listed buildings require Listed Building Consent, demanding reversible installation with minimal visual impact. In conservation areas, panels must not be visible from roads to maintain the area’s character.
For applications, use the Planning Portal and expect 8-week response times. If rejected, review the reasons and consider modifications before appealing.
Getting Accurate Quotes and Calculating Your Return on Investment
After securing your planning permissions, you’ll need accurate quotes to determine whether solar panels make financial sense for your property. I recommend using Solar Planet or GreenMatch to source quotes from at least three MCS-certified installers. Don’t settle for vague estimates—demand itemized breakdowns covering panels, inverters, batteries, labor, and scaffolding costs.
Budget £5,000-£6,000 for a standard 4kW system, plus £1,200-£6,000 for battery storage if desired. Calculate your ROI using online solar calculators that factor in local irradiance data, current energy rates, and Smart Export Guarantee earnings. Expect payback periods averaging 5 years with total returns reaching £14,500-£15,500 over 25 years. Always verify installer credentials, reject unrealistic production estimates exceeding 1,000 kWh/kWp annually, and demand post-installation performance guarantees.
Solar Planet’s service allows you to compare quotes side-by-side from up to four MCS-accredited installers, typically receiving responses within 24 hours of form submission.
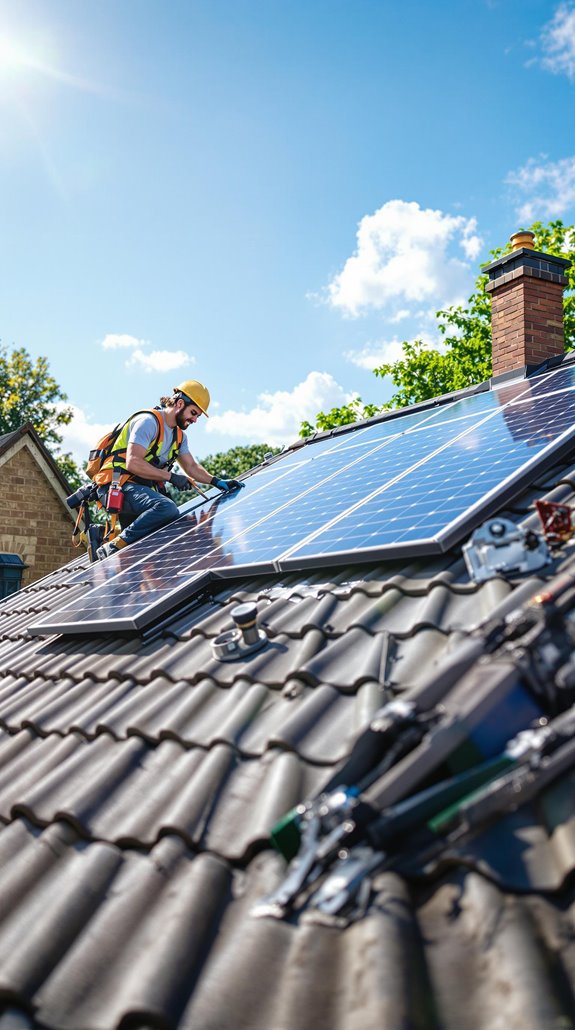
The Complete Solar Panel Installation Process
Before installers arrive at your property, they’ll conduct a thorough site assessment that determines your system’s specifications and feasibility. I’ll walk you through what happens during this extensive evaluation and installation.
Your installer will inspect your roof’s size, angle, and orientation—south-facing is ideal—while identifying shading obstacles. They’ll review your electrical system and analyze your household energy usage patterns. Using solar calculators, they’ll design a custom system and help you select panel types like monocrystalline for maximum efficiency.
The permitting phase involves building regulations compliance and MCS certification. Your installer handles DNO grid connection notifications while scaffolding gets erected for roof access. A typical 4kW system requires about 20m² of usable roof area to accommodate all panels effectively.
During installation, mounting systems secure to roof rafters using corrosion-resistant brackets. Panels attach in optimal configurations, with wiring routed to inverter locations near your consumer unit.
Navigating Costs and Financing Options
Since solar panel costs represent your largest upfront investment, I’ll break down the exact pricing structures and financing mechanisms that determine your system’s total expense.
Your system size dictates baseline costs: 3kW systems run £6,000, 4kW systems cost £8,000, and 5-6kW installations reach £9,000-£10,000. Battery storage dramatically impacts pricing—adding £4,500 for 5kWh capacity or £8,000-£10,000 for 10-12kWh units, representing 40-50% of total costs.
I recommend leveraging the Smart Export Guarantee (SEG) tariffs to offset expenses through energy sales. With 0% VAT and no government grants available, you’ll need alternative financing. Use GreenMatch for multi-quote comparisons, explore regional low-income schemes, and consider 5-15 year payment plans to spread costs effectively. Annual maintenance adds ongoing expenses, with service costs ranging from £100 to £200 per year.
Maximizing Your Energy Bill Savings With Smart Export Guarantee
The Smart Export Guarantee (SEG) transforms your solar installation into a revenue-generating asset by paying you for every kilowatt-hour of surplus electricity you export back to the grid. This government-backed scheme replaced the Feed-in Tariff in January 2020, focusing exclusively on exported energy rather than total generation.
To qualify, you’ll need installations ≤5MW capacity with mandatory MCS certification and a meter capable of half-hourly readings. Second-generation smart meters are essential since first-generation models often won’t work with solar panels.
SEG covers solar panels, wind turbines, hydro, and anaerobic digestion systems. Suppliers set individual export tariff rates, with solar owners averaging £159 annually. Compare tariffs between suppliers to maximize returns, and remember – payments start from your sign-up date with no backdated compensation. The scheme is overseen by the Department for Energy Security and Net Zero, ensuring regulatory compliance and ongoing support for renewable energy adoption.
Adding Battery Storage for Enhanced Energy Independence
While your solar panels generate clean electricity during daylight hours, you’ll achieve true energy independence by coupling them with battery storage that captures surplus power for evening use. Additionally, implementing energy-efficient solutions like internal wall insulation can further reduce your overall energy consumption.
I recommend selecting lithium-ion batteries with 5kWh–15kWh capacity based on your household’s consumption patterns. You’ll need a certified installer to conduct an energy audit evaluating peak usage times and solar generation alignment. For retrofitting existing arrays, choose AC-coupled systems; DC-coupled works best for new installations.
Install your battery in non-habitable zones like garages or utility rooms, maintaining 300mm clearance from walls for thermal management. Position within 5m of your inverter to minimize power loss. Your installer must ensure sufficient ventilation to prevent overheating and maintain optimal battery performance.
The installation involves mounting on non-combustible surfaces, electrical integration via certified electrician, and compliance testing for PAS 63100 standards. Expect 1–3 days for full commissioning.
Essential Maintenance Tips to Keep Your System Running Efficiently
After completing your solar installation, you’ll maximize your system’s 25-year lifespan through systematic maintenance that prevents costly repairs and maintains peak efficiency.
I’ll guide you through proven maintenance protocols that keep your investment performing at its best. Clean panels every 6-12 months using distilled water and soft brushes—never pressure washers. Budget £4-15 per panel for professional cleaning based on accessibility.
Schedule quarterly visual inspections checking for cracks, discoloration, or panel shifting. Monitor inverter error codes monthly and expect replacement after 12 years. Follow MCS guidelines: intermediate inspections every 10 years, full maintenance every 15 years.
Seasonally, clear autumn leaves promptly, monitor summer inverter temperatures, and gently brush winter snow. Install bird mesh guards preventing wire damage. Track daily energy output through analytics—early anomaly detection prevents major issues. Regular maintenance can reduce your payback time by 2–4 years, making your solar investment more profitable sooner.
Long-Term Benefits and Property Value Increases
Since solar panels represent both an environmental upgrade and financial investment, understanding their impact on property values becomes essential for homeowners evaluating long-term returns. Recent studies consistently demonstrate significant value increases: Swansea University’s 2024 research shows 6.1%–7.1% property premiums, while BOXT’s analysis reveals 14% value increases across UK properties. Additionally, the trend towards energy-efficient solutions is steadily gaining traction among buyers, further enhancing the appeal of homes with solar installations.
I’ll break down the monetary implications for you. With average UK house prices at £298,083, you’re looking at £18,183–£21,163 additional value based on Swansea’s findings. Regional variations matter—Midlands properties see higher premiums than Southwest England installations.
Beyond immediate valuation benefits, you’ll experience faster property sales, 25+ years of electricity savings, and enhanced marketability among eco-conscious buyers. Solar panels typically improve your property’s EPC rating, which plays a significant role in overall property value. Rising energy costs until the 2030s will amplify these advantages, making your solar investment increasingly valuable over time.
Conclusion
I’ve walked you through the complete solar installation process—from structural assessments using inclinometers to configuring inverters and monitoring systems. You’ll need your multimeter for electrical testing, torque wrench for secure mounting, and installation software for system optimization. Follow the step-by-step procedures I’ve outlined: conduct thorough site surveys, calculate load requirements, install mounting hardware with proper spacing, connect DC/AC components, and implement monitoring protocols. You’re now equipped to execute a professional-grade solar installation that’ll deliver substantial savings.
References
- https://www.ecoflow.com/uk/blog/how-to-set-up-solar-panel-system
- https://www.sunsave.energy/solar-panels-advice/installation/step-by-step-guide
- https://www.scottishenergysaving.co.uk/how-to-design-and-install-a-solar-pv-system-2025/
- https://upvolt-energy.com/upvolt-blog/all-you-need-to-know-about-solar-panel-installation-in-the-uk-for-2025/
- https://energysavingtrust.org.uk/solar-panel-installation/
- https://www.renewableenergyhub.co.uk/main/solar-panels/solar-panel-building-regulations
- https://lawhive.co.uk/knowledge-hub/property/what-are-the-legal-requirements-for-installing-solar-panels-on-your-property/
- https://sygma.co.uk/blog/solar-panel-regulations-in-the-uk/
- https://www.sunsave.energy/solar-panels-advice/planning-permission/building-regulations
- https://www.greenmatch.co.uk/solar-energy/solar-panels