I’ve learned that painting MDF furniture properly requires more than just slapping on a coat of paint and hoping for the best. The key lies in understanding MDF’s unique properties—it’s fundamentally compressed wood fibres that’ll soak up paint like a sponge if you don’t prep it correctly. Without proper priming and technique, you’ll end up with a patchy, unprofessional finish that shows every brush stroke. Here’s what separates amateur attempts from furniture that looks professionally crafted.
Key Takeaways
- Sand MDF with 220-240 grit paper and apply two thin coats of oil-based or acrylic MDF primer before painting.
- Use water-based paints like Crown Trade Fast Flow QD Satin or Johnstone’s Trade Acrylic Durable Eggshell for best results.
- Apply thin paint coats with long, even strokes, allowing 6-8 hours drying time between a minimum of two coats.
- Sand lightly between coats with 220-400 grit paper to prevent orange-peel texture and ensure smooth professional finish.
- Seal painted MDF with 2-3 thin coats of water-based polyurethane, allowing 48 hours curing time for maximum durability.
Essential MDF Primer Selection and Application Techniques
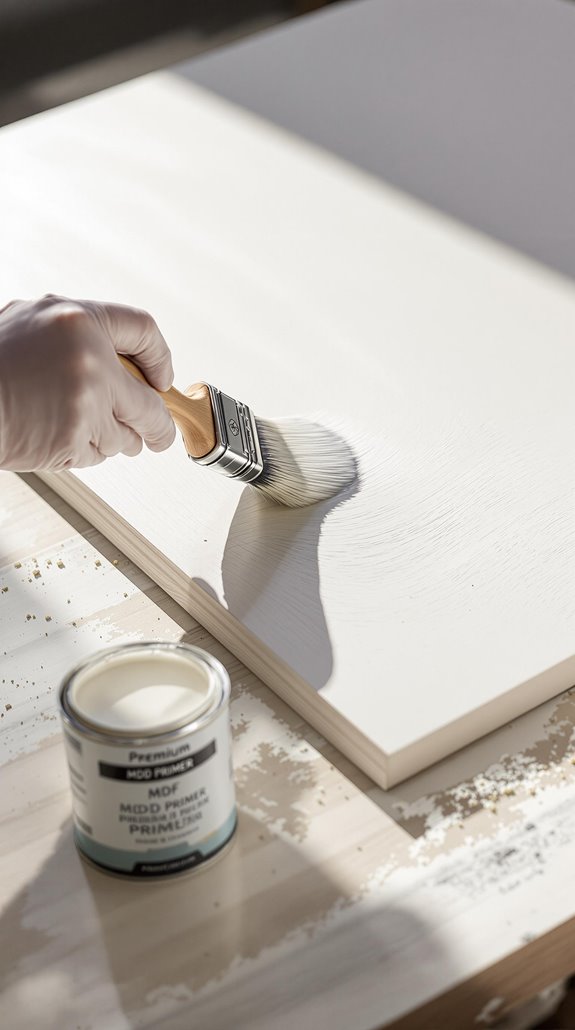
When working with MDF, primer isn’t just recommended—it’s absolutely essential for achieving a professional finish. I’ll guide you through selecting the right primer for your project’s specific needs.
For most applications, I recommend water-based acrylic primers like Dulux Trade Quick Dry MDF Primer or Leyland Trade MDF Primer. They’re low-odour, dry quickly, and offer excellent flexibility to handle MDF’s expansion cycles. Oil-based primers provide superior moisture resistance but require proper ventilation.
My application technique starts with sanding using 120-180 grit paper, then cleaning with sugar-soap wipes. I apply two thin coats minimum, allowing one hour between applications. The edges need extra attention—I tape them and apply two additional coats since they’re particularly absorbent. Using an angled brush helps achieve better access to intricate areas and tight corners during the priming process.
Choosing the Right Paint Types for Different MDF Projects
Your paint choice determines both the appearance and durability of your finished MDF project. I recommend water-based paints for indoor furniture because they’re quick-drying, low-odour, and won’t yellow over time like oil-based alternatives. Additionally, choosing the right paint can help you stay within your renovation budget, as material costs can significantly affect overall expenses.
For living room pieces, I’d choose Crown Trade Fast Flow QD Satin – it delivers that perfect balance of aesthetics and practicality with an oil-like finish that’s easy to clean. If you’re creating rustic or shabby chic furniture, Farrow and Ball Dead Flat gives you that premium matte appearance, though you’ll need a clear sealant for protection.
For high-traffic areas like kitchens, I’d go with Johnstone’s Trade Acrylic Durable Eggshell for its scrubbable resistance. Remember, custom colour-matching is available for British Standard and RAL shades. Water-based paints contain fewer VOCs, making them safer for indoor use compared to oil-based options.
Professional Application Methods for Smooth Results
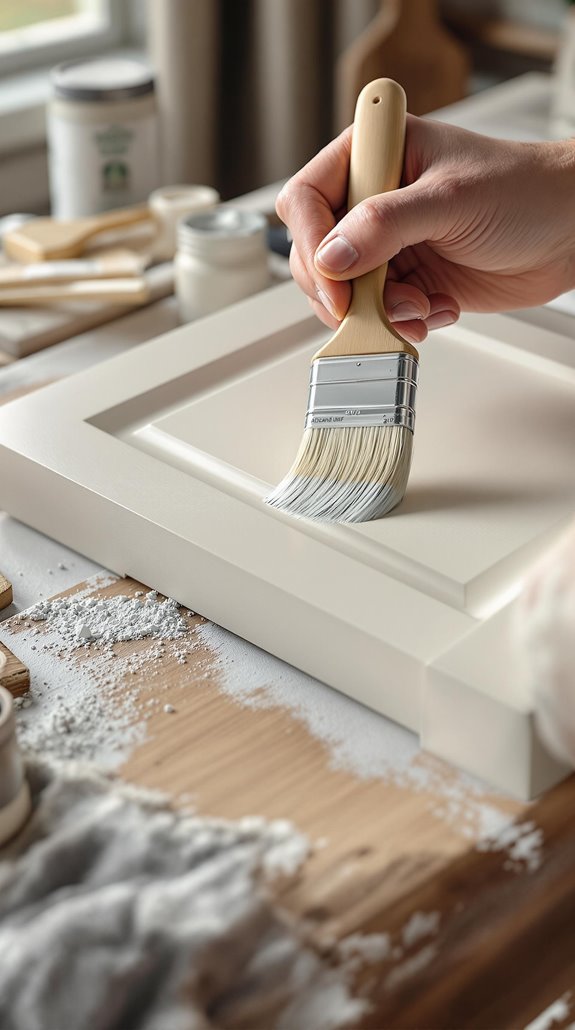
Although proper paint selection sets the foundation for your MDF project, flawless application technique separates amateur results from professional-grade finishes. I’ll share the methods that consistently deliver smooth, durable results.
Start by wiping your MDF with a damp cloth, then apply sealer evenly across all surfaces and edges. Once bone-dry, use two coats of MDF-specific primer like Dulux Trade Quick Dry, maintaining consistent thickness without dripping. This primer is essential for achieving a professional finish that enhances the durability of your paint job.
For paint application, I stir thoroughly before starting. Apply thin coats using long, even strokes with a high-quality brush or foam roller. Work in manageable sections to maintain a wet edge, preventing lap marks. Allow 6-8 hours between coats, applying a minimum of two paint coats for ideal coverage and durability. Between each coat, perform light sanding with 220-400 grit sandpaper to ensure proper adhesion and achieve that coveted smooth finish.
Sanding Between Coats for a Flawless Surface
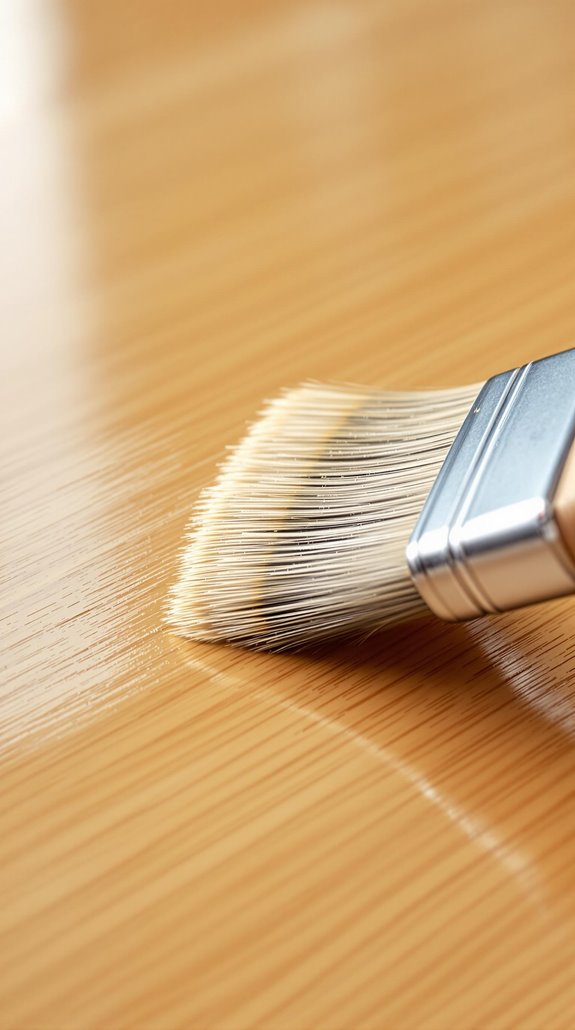
While proper paint application creates the foundation, sanding between coats transforms good results into exceptional ones. I’ll use 220-240 grit sandpaper to create the micro-textured surface that guarantees superior adhesion between layers. This process removes brush marks, drips, and dust particles while leveling the surface for consistent coverage.
It’s crucial to note that allowing any caulk used in conjunction with the painting process to fully cure is essential for achieving a smooth finish, typically requiring 24 to 48 hours depending on conditions. I sand after primer coats to eliminate raised fibers, then lightly between each topcoat. It’s essential to let paint cure fully before sanding and limit myself to 1-2 passes to avoid over-thinning. I sand in straight, overlapping motions with minimal pressure, then clean with tack cloths to remove all residue.
This technique eliminates orange-peel texture and stroke marks, delivering that glass-like professional finish we’re all after. The spray gloss paint creates uniformity across the surface, ensuring consistent sheen and coverage that enhances the sanded preparation work.
Sealing and Protecting Your Painted MDF Furniture
Two critical factors determine whether your painted MDF furniture withstands daily use: the sealer you choose and how you apply it. I’ll match my sealer type to my paint base—water-based polyurethane works perfectly with acrylic-painted MDF. Before sealing, I wipe surfaces clean and fill any imperfections with wood filler, sanding flush afterward.
I apply thin, even coats using a high-quality brush, rolling larger surfaces for uniform coverage. MDF edges need extra attention since they absorb more product. I’ll apply 2-3 thin coats, sanding lightly between each with 220-grit paper in a dust-free environment. Regular dusting and using coasters will help maintain the finish quality over time.
After removing painter’s tape and inspecting for missed spots, I allow 48 hours of curing time before heavy use. This guarantees maximum durability for your finished piece.
Top UK Product Recommendations for MDF Painting
Selection of the right products makes the difference between a professional-looking finish and a disappointing result on MDF. I’ve tested numerous combinations, and here’s what delivers consistently excellent results.
For primers, I recommend Dulux Trade Quick Dry MDF Primer for versatility or Zinsser Bullseye 1-2-3 for stain blocking. Both prevent resin bleed effectively and are crucial for ensuring the structural integrity of your MDF projects.
My go-to topcoats include Crown Trade Fast Flow QD Satin for furniture projects—it’s colour-flexible and resists yellowing. For cabinetry, Dulux Trade QD Eggshell provides that coveted oil-like sheen without the odour.
Tikkurila’s Helmi series offers premium Nordic quality if you’re after something special. For high-traffic areas like skirting, Dulux Diamond Satinwood proves unbeatable. The eggshell finish strikes the perfect balance between subtle sheen and easy maintenance for most furniture applications.
These combinations consistently deliver professional results that’ll make your MDF projects indistinguishable from solid wood.
Common Mistakes to Avoid When Painting MDF
Having the right products won’t guarantee success if you make fundamental errors during application. I’ve seen countless DIY projects ruined by skipping essential steps that separate amateur from professional results.
The biggest mistake I encounter is inadequate surface preparation. Don’t skip sanding or use insufficient grit progression – it leads to poor adhesion and rough texture. Always clean dust with a tack cloth post-sanding, otherwise you’ll embed particles in your paint. Additionally, proper surface preparation is crucial as it can significantly impact the longevity and durability of the finish, similar to how plaster selection influences wall aesthetics.
Primer selection matters enormously. Use oil-based MDF-specific primer, not water-based alternatives that cause uneven sealing. Apply two coats minimum, especially on edges, and sand between coats.
Don’t rush the painting process. Allow 6-8 hours drying time between coats, apply thin layers rather than thick ones, and always backbrush after rolling for even texture. Remember that 2-3 coats are typically needed for complete, even coverage rather than attempting to achieve full opacity in a single application.
Conclusion
I’ve covered the essential steps for achieving a professional MDF furniture finish. Remember, proper surface preparation with 220-240 grit sandpaper and thorough dust removal can’t be skipped. Apply your chosen primer in thin coats, especially on edges, then follow with quality water-based paint like Crown Trade or Farrow and Ball. Don’t forget 2-3 sealer coats for durability. Take your time with each step, and you’ll get professional results.
References
- https://mdfskirtingworld.co.uk/blog/best-paint-for-mdf/
- https://paintersworld.co.uk/painters-advice/painting-mdf
- https://www.thepaintshed.com/specialist-paint/mdf-paint
- https://thefurniturehaven.co.uk/blogs/news/how-to-paint-mdf-furniture-for-a-professional-finish
- https://www.youtube.com/watch?v=3Gmy1VhwRcI
- https://mdfskirtingworld.co.uk/blog/primer-on-mdf/
- https://cworkshop.co.uk/how-to/how-to-prime-and-paint-mdf/
- https://www.cutmy.co.uk/ideas-advice/how-to-paint-mdf/
- https://mdfskirtingworld.co.uk/blog/how-to-paint-mdf/
- https://www.youtube.com/watch?v=ofdyxLl-rvk