I’ve inspected hundreds of UK homes, and I can tell you that your loft hatch is quietly draining your wallet. While you’ve likely insulated your loft floor, that unsealed hatch above your head creates a thermal bridge that’s costing you money every month. The warm air you’re paying to heat escapes through gaps around the frame, and cold air rushes in to replace it. Here’s what you need to know about stopping this hidden energy leak.
Key Takeaways
- Poorly insulated loft hatches can cost £3.50 annually in energy bills, totaling over £70 in twenty years.
- Use rigid foam boards (minimum 100mm thick) or mineral wool with foil backing for effective thermal protection.
- Install rubber tubing around the hatch frame to create an airtight seal and prevent draughts.
- DIY installation costs £100-£300 for materials, while professional installation ranges from £300-£900.
- Proper loft hatch insulation reduces annual CO₂ emissions by approximately 60kg and lasts 40 years.
Why Your Loft Hatch Is a Major Heat Loss Culprit
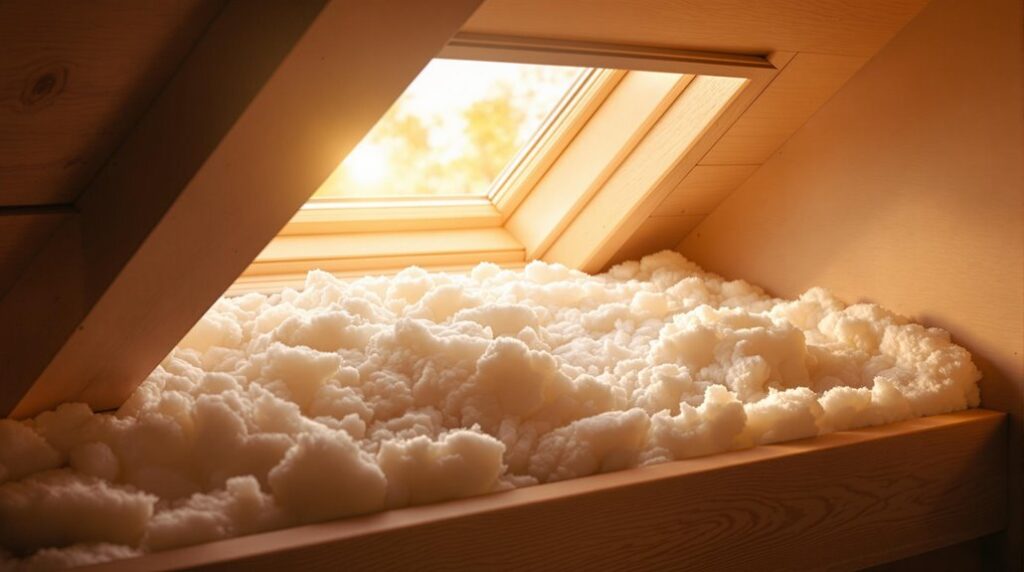
Your loft hatch acts as a thermal gateway, allowing precious heat to escape from your home through multiple pathways that many homeowners overlook. Heat naturally rises and concentrates its escape routes through your roof area, making unsealed hatches prime culprits for warm air convection into the loft space.
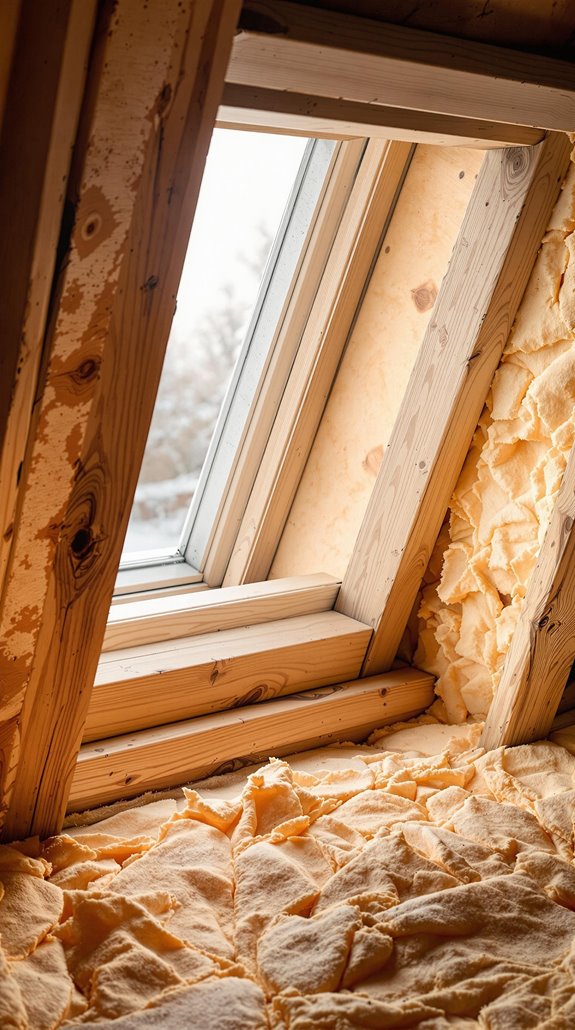
I’ve seen how conduction transfers heat through uninsulated hatch materials, while radiation emits heat from the surface without reflective barriers. Those gaps around your frame create draughts that accelerate air exchange, worsening the problem. Additionally, moisture damage can reduce your loft hatch insulation’s thermal resistance, making heat loss even more pronounced. Proper insulation materials can significantly mitigate these issues, enhancing overall energy efficiency.
Here’s what’s costing you: uninsulated hatches can exceed 3 W/m²K heat loss—rivaling poorly insulated walls. This means you’re potentially losing significant energy through a relatively small opening that’s easily overlooked during home efficiency assessments.
The Hidden Cost of Poor Loft Hatch Insulation in UK Homes
While homeowners focus on major insulation upgrades, they’re often unaware that a single poorly insulated loft hatch can quietly drain £3.50 annually from their energy bills—and that’s just the beginning of the financial impact.
Over twenty years, you’ll lose over £70 per hatch, not accounting for rising energy prices we’ve all experienced. I’ve found that homes with otherwise excellent insulation suffer disproportionately higher costs because the hatch becomes their primary weak point. Additionally, the typical renovation projects often overlook these smaller details that can lead to significant long-term expenses.
Beyond direct energy waste, you’re facing secondary costs: accelerated heating system wear, potential mold remediation from condensation, and reduced property values due to poor energy ratings. These condensation issues can develop in loft spaces when warm, moist air from your living areas meets the cold surfaces of an uninsulated hatch. Your uninsulated hatch also contributes roughly 60kg of CO₂ emissions annually, undermining our collective environmental goals while straining national infrastructure.
Essential Materials and Tools for Loft Hatch Insulation
Having established the significant financial impact of poor loft hatch insulation, I’ll now outline the specific materials and tools you’ll need to eliminate this costly energy drain.
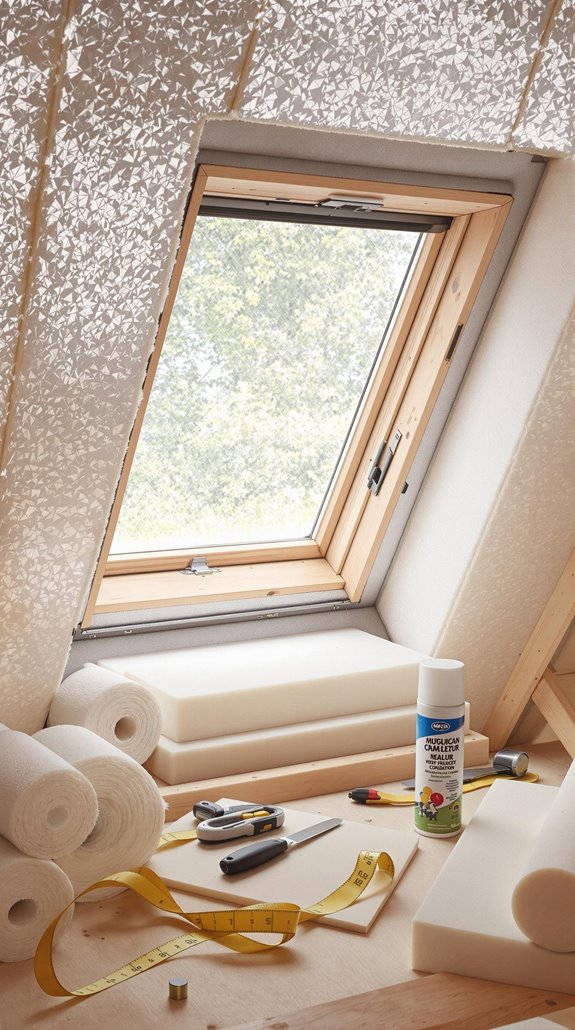
For insulation, you’ll want rigid foam boards or mineral wool for superior thermal performance. Foil-backed options reflect radiant heat effectively. Don’t overlook sealing components—rubber tubing and weather strips create airtight barriers around hatch edges, while compression seals guarantee tight closure. Implementing effective insulation can also contribute to lowering carbon emissions, enhancing your home’s environmental performance.
Your toolkit should include a tape measure for precise dimensions, sharp utility knife for clean cuts, and straightedge for accuracy. You’ll need high-strength adhesive or screws for secure attachment.
Safety gear is non-negotiable: stable ladder, protective gloves, eye shields, and dust mask. These essentials guarantee you’ll complete the job safely and effectively. When selecting insulation materials, aim for 270mm thickness for mineral wool to achieve optimal thermal resistance and energy efficiency.
Step-by-Step Guide to Insulating Your Loft Hatch
Five critical steps will transform your poorly insulated loft hatch into an effective thermal barrier that stops energy loss.
First, I’ll prepare your workspace by clearing the area and wearing protective gear. You’ll need precise measurements of your hatch dimensions for accurate material cutting.
Next, I’ll cut rigid foam board to match your hatch size using a sharp utility knife. The board must be at least 100mm thick for ideal thermal resistance. I’ll secure it with strong adhesive or screws, ensuring it sits flush with hatch edges. This thickness is important as it can significantly improve energy efficiency when compared to traditional heating methods.
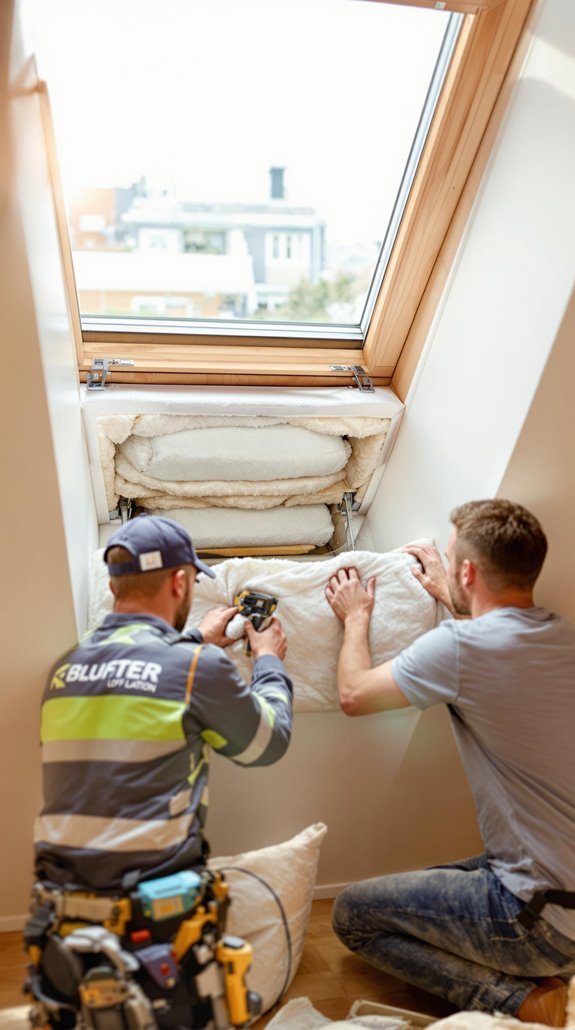
Then, I’ll apply self-adhesive rubber tubing around the frame perimeter, creating an airtight seal. This prevents thermal bridges that can cause damp and mould issues in your home. Finally, I’ll add a thermal blanket with R-value up to 10 for supplementary insulation, anchoring it beneath the board for maximum effectiveness.
Professional Vs DIY Installation: Making the Right Choice
After mastering the installation process, you’ll face a practical decision: should you tackle loft hatch insulation yourself or hire a professional?
DIY suits straightforward lofts with easy access, costing £100-£300 for materials. You’ll invest personal time but gain scheduling flexibility. However, you risk improper installation—gaps, inadequate depth, or ventilation issues that compromise effectiveness.
Professional installation costs £300-£900 but guarantees proper technique and building regulation compliance. TrustMark-registered installers assess ventilation needs, handle awkward spaces safely, and provide warranties. They’ll resolve existing damp problems before proceeding.
Consider your skill level and loft complexity. Simple topping-up costs around £25 DIY, while full 270mm installation averages £250. Professional work pays for itself within years through proper heat retention and energy savings.
Quality loft insulation maintains effectiveness for approximately 40 years when installed correctly, making your investment choice even more crucial for long-term performance.
Conclusion
I’ve shown you exactly how proper loft hatch insulation can slash your energy bills and eliminate a major heat loss source in your home. You’ll save approximately £3.50 annually per hatch while reducing your carbon footprint. Whether you choose DIY installation with rigid foam boards and weather strips or hire a professional, you’re making a smart investment. Don’t let this simple upgrade continue costing you money – insulate your loft hatch today.
References
- https://assets.publishing.service.gov.uk/media/66043d95e8c442001a2203bb/HEE_Statistics_Detailed_Release_March_2024.pdf
- https://assets.publishing.service.gov.uk/media/67e511c9d052ace7e89776ed/HEE_Stats_Detailed_Release_-_Mar_25.pdf
- https://www.greenmatch.co.uk/insulation/loft
- https://www.greenmatch.co.uk/insulation/loft/cost
- https://greenbuildingencyclopaedia.uk/wp-content/uploads/2018/03/LoftZone-CPD-Loft-Insulation-March-2018.pdf
- https://www.thermedgeltd.co.uk/blog/detecting-heat-loss-in-your-loft/
- https://www.greenmatch.co.uk/insulation
- https://www.premierloftladders.co.uk/wp-content/uploads/2016/09/Insulated-Loft-Ladder-Data-Sheet.pdf
- https://www.pistonheads.com/gassing/topic.asp?h=0&f=207&t=1975035
- https://climateretrofit.co.uk/loft-insulation-grant/