I’ll guide you through the essential steps to maintain your tumble dryer’s performance and extend its lifespan. Regular cleaning isn’t just about hygiene—it’s about preventing costly breakdowns and reducing energy consumption. Most UK households overlook critical maintenance points that can lead to inefficient drying cycles and potential fire hazards. Before you tackle your next load of laundry, there are specific techniques and timing considerations that’ll transform how your machine operates.
Key Takeaways
- Always disconnect the dryer from mains power and allow it to cool completely before starting any cleaning process.
- Clean the lint filter after every load with warm soapy water and vacuum the housing cavity regularly.
- Wipe the drum with white vinegar solution using circular motions, then dry completely before closing the door.
- Clean the water tank after each cycle and rinse monthly with soft brush to prevent blockages.
- Use microfibre cloths with mild detergent on exterior surfaces, focusing on high-contact areas like door handles.
Preparation and Safety
Before diving into the cleaning process, proper preparation guarantees both safety and efficiency while preventing damage to your tumble dryer. I’ll walk you through the essential steps that experienced maintenance enthusiasts follow.
First, disconnect your dryer from the mains and verify it’s completely powered down. Allow the machine to cool if recently used – this prevents burns and component damage. Gather your toolkit: microfibre cloths, vacuum with crevice attachment, warm soapy water, white vinegar, and a soft-bristled brush.
Clear the workspace around your dryer, verifying adequate ventilation for lint dispersal. Lay protective coverings to catch debris and remove any flammable materials nearby. Wear protective gloves when handling cleaning agents, and avoid loose clothing that might snag on components. Consider having someone present during the cleaning process to assist with safety monitoring. These preparations set you up for thorough, safe maintenance.
Cleaning the Lint Filter
Since lint accumulation poses the greatest fire risk in tumble dryers, I’ll focus on the filter cleaning technique that maintenance professionals rely on for peak safety and performance.
I’ll start by removing the lint filter after the drum’s completely cooled. First, I clear loose lint by hand, then wash the filter with warm, soapy water. I rinse thoroughly and allow complete drying before replacing.
For best results, I use a soft brush to dislodge stubborn debris from mesh sections. A vacuum with brush attachment removes lint from the housing cavity. I’ve found that used fabric softener sheets effectively capture residual particles the initial cleaning missed. Clean after each load to maintain optimal drying efficiency and prevent performance issues.
This systematic approach guarantees maximum airflow efficiency while eliminating fire hazards that compromise both safety and drying performance.
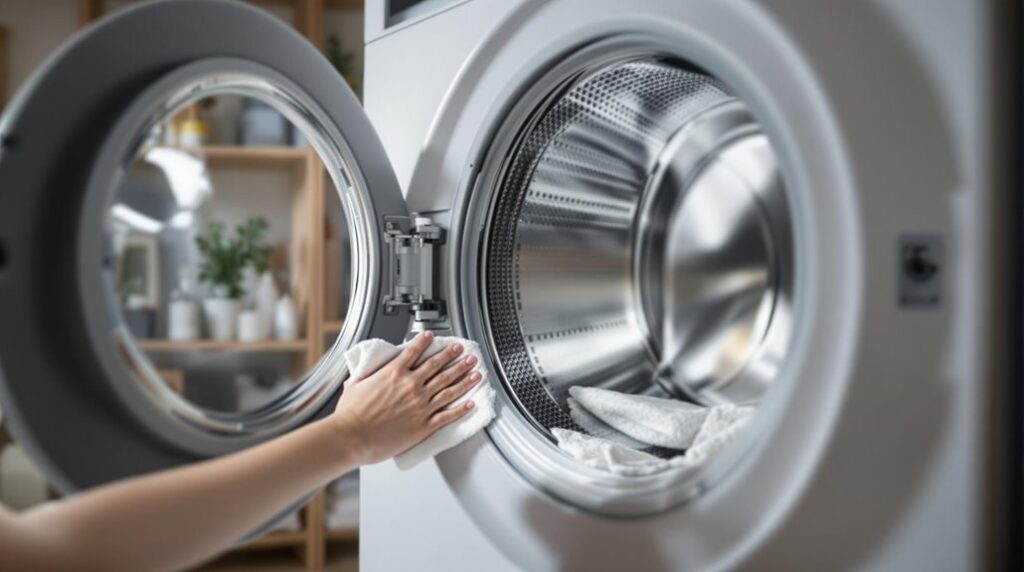
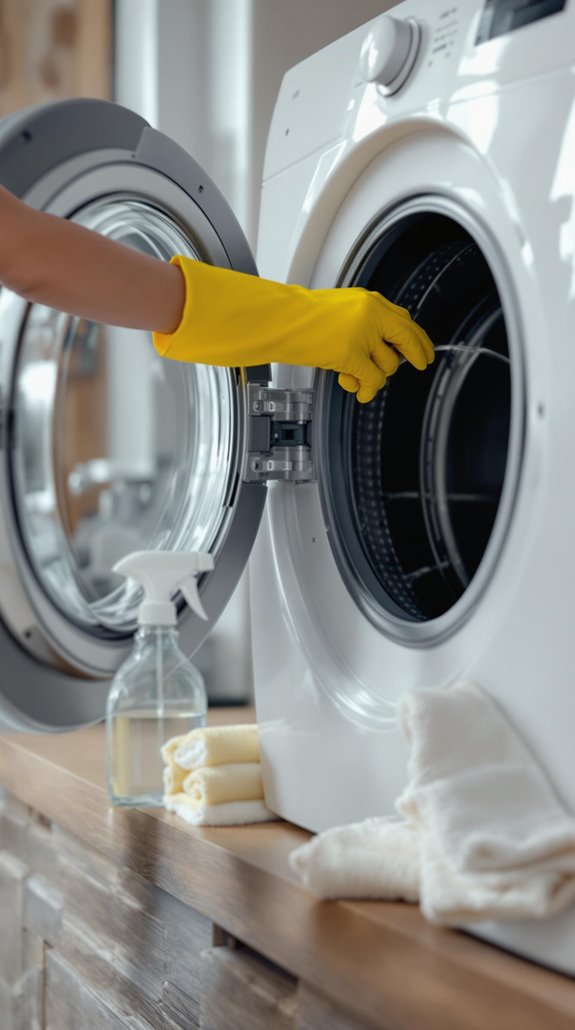
Cleaning the Drum and Door Seal
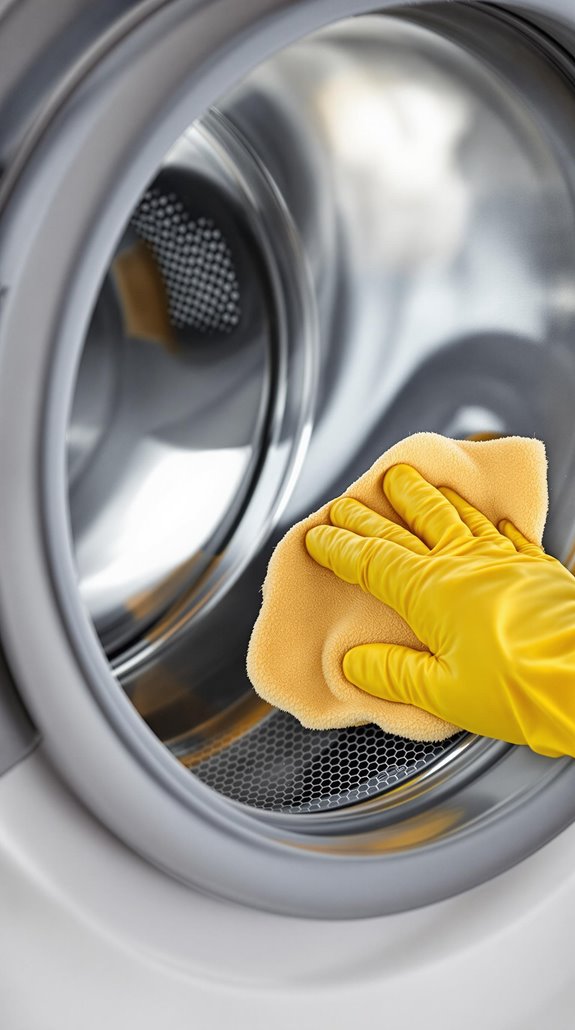
After unplugging the dryer and ensuring complete cooling, I’ll tackle the drum and door seal cleaning with methodical precision. First, I’ll remove all debris and gather my essential supplies: non-abrasive cleaner, white vinegar solution, and microfiber cloths.
I’ll wipe the entire drum surface using circular motions with a damp microfiber cloth. For stubborn stains, I’ll apply my 1:1 white vinegar solution—never pouring directly into the drum, only using dampened cloths. After thorough cleaning, I’ll dry completely and leave the door open for air circulation. This regular maintenance helps extend the lifespan of your tumble dryer significantly.
For the door seal, I’ll gently lift edges to access hidden lint crevices, using a soft-bristled brush for textured residue. Cotton swabs work perfectly for intricate grooves around hinges.
Exterior and Control Panel Maintenance
While the drum requires meticulous attention, maintaining the dryer’s exterior and control panel demands equally systematic care to preserve both functionality and appearance. I’ll unplug the unit first, guaranteeing complete electrical safety throughout the process.
For exterior surfaces, I use a damp cloth with mild detergent or white vinegar mixed with water. This solution effectively removes accumulated dust and residue without damaging the finish. I focus particularly on high-contact areas like the door handle, where oils and grime concentrate.
The control panel requires gentler handling due to its sensitive electronics. I apply the same cleaning solution but make certain the cloth isn’t overly wet, preventing moisture from penetrating button mechanisms or display screens. These areas typically collect the most fingerprints and dust, affecting both appearance and operational clarity. Regular exterior cleaning helps maintain the dryer’s optimal performance and ensures all components function as intended.
Water Tank Maintenance (Condenser/Heat Pump Models)
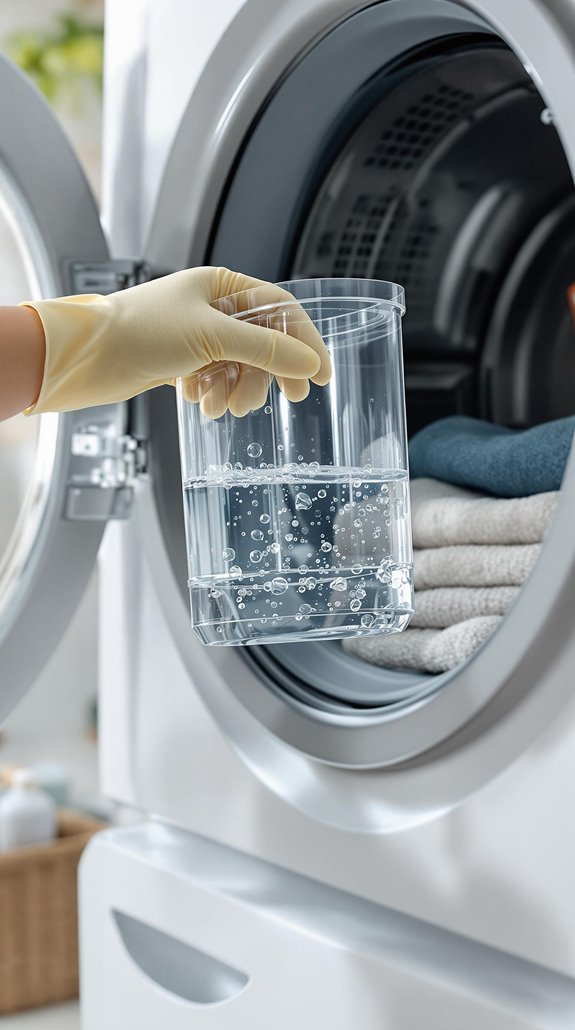
Condenser and heat pump dryers collect moisture from wet clothes directly into an internal water tank, requiring dedicated maintenance beyond standard exterior care. I’ll empty the tank after every cycle, sliding it out slowly while supporting the back to prevent spills. I invert it completely over my sink, shaking out residual drops to prevent bacterial growth.
Monthly, I rinse the interior with cool water, focusing on the funnel area where lint accumulates. I’ll use a soft brush to clear blockages and wash any removable filters until water runs clear. For odor prevention, I wipe surfaces with a 1:3 vinegar-water solution, avoiding harsh chemicals that damage plastic components. Leaving water in the tank can cause unpleasant odors that affect your laundry’s freshness. I guarantee everything’s completely dry before reassembly.
Vent and Heat Exchanger Care
Beyond the water tank, proper vent and heat exchanger maintenance forms the backbone of safe, efficient dryer operation. I’ll guide you through the essential processes that keep your machine running at peak performance.
For vented dryers, I recommend cleaning every three months. First, unplug your dryer and disconnect the vent hose. Vacuum lint from the exhaust port using a narrow attachment, then clean the hose thoroughly with a brush. Check your external vent flap moves freely.
Heat pump models require different attention. I access the evaporator filter every 2-3 cycles, rinse it under warm water, and scrub gently with a soft brush. After air-drying completely, I wipe the heat exchanger fins with a dry cloth.
This routine reduces fire risks, cuts energy consumption by 30%, and extends your dryer’s lifespan considerably. Remember that lint accumulation in your dryer’s ducting system creates a serious fire hazard that can threaten both your property and family safety.
Conclusion
I’ve covered the essential maintenance protocols for ideal tumble dryer performance. By executing these systematic cleaning procedures—filter washing, drum decontamination, seal maintenance, and heat exchanger servicing—you’ll maximize efficiency and extend equipment lifespan. Don’t skip the water tank protocols for condenser models; they’re critical for preventing bacterial growth. Stick to this maintenance schedule, and you’ll maintain peak drying performance while preventing costly breakdowns. Your machine’s reliability depends on consistent execution of these technical procedures.
References
- https://www.hooverdirect.co.uk/blogs/news/how-to-clean-a-tumble-dryer-a-step-by-step-guide
- https://homefeeling.co.uk/blog/dryers/step-by-step-guide-to-cleaning-a-tumble-dryer/
- https://www.goodhousekeeping.com/uk/house-and-home/household-advice/a61663350/how-to-clean-tumble-dryer/
- https://www.laundryheap.com/blog/tumble-dryer-care-guide/
- https://www.youtube.com/watch?v=pFnBcJEEaVA
- https://www.espares.co.uk/advice/careandmaintenance/tumble-dryer-safety-advice
- https://www.which.co.uk/reviews/tumble-dryers/article/tumble-dryer-tips-and-maintenance-a43Lb8u6r8ou
- https://www.samsung.com/uk/support/home-appliances/how-to-clean-the-lint-filter-on-a-tumble-dryer/
- https://www.idealhome.co.uk/care-and-cleaning/how-to-clean-a-tumble-dryer-227144
- https://www.hotpoint.co.uk/blog/how-tos-hacks/step-by-step-guide-on-how-to-clean-your-tumble-dryer