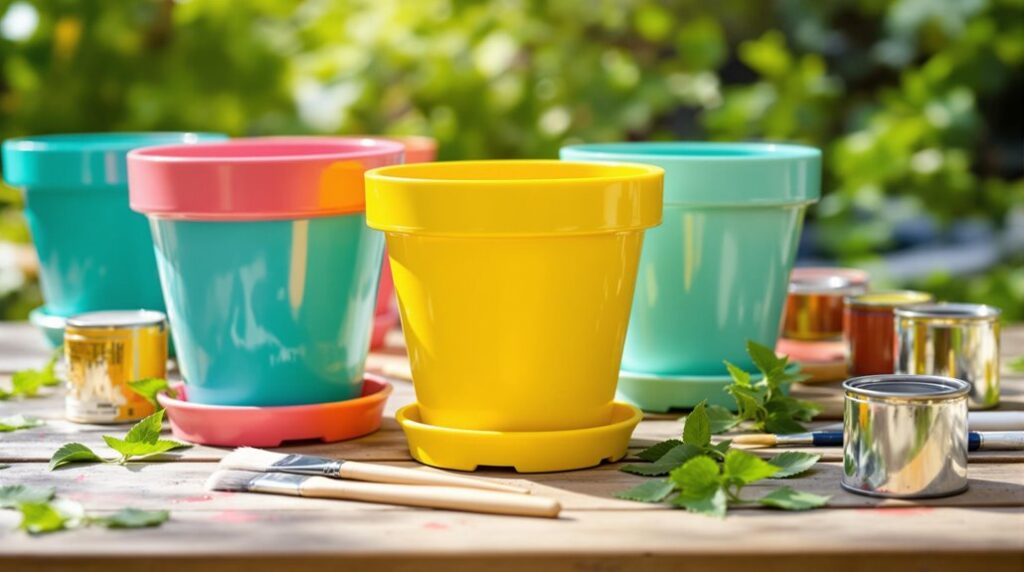
I’ve discovered that painting plastic plant pots is one of the most cost-effective ways to transform your garden’s appearance without breaking the bank. While it might seem straightforward, there’s actually a specific technique that determines whether your painted pots will look professional and last through multiple seasons, or chip and peel within weeks. The difference comes down to proper surface preparation and knowing which products work best with plastic materials.
Key Takeaways
- Use spray paint formulated for plastic surfaces like Rust-Oleum Painter’s Touch 2x for best adhesion and durability.
- Clean pots thoroughly with soapy water, then apply liquid sandpaper to create texture for better paint adhesion.
- Apply plastic-specific primer in two ultra-thin coats, allowing 30-60 minutes between applications for optimal bonding strength.
- Hold spray can 30 cm away and use steady back-and-forth motions with multiple light coats for even coverage.
- Add creative finishes like dry-brushing, decorative patterns, or metallic accents to transform ordinary pots into garden highlights.
Gathering Your Materials and Setting Up Your Workspace
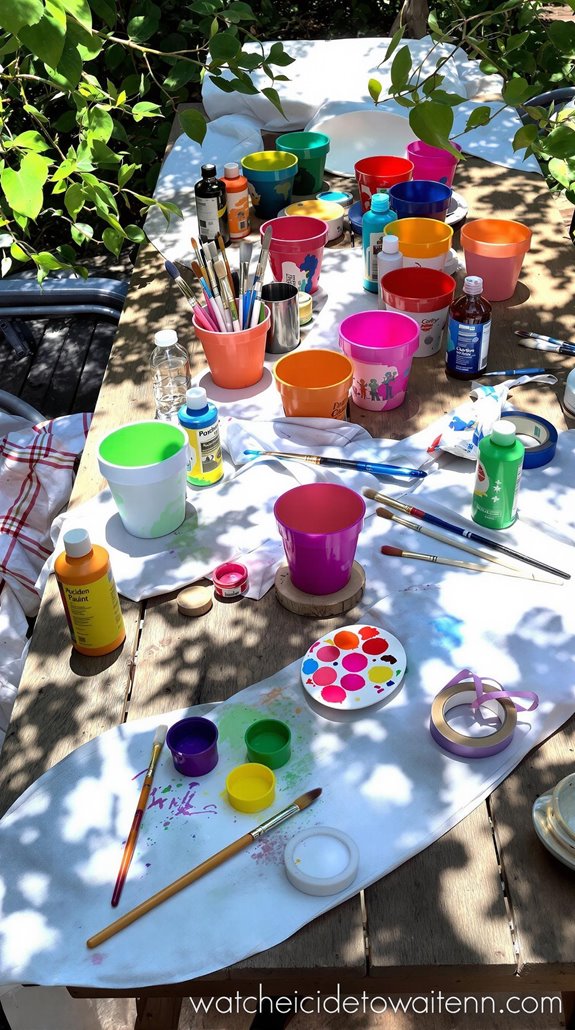
Before you start transforming your plastic pots, you’ll need to gather the right materials and set up a proper workspace. I recommend spray paint formulated for plastic surfaces like Rust-Oleum Painter’s Touch 2x for best results. You’ll also need deglosser or plastic primer, drop cloths, and an acrylic sealer for weather protection.
Set up your workspace in a well-ventilated area, preferably outdoors. Lay down protective covering and make certain you have adequate lighting to spot any missed areas. Don’t forget safety gear—disposable gloves, a respirator mask, and old clothing will protect you from fumes and stains.
If you’re adding drainage holes, gather your cordless drill with appropriate bits. Having everything ready before you begin guarantees a smooth, professional-looking finish that’ll make your garden shine. Purchase plain plastic planters from a discount store to keep costs low while achieving beautiful results.
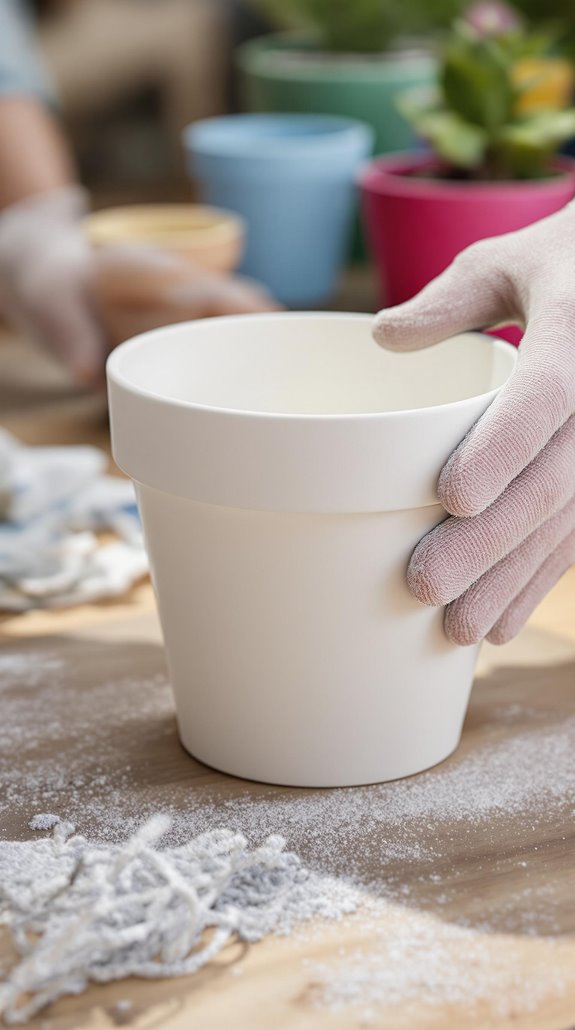
Preparing and Cleaning Your Plastic Pots
Proper preparation makes the difference between paint that chips off in weeks and a finish that lasts for years. I’ll walk you through the essential steps that guarantee your painted pots look professional.
First, I remove all loose soil and debris with a brush or rag. For stubborn mineral deposits around rims, I scrape them off with a knife. Next, I wash the pots in soapy water using dish detergent, scrubbing all surfaces and crevices thoroughly. After rinsing completely, I disinfect with a bleach solution—one part bleach to nine parts water—soaking for ten minutes. For plastic pots with mineral deposits, I use a scouring pad to remove any remaining buildup before proceeding.
The vital step is surface preparation. I apply liquid sandpaper to etch the plastic for better paint adhesion, then wipe clean. Finally, I verify the pots are completely dry before painting.
Creating the Right Surface Texture for Paint Adhesion
Once your pots are clean and dry, you need to create the right surface texture for paint to grip properly. I’ll show you two effective methods that work every time.
For liquid sandpaper, apply it with a soft cloth in uniform strokes, focusing on glossy areas where paint struggles to bond. Rinse thoroughly afterward to remove residual chemicals. This method reaches intricate details and dries in just 15 minutes.
Alternatively, use 180-220 grit sandpaper in circular motions, then cross-hatch patterns for uniform roughness. Don’t press too hard—you’ll crack thin-walled pots. Clean with a tack cloth when finished.
Both methods increase surface area by 300%, letting paint polymers anchor securely. Your finished texture should feel like 400-grit sandpaper—perfect for lasting adhesion. Make sure to thoroughly rinse the planters after surface preparation to ensure all cleaning residues are removed for optimal paint adhesion.
Applying Primer for Long-Lasting Results
While your freshly textured surface provides mechanical grip, primer creates the chemical bridge that transforms flimsy plastic into a paintable foundation. I’ll guide you through choosing and applying the right primer for professional results.
Select plastic-specific primers like Zinsser BIN Aqua for superior adhesion. Water-based formulas offer easier cleanup and faster drying times, while tinted primers reduce topcoat layers for darker colors. Choose outdoor-rated options if your pots will face weather.
Apply ultra-thin coats using sweeping motions, maintaining 8-12 inches between spray can and surface. I recommend two primer coats for peak bonding strength, allowing 30-60 minutes between applications. Work in well-ventilated areas and let primer cure fully for 24-48 hours before topcoating.
Consider the weather conditions during application, as temperature and humidity can significantly affect primer adhesion and drying times.
Mastering the Spray Painting Technique
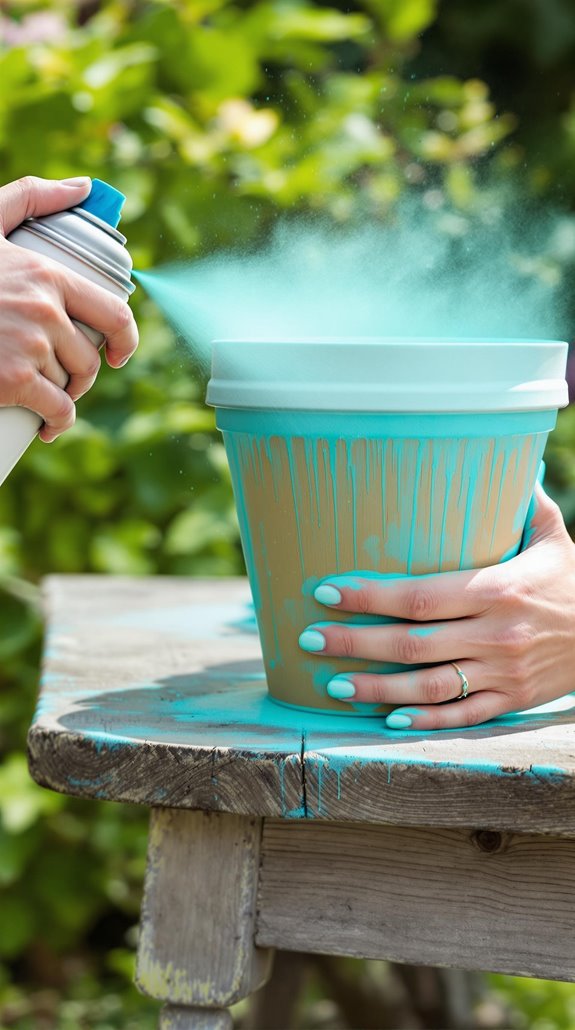
With your primed surface ready, the spray painting phase demands precision and technique to achieve that smooth, professional finish. I’ll hold my spray can exactly 30 cm from the pot’s surface—this distance is essential for ideal coverage. Using steady back-and-forth motions with slight overlap between strokes, I maintain constant movement to prevent drips or uneven texture.
I rotate the pot slowly while spraying, ensuring I cover all angles evenly. Multiple light coats work better than one heavy layer—trust me on this. Between coats, I wait 10-15 minutes for proper drying. If drips appear, I smooth them immediately with a brush before they set. Remember to shake your can vigorously before starting to eliminate any blotchiness. This approach not only creates beautiful results but also serves as a cost-effective alternative to purchasing entirely new planters for your garden makeover.
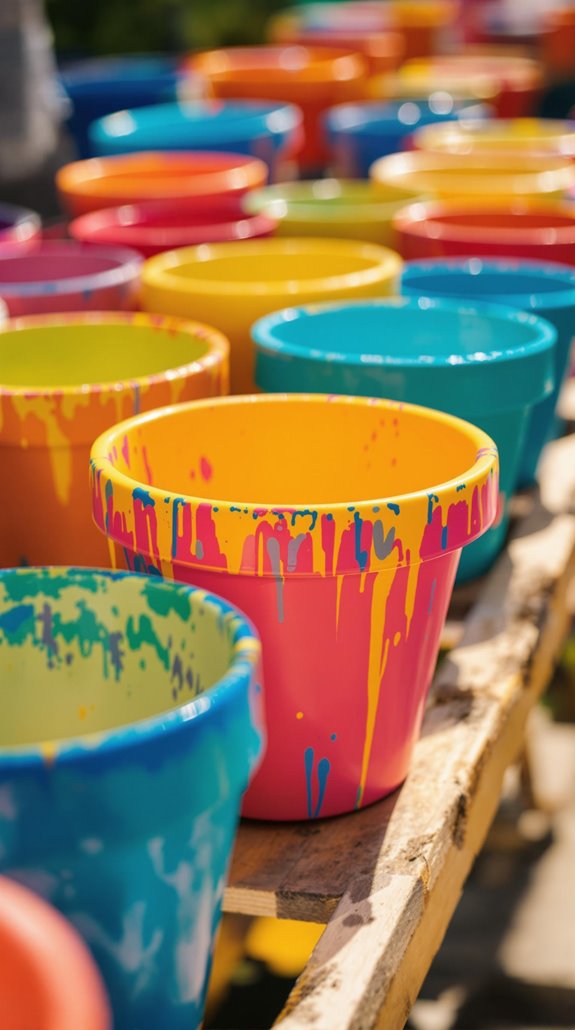
Adding Creative Finishes and Color Effects
After achieving that smooth base coat, I’ll transform my plastic pots into stunning focal pieces using creative finishing techniques. I’ll start by layering complementary colors using dry-brush methods—think coral with deep teal or classic grey with white for that concrete look. I’ll let lower layers peek through for natural variation. It’s important to consider budgeting for materials to ensure the project remains affordable.
For decorative patterns, I’ll dip brush ends in contrasting paint to create dotted designs, then add paisley motifs with fine brushes along the rim. I’ll fill gaps between larger designs with intricate patterns for cohesion.
To match my home’s aesthetic, I’ll coordinate pot colors with my shutters or front door. I’ll add metallic accents by dry-brushing gold highlights for that luxury finish we all want without the price tag. For added texture and visual interest, I’ll use a brush to splatter black paint across the surface, rotating the planter as I work to ensure even coverage.
Proper Drying and Curing Process
Those beautiful finishes won’t last if I don’t handle the drying process correctly. I’ll wait 10 minutes between light coats, testing for tackiness before recoating. In humid conditions, I extend this to an hour for proper adhesion.
When flipping pots, I let the bottom dry completely—about an hour—before handling. I use a drying rack to avoid contact marks and keep pots in well-ventilated areas.
After my final coat, I allow at least one hour before light use, but I prefer waiting 24 hours for full durability. I avoid water exposure during this time and resist the urge to stack pots too early. Using light coats throughout the process prevents drips and ensures a professional-looking finish.
For outdoor pots, I apply a clear acrylic sealer once everything’s cured, reapplying every six months to protect my investment.
Conclusion
I’ve walked you through every step to transform your plastic pots into stunning garden focal points. You’ll save money while creating custom pieces that match your style perfectly. Remember, proper prep work and primer application are essential for durability. Don’t rush the drying process—patience pays off with professional-looking results. Your refreshed pots will withstand weather and UV exposure for seasons to come, giving you maximum bang for your buck.
References
- https://decorhint.com/how-to-paint-plastic-planters/
- https://www.littletexastalk.com/post/how-to-paint-plastic-planters
- https://makeityours.co.uk/how-to-guide/how-to-spray-paint-plant-pots/
- https://shiftingroots.com/diy-plastic-flower-pot-makeover/
- https://hungaricanjourney.com/diy-painting-plastic-flower-pots/
- https://dengarden.com/gardening/spray-paint-outdoor-plastic-pots-containers
- https://www.youtube.com/watch?v=yU0uIPYPhHo
- https://jennifermaker.com/spray-paint-plastic-planters/
- https://yardandgarden.extension.iastate.edu/how-to/how-clean-and-disinfect-plant-containers
- https://stowandtellu.com/how-to-spray-paint-plastic-planters/