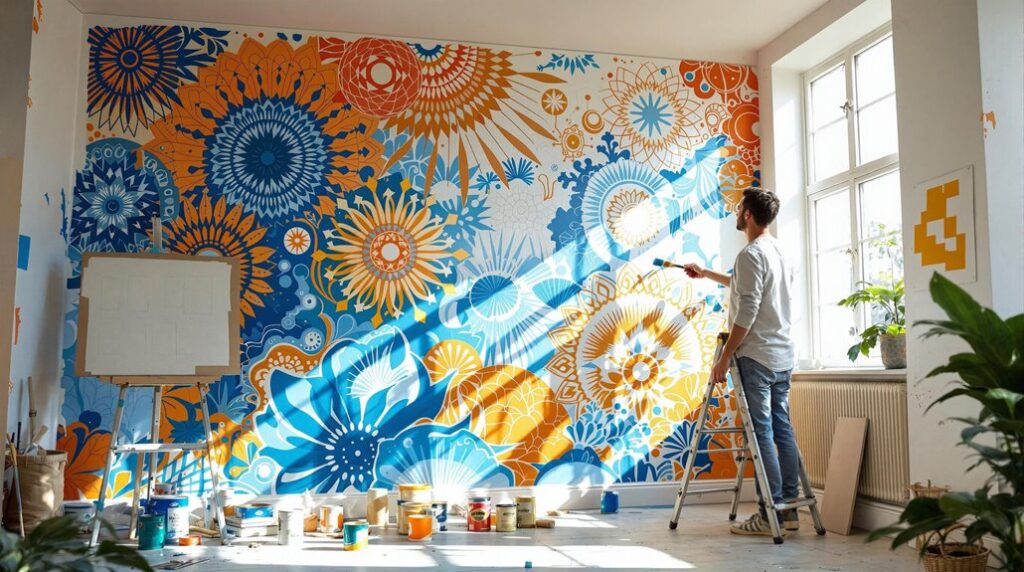
I’ll walk you through the process of creating a stunning wall mural that transforms any room into a personal masterpiece. You don’t need formal art training to achieve professional-looking results, but you do need the right approach and materials. From planning your design to selecting quality paints and mastering simple scaling techniques, each step builds toward success. However, there’s one critical mistake that can ruin your entire project before you even pick up a brush.
Key Takeaways
- Plan your mural by determining its purpose, selecting the location, and preparing the wall surface with proper cleaning and priming.
- Choose a design that matches your room’s function and create scaled sketches using grid method or projector for accurate transfer.
- Select acrylic paints with eggshell or satin sheen for indoor murals and weather-resistant acrylics for outdoor applications.
- Apply paint using layering techniques, starting with dark underpainting and building up with lighter colors for depth and realism.
- Protect your finished mural with appropriate sealant and maintain it with regular inspections and reapplication every 2-3 years.
Planning Your Mural Project and Assessing Your Space
Before you pick up a brush, successful mural painting starts with thorough planning and careful assessment of your chosen space. I’ll guide you through determining your mural’s purpose and location first. Whether you’re creating art for your home, business, or public space, identify the exact function—personal enjoyment, branding, or community engagement. Select your specific location, then assess traffic patterns and how people will interact with your work.
Next, I’ll help you prepare the wall surface properly. Clean away dust, dirt, and grease thoroughly. Repair any cracks or imperfections you find. Apply appropriate primer for your wall material. Test paint adhesion on a small area first. Additionally, consider incorporating energy-efficient improvements into your mural design to enhance the overall aesthetic while being mindful of costs. Finally, measure your wall’s dimensions and create a scaled template for accurate planning and material calculations.
Consider whether you have sufficient painting experience before committing to a large-scale mural project, as artists with prior canvas work will find the transition to wall painting more manageable.
Choosing the Right Design and Creating Initial Sketches
Once you’ve prepared your wall surface, selecting the perfect design becomes your creative foundation for the entire project. I’ll help you navigate this exciting phase with confidence.
Start by browsing online galleries for inspiration across nature, abstract, and geometric themes. Match your design to the room’s function—serene landscapes work beautifully in bedrooms, while vibrant abstracts energize playrooms. Consider your skill level; choose simpler shapes if you’re beginning this journey.
Create rough sketches on paper first, focusing on focal points like central trees or horizon lines. I recommend making multiple variants to compare visual impact. Gather feedback from family members, then refine your design based on their input. For precise execution of geometric patterns, use painters tape to create clean lines and sharp angles. Finally, transfer your approved sketch to the wall using light pencil marks, dividing complex designs into manageable sections.
Scaling Methods for Transferring Your Design to the Wall

With your approved sketch ready and wall marked with light pencil guidelines, you’ll need to accurately scale your design to match the wall’s dimensions. I’ll share five proven methods that fellow muralists swear by.
The grid method divides your sketch and wall into proportional squares, ensuring precise scaling. For tech-savvy artists, the projector method traces digital designs directly onto walls with exceptional accuracy. The freehand approach works best for organic designs where exact proportions aren’t critical.
For intricate patterns, try the pounce method using perforated stencils and chalk dust. Finally, the squiggle grid technique replaces rigid lines with organic curves, perfect for irregular surfaces.
Choose based on your comfort level, available tools, and design complexity. Remember to account for any wall obstructions like outlets or switches when positioning your scaled design. Each method delivers professional results when executed properly.
Preparing Your Wall Surface for Optimal Paint Adhesion
While your design transfer marks the creative milestone, the technical foundation of your mural depends entirely on proper wall preparation. I’ll walk you through the essential steps that guarantee your artwork lasts.
Start by cleaning your wall with mild soap and water, scrubbing away dirt and grease. Rinse thoroughly and let it dry completely. Next, inspect for cracks or holes—fill them with spackling compound and sand smooth once cured. Sand your entire wall with 120-150 grit sandpaper to create texture for paint adhesion, then remove all dust with a tack cloth.
Apply an acrylic-based primer using a roller for large areas and angled brushes for edges. Let it dry completely before painting. For challenging surfaces, consider using a specialized product like Ronan Prime-All for superior adhesion. This preparation separates amateur work from professional-looking murals.
Selecting the Best Materials and Paint Types

Your perfectly prepped wall now needs the right paint and materials to bring your mural vision to life. I’ll guide you through selecting the best options for your project.
For indoor murals, I recommend acrylic paints with eggshell or satin sheen. They’re versatile, durable, and easy to clean. Avoid flat, semi-gloss, or gloss finishes—they won’t give you the results you want. Additionally, using the right paint finish can enhance the mural’s appearance and longevity.
Outdoor murals require weather-resistant acrylics that bond strongly with masonry and concrete. Skip oil paints entirely—they’ll deteriorate on alkaline surfaces.
Consider your surface compatibility. Acrylics work on virtually everything: masonry, plaster, brick, concrete, sheetrock, wood, and metal. For non-paint alternatives, heavy-grade wallpaper or removable vinyl offer waterproof, wipeable solutions perfect for high-traffic areas.
Essential Painting Techniques for Professional Results
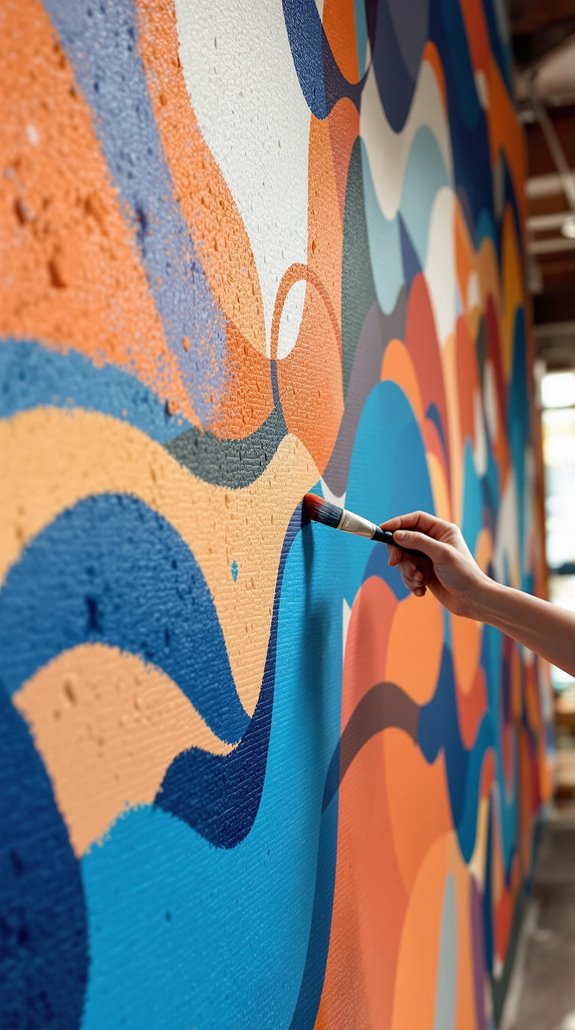
Master these essential painting techniques to transform your wall from blank canvas to professional-quality artwork. I’ll guide you through the layering approach that creates stunning depth and dimension.
Start with your darkest base colors first, then progressively add lighter hues. This builds natural-looking shadows and highlights that make your mural pop off the wall. Apply thin, transparent acrylic layers—they’re your secret weapon for achieving that luminous quality you see in gallery pieces.
For textured elements like foliage or stone, I recommend stippling or dry brushing techniques. These methods create realistic surface variations that catch light beautifully. Remember to let each layer dry completely before adding the next. This prevents muddiness and keeps your colors crisp and vibrant throughout the entire piece.
Choose high-quality acrylic paints with excellent light fastness ratings to ensure your mural maintains its vibrancy for years to come.
Building Your Composition With Color Theory and Balance
Before you place a single brushstroke on your wall, you’ll need to harness color theory as your compositional foundation. I’ll guide you through selecting colors that work together harmoniously.
Start by choosing your primary color scheme. I recommend limiting yourself to three to five colors maximum—this creates cohesion without overwhelming your space. Test complementary colors like blue and orange for high-impact focal points, or use analogous colors for calming, harmonious effects.
Consider your room’s lighting when selecting colors. I always test paint swatches on the actual wall surface under different lighting conditions throughout the day. Remember that brightness varies with context—the same color can appear dramatically different depending on surrounding surfaces and lighting conditions.
Balance warm and cool colors strategically. Use warm hues to bring elements forward and cool colors to create depth. This technique helps establish visual hierarchy while maintaining compositional equilibrium across your mural.
Adding Details and Finishing Touches for Depth
Now that you’ve established your color foundation and compositional balance, it’s time to bring your mural to life through strategic detail work and depth-building techniques. I’ll guide you through the layering process that transforms flat surfaces into dimensional art.
Start with your underpainting using the darkest colors as your base. Once completely dry, apply successive layers of lighter colors using the glaze technique—this allows underlying layers to show through, creating rich depth.
For texture, use stippling with a dry brush to dab wet paint over dry underpainting. This blends colors naturally without smooth shifts.
Focus on fine details with small brushes, adding intricate elements that enhance realism. Remember that patience is key when working on detailed sections, as rushing through delicate work can compromise the overall quality of your mural. Finally, step back and make adjustments to unify your composition, softening harsh edges and balancing your focal points.
Protecting Your Mural With Proper Sealing and Maintenance
After completing your mural’s artistic elements, you’ll need to seal and protect your work to assure it withstands time and environmental factors. I recommend choosing polyurethane for indoor murals due to its durability and clarity, while UV-resistant varnish works best outdoors to prevent fading. Additionally, ensure that the surface is properly prepared before applying any sealant, as this can significantly affect adhesion.
Before applying, ascertain your mural’s completely dry and test the sealant on a small area first. I use a wide, soft-bristle brush and apply horizontally from the top corner, working downward in rows. For varnish, I employ a cross-hatch pattern for even distribution.
Allow proper drying time between layers—typically 2-4 hours—and full curing may take 24-72 hours. Keep traffic away from the wall during this critical period to prevent damage to the curing sealant. Plan to reapply sealant every 2-3 years and inspect annually for any damage.
Conclusion
I’ve walked you through each essential step to create your wall mural masterpiece. You’ve learned to plan your space, scale your design, prep your surface, and select quality materials. I’ve shown you key painting techniques, color theory principles, and detailing methods. Now you’re equipped with the tools and knowledge to transform any wall into stunning artwork. Remember to seal your finished mural properly—you’ll protect your investment and enjoy your personalized space for years.
References
- https://www.art-is-fun.com/mural-techniques
- https://www.madebybarb.com/2024/10/20/how-to-plan-and-design-a-painted-wall-mural/
- https://www.skillshare.com/en/blog/how-to-paint-a-mural-a-step-by-step-guide/
- https://letterwithlaurenliz.com/journal/blog-post-title-two-8nnar-w93xg
- https://happydecay.com.au/mural-scaling-techniques/
- https://www.art.utah.edu/murals/mural-making-process/
- https://danikoch.com/diy-wall-mural-beginner-how-to-guide/
- https://theartofeducation.edu/2016/06/12-key-steps-leading-amazing-mural-projects/
- https://www.goodhousekeeping.com/home/decorating-ideas/g46457813/wall-mural-ideas/
- https://www.thespruce.com/wall-mural-ideas-to-try-6751847