I’ve watched countless UK homeowners struggle with waterlogged gardens after heavy rainfall, and there’s one solution that consistently outperforms others: a properly installed driveway soakaway. You’ll find this underground drainage system transforms how your property handles surface water, preventing the frustrating cycle of flooding that damages lawns and flower beds. The installation process requires specific calculations and materials, but I’ll show you exactly what you need to know before you start digging.
Key Takeaways
- Driveway soakaways prevent garden flooding by temporarily storing rainwater in underground chambers, allowing natural soil infiltration instead of surface pooling.
- Installation requires excavation, geotextile membrane, 60-tonne rated crates, and proper positioning at least 5 metres from house foundations.
- UK planning permission is mandatory for driveways exceeding 5m², though permeable materials like gravel may provide exemptions.
- Regular maintenance includes clearing debris, checking silt build-up, and monitoring drainage performance to prevent system failures.
- Systems provide £1bn annual savings in sewer processing while enhancing property values and flood resilience in UK homes.
What Is A Driveway Soakaway And How Does It Prevent Garden Flooding?
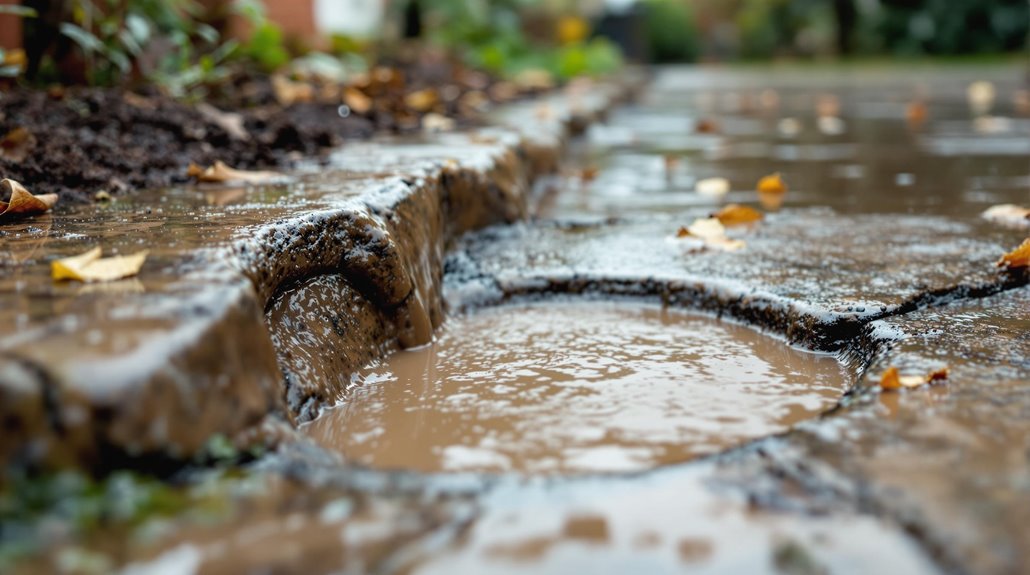
A driveway soakaway is an underground drainage structure that collects and manages surface water runoff from your driveway’s impermeable surfaces. I’ll show you how this game-changing system works to protect your garden from flooding.
The soakaway creates a temporary storage chamber using rocks, gravel, or modular crates wrapped in a protective membrane. When rainwater hits your driveway, it flows into this underground reservoir instead of pooling on your lawn or overwhelming local drainage systems.
Here’s the brilliant part: the stored water slowly infiltrates into surrounding soil over hours or days, mimicking nature’s drainage cycle. This prevents your garden from waterlogging while recharging groundwater tables. You’ll eliminate surface pooling that kills plants and reduce erosion from fast-flowing runoff that damages landscaping. Heavy storms can dump 500+ litres of surface water onto your property, making proper soakaway systems essential for flood prevention.
UK Planning Regulations And SuDS Compliance For Driveway Drainage
Since UK regulations changed in 2008, you’ll need to navigate specific planning requirements before installing your driveway drainage system. Here’s what you need to know as a fellow homeowner tackling this project.
If your driveway exceeds 5m², you’ll need proper drainage to avoid planning permission headaches. I recommend using permeable materials like gravel or porous asphalt—they’re your ticket to compliance exemption. Alternatively, verify runoff drains to your lawn or garden borders. Additionally, be aware that certain planning permission exemptions may apply if you meet specific criteria.
For impermeable surfaces like concrete, you’ll need integrated solutions such as soakaways or slope designs directing water toward permeable areas. Remember, all runoff must stay within your property boundary.
Non-compliance isn’t worth the risk—enforcement actions can force expensive removal. Properties in Conservation Areas may face additional material and design restrictions that could affect your drainage choices. Check your local council’s specific guidelines and document your drainage plans properly.
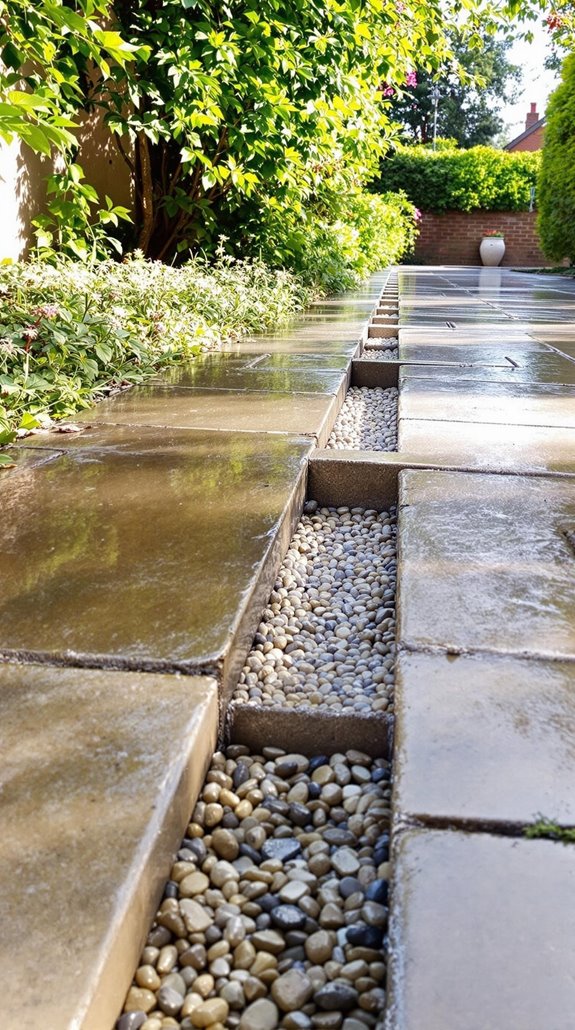
Essential Components And Materials For Your Soakaway System
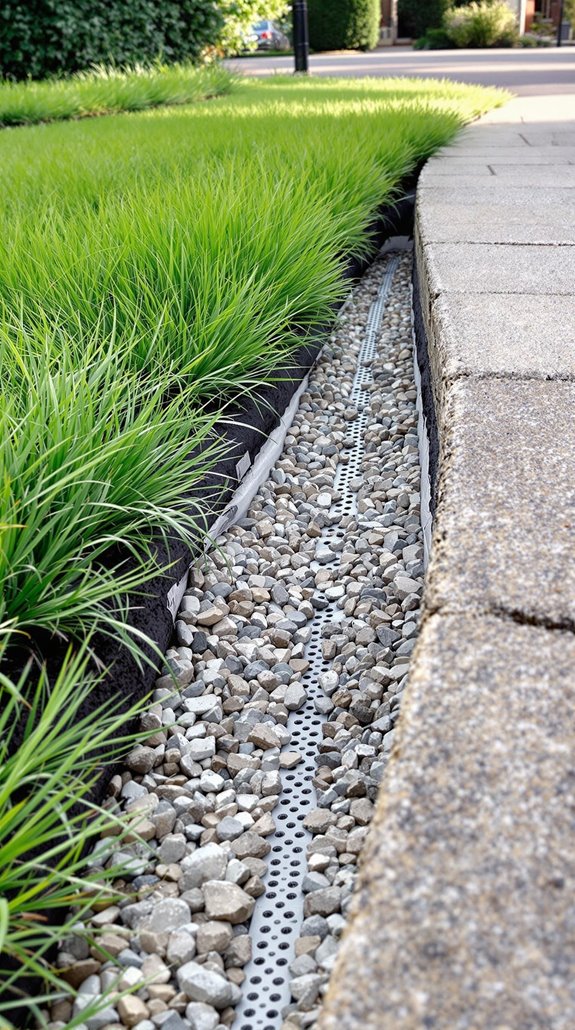
Before you break ground on your driveway soakaway, you’ll need specific components that work together as an integrated drainage system. I’ll walk you through what’s essential for a system that won’t let you down.
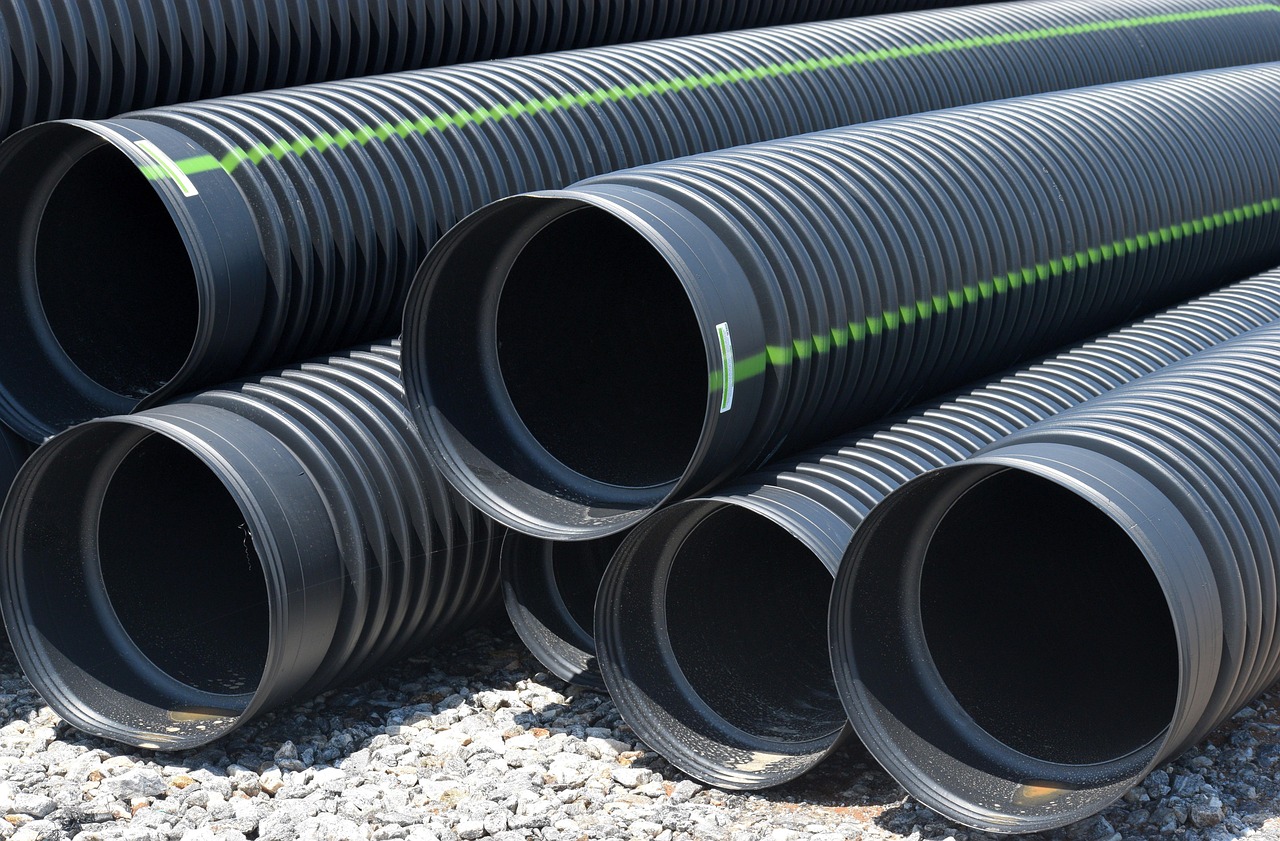
You’ll need 60-tonne rated soakaway crates – these modular plastic units stack together and offer 95% void space for water storage. Wrap them in geotextile membrane to prevent soil clogging while allowing water through.
For drainage, grab 110mm UPVC underground pipes with connectors and bends to navigate around obstacles. Install silt traps inline to catch debris before it reaches your crates.
Use 10mm shingle for pipe bedding and 20-40mm gravel around crates. Remember to position your soakaway at least 5 metres away from your house foundation to prevent any structural issues. Top it with permeable paving or gravel surfacing to complete your infiltration system.
Step-By-Step Installation Process For Maximum Effectiveness
With your materials sorted, let’s get your hands dirty with the actual installation. I’ll walk you through each essential step that’ll transform your waterlogged driveway into a proper drainage system.
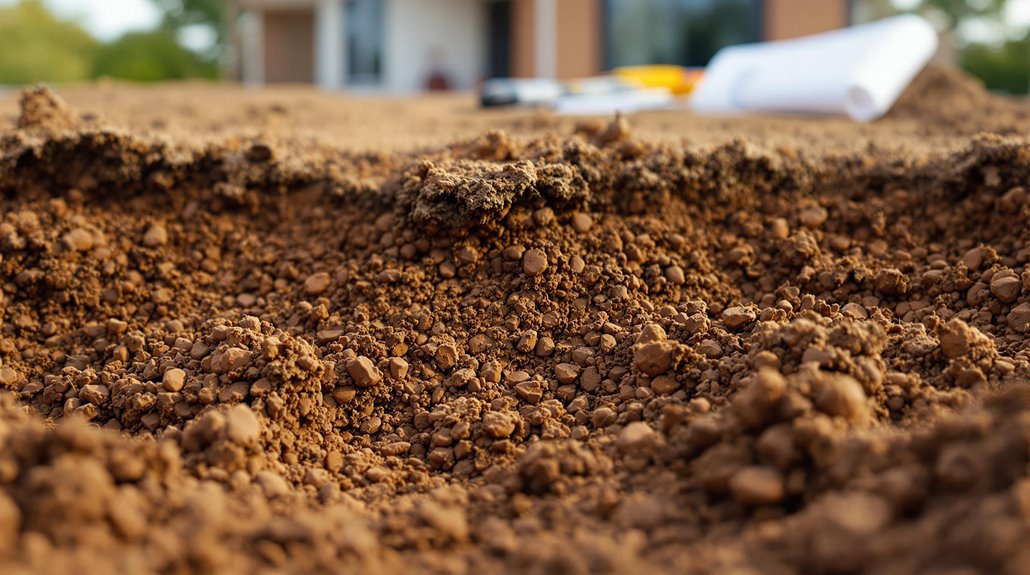
First, you’ll excavate your hole to the calculated dimensions, removing all debris and leveling the base with a spirit level. Next, lay your 150mm compacted pea shingle foundation – this prevents settlement issues later.
Install your geotextile membrane, ensuring it lines the entire excavation. Position your crates, connecting them securely with the provided clips. Wrap the membrane around your crate system, sealing with waterproof tape.
Connect your inlet pipes and install the silt trap – this prevents clogging. Ensure your crates can support heavy vehicles without degradation, as this is crucial for driveway applications. Finally, backfill with clean aggregate, cover with membrane, and restore your surface. You’ve just built professional-grade drainage infrastructure.
Soil Testing And Sizing Calculations For Your Property
Getting your soil tested properly determines whether your driveway soakaway will work effectively or become a costly failure. I’ll walk you through the essential tests that separate successful installations from waterlogged disasters.
Start with a simple drainage check: dig a 300mm square hole, 300mm deep at your proposed site. Pour 10 litres of water and time the drainage. If it drains within two hours, you’re on track.
For the official percolation test, excavate test holes 300mm below your proposed invert level. Saturate the soil, then refill 10 times while measuring drainage rates. Your soil’s unsuitable if water drains within 10 minutes or hasn’t drained after 6 hours. Calculate your percolation rate (Vp) from these results to determine your soakaway’s sizing requirements.
Remember that the size of your soakaway must correspond to the surface area collecting rainfall from your driveway and roof connections. Proper sizing calculations prevent system failure and ensure your drainage system handles heavy rainfall effectively.
Maintenance Requirements And Common Limitations To Consider
Although proper installation sets the foundation for success, your driveway soakaway’s long-term performance depends entirely on consistent maintenance and understanding its inherent limitations.
I’ll walk you through the essential maintenance tasks that keep your system running smoothly. Lift your soakaway cover every few months to check for silt build-up and remove debris manually during dry weather. Clear leaves from channel drain grates regularly and never sweep garden waste into drains. Monitor your soakaway for standing water, which indicates the system isn’t draining properly and requires immediate attention.
However, you’ll face certain limitations. Clay soils require larger volumes or attenuation crates for proper drainage. Property size may restrict soakaway dimensions, forcing creative solutions. Seasonal rainfall variations can overwhelm undersized systems, causing overflow issues. Front garden installations must comply with planning regulations, and professional assessment often proves necessary for troubleshooting persistent problems.
Cost Benefits And Long-Term Performance Expectations
Since proper driveway soakaway systems represent a significant upfront investment, you’ll want concrete numbers to justify the £600-£1,000 installation cost. I’ve found that rebates from water companies reduce your household bills while preventing costly flood damage repairs. Your system will last up to 100 years with minimal maintenance expenses, making it far superior to 25-30 year trench drains.
You’ll recoup your initial investment within 5-10 years through damage prevention and utility savings. The long-term value comes from consistent performance across diverse soil conditions and natural filtration processes that resist environmental degradation. Professional installation costs can vary significantly based on location, with regional pricing differences seeing London installations reaching £850-£1,000 compared to £600-£800 in other areas of the country. Plus, you’re increasing property value through improved flood resilience while contributing to the £1bn annual savings in public sewer processing costs.
Conclusion
I’ve walked you through the complete soakaway installation process, from soil testing to final maintenance schedules. You’ll need your percolation test kit, excavation tools, and quality aggregate materials to build an effective system. Don’t skip the calculations—proper sizing prevents future headaches. Once you’ve installed your soakaway following these steps, you’ll have reliable flood protection that’ll serve your property for decades while meeting UK drainage regulations.
References
- https://www.homebuilding.co.uk/advice/soakaway-for-driveway
- https://thefloodhub.co.uk/blog/driveways-raingardens-and-soakaways/
- https://www.easymerchant.co.uk/blog/a-guide-to-soakaway-systems/
- https://www.scinote.net/blog/7-steps-to-get-started-with-research-data-management/
- https://www.homebuilding.co.uk/advice/soakaways
- https://elitedrainageservices.co.uk/how-do-soakaways-prevent-flooding/
- https://www.pinnaclegroundworksltd.co.uk/post/soakaways-in-domestic-properties-a-crucial-component-of-suds-compliance
- https://www.kdpumps.co.uk/garden-flooding/
- https://probuildermag.co.uk/features/how-you-can-use-drainage-to-meet-driveway-regulations
- https://www.homebuilding.co.uk/advice/driveway-drainage